One of my newest products are these coasters, which have engravings of nearly thirty (and still growing; I could be considered obsessed with this product!) languages that all encourage its use, in very direct language - from Arabic to Vietnamese, and loads in between. After hearing a recent episode of Roman Mars’ podcast “99% Invisible” on the evolution of Braille, I was encouraged to add Braille to the collection as well. And a quick plug for the podcast: definitely worth subscribing to his podcast, or at least hearing that episode!
Unlike all the other languages where I needed to solicit the help of friends to translate a colloquial phrase, Braille was much more straightforward: I was able to use one of the many online Braille translators. Though the translation was simple, however, this ended up being one of the more involved coasters to design, and takes the longest to carve by far.
This post describes the unexpected complexities of designing and carving Braille.
Embossed vs. Engraved
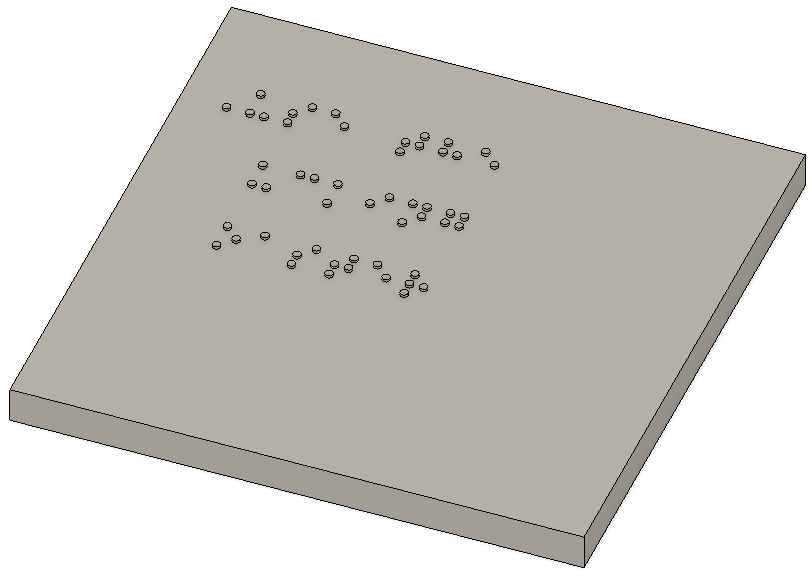
First, all the other languages I’ve carved are actually engraved: the cutting tool cuts where the ink would be. However, Braille must be raised above the surface - embossed - rather than engraved. So that means that we need to remove material around the Braille characters, leaving only the raised dots.
But if we remove all the material except the dots, then cups would be balancing on only the raised dots, posing two problems: over time, the dots would be abraded away as the hard edges of the cup press into the dot, and also, if there isn’t a wide distribution of dots on the entire coaster - which there wouldn’t be - then a cup wouldn’t stay level and may slip off the surface!
Easy solution: carve out a channel where the characters would go, leaving the rest of the surface of the coaster in place. This has another benefit that I’ll touch on later as well.
Embossing the dots means that a cup won’t balance, and there’s a lot of material to remove
Adding some channels addresses both problems
Character Size and Carving Bit Size
Though I’m just learning about Braille and far from an expert, it seems there are no variety of fonts , but rather, a fairly well-defined standard on dot spacing for printed Braille (in Section 3.2 of Specification 800 - Braille Books and Pamphlets - February 2008) specifying dot height and spacing.
Easy enough, right? Here as well, not really. Following the standard exactly causes two problems:
The total text will not fill much of the coaster - an eight-character line would be just under 2-1/8” wide, and three lines of text would be about 1-1/16” tall, on the 3-3/4” square coasters
The standard states that the spacing between dots in a single character is 0.035”, or just over 1/32”. So that would mean that the characters would need to be carved with a 1/32” bit, which are incredibly fragile, and also means that the channel described above would take a very very long time to carve.
So I scaled up the spacing just slightly, so that the space between dots is just over 1/16”, which addressed both problems.
The spec’d spacing leads to a small area of interest, and would also require use of a very fragile bit which would take far too long to produce a coaster
The refined spacing still largely maintains the overall character height to allow for reading, while also addressing both issues
Long Carving Time
Addressing the design issues as I did leads to a very long carving time, unfortunately: each coaster takes about 20 minutes to carve (vs. 2-5 minutes for all the other languages).
A typical engraving bit is like a very sharp pencil point that can just barely scratch the surface to create a fine line, or plunge deep into the surface to get the full width of the bit. Engraving with an 1/8” bit thus means that you can get lines from 0.004” - 0.125” wide with just a single pass of the tool.
To clear out the channels for the Braille dots, however, requires a flat-bottomed (called a “flat end mill”). As described above, we’re using a 1/16” bit. And to leave a very smooth background in the recessed channel, you typically cut no more than half a diameters-worth of material at once - so this is a very slow process with a small bit.
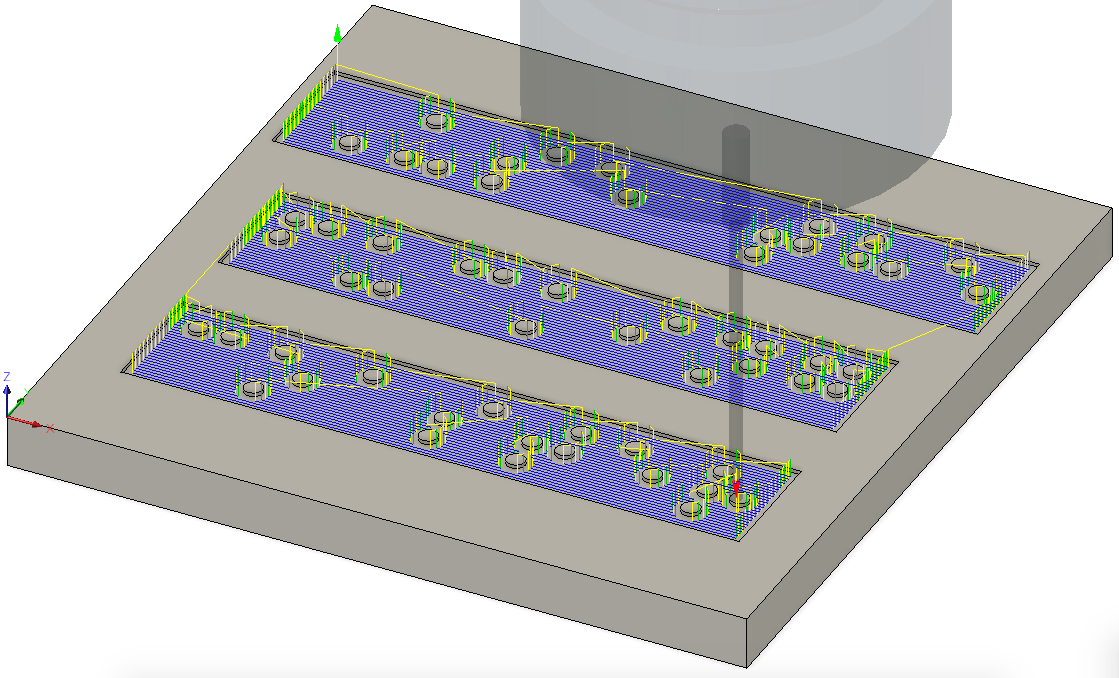
First machining step: “Pocket Clearing” milling routine cuts very close to the dots, but leaves a noisy background in the channels
Second machining step: “Parallel Cutting” milling routine flattens out the channels better, but requires many close passes which takes a long time with the small bit
These two steps together take about 20 minutes, which would be doubled if I cut the bit size in half to 1/32” flat end mill to keep the original Braille dot spacing.
Finished Product
All that work for a coaster - but I think it turned out pretty well. I just hope there’s some demand for Braille coasters!
In future posts, I’ll talk a bit about engraving bits, and review the trigonometry (yes, that’s right!) implications of different big sizes. I’d love to hear what you might be interested to learn about in this process!


