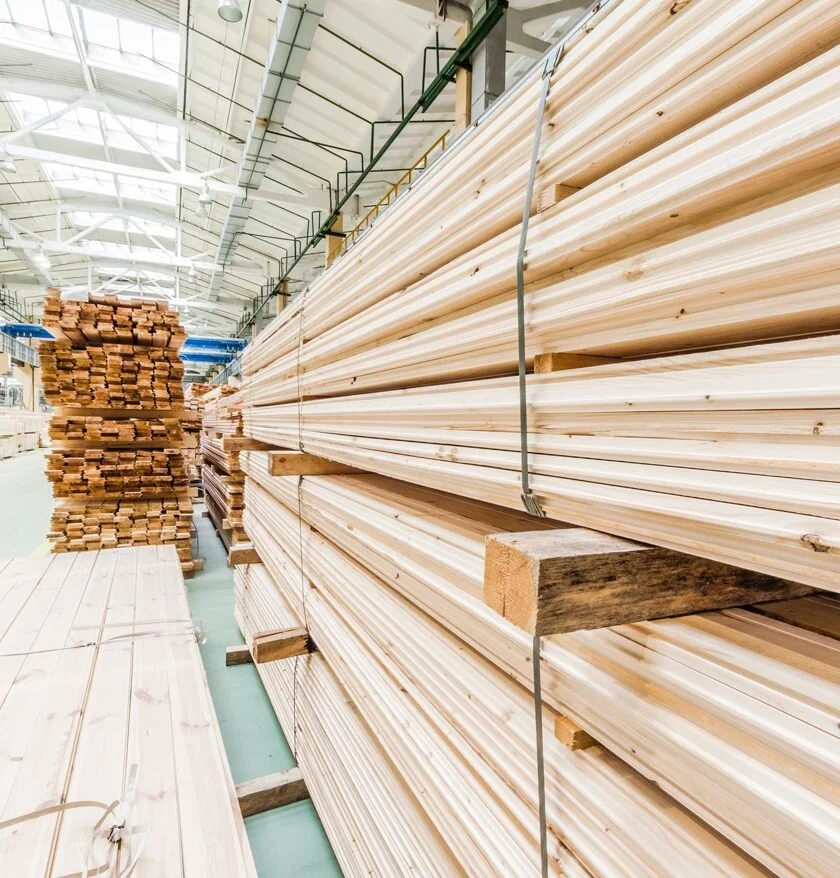
There is a world of difference between designing a one-off product for a commissioned job, and designing something to be manufactured by the dozen (or by the thousand) - those hard-to-reach corners or peculiar material choices might not be a big problem for one creation, but they can add real production costs and potential support problems when done in volume. In this post I touch on a few of the many considerations a product designer needs to consider when manufacturing something in wood.
Putting together a custom-built CNC is far more than just building the frame. Over two months, loads of wiring, custom metal, and loads of testing and (re)configuration and learning later, I finally have a functional 4’ x 3’ CNC, with an auto-tool changer, 4-axis and 5-axis capabilities, and working dust collection. This post goes into the process of setting it all up, with loads of pictures and a few tips, tricks, and gotchas for others trying something similar.
In building my own multi-axis 3’ x 5’ CNC, I found key components in Australia, China, Germany, and the United States; in this post, I share the options and the thought process that went into selecting the frame, spindle, motors, controller, and automatic tool changer.
The X-Carve served me well for three years, supporting everything from delicate jewelry box engraving to cutting solid ipe stair treads. However, as more commissions require or can at minimum benefit from the CNC, I increasingly pushed up against its limits. In the first of a three-part series about the process of upgrading this machine, I walk through my requirements for the upgrade and how that maps to the prior limitations of my equipment.
Just scratching the surface of the “feeds and speeds” topic that any good machinist knows, I learned quite a bit about how to make my CNC work go faster, and what tooling to use to better match a machine’s capabilities with the material being cut. Read on to get an overview of spindle speed, travel speed, tool size, and horsepower - and why it matters.
A pandemic-related slowdown in work and far-more-limited social and summer travel plans does not mean wasted time. New shelves in tight spaces; a repaired and improved dust collection system; more convenient electrical switches; and more. I share a few simple workshop improvements I’ve been able to make, that may inspire you to also do some cleanup.
Fabricating custom treads for a circular staircase is largely a story of jigs, made and remade until they’re just right. I outline the steps - and missteps - I took along the way of bringing this nearly year-long vision to fruition.
Learn how to distinguish between laser cutting or engraving vs. CNC cutting or engraving. What materials lend themselves more to one or the other, and why would an artist choose one approach over the other?
After carving out the bodies for many clocks and a number of coasters, I’m looking forward to adding a few small but unique architectural models to my product catalog, but those will be much easier with a 5-axis CNC. Continuing my earlier exploration to upgrade my CNC, an often-overlooked component is the control software; some software options cost nearly as much as a fancy new machine! I’ll share a few of the options I’ve explored for continuous vs. 3+2 (positional / indexing) milling; though there are a few dead ends if I want to keep it affordable, there’s at least one promising path forward that I’ll describe and will be pursuing in the coming months.


I swapped out the drive motors on my CNC from steppers to servos; in this post, I go into the details of all the troubleshooting I’ve done over the months before making this costly upgrade. Though it is not necessarily justified for everyone, the improvements I’ve seen in accuracy and performance have made it worthwhile for me, providing the foundation to tackle much more challenging jobs (and to lower my stress level when doing even simple jobs).