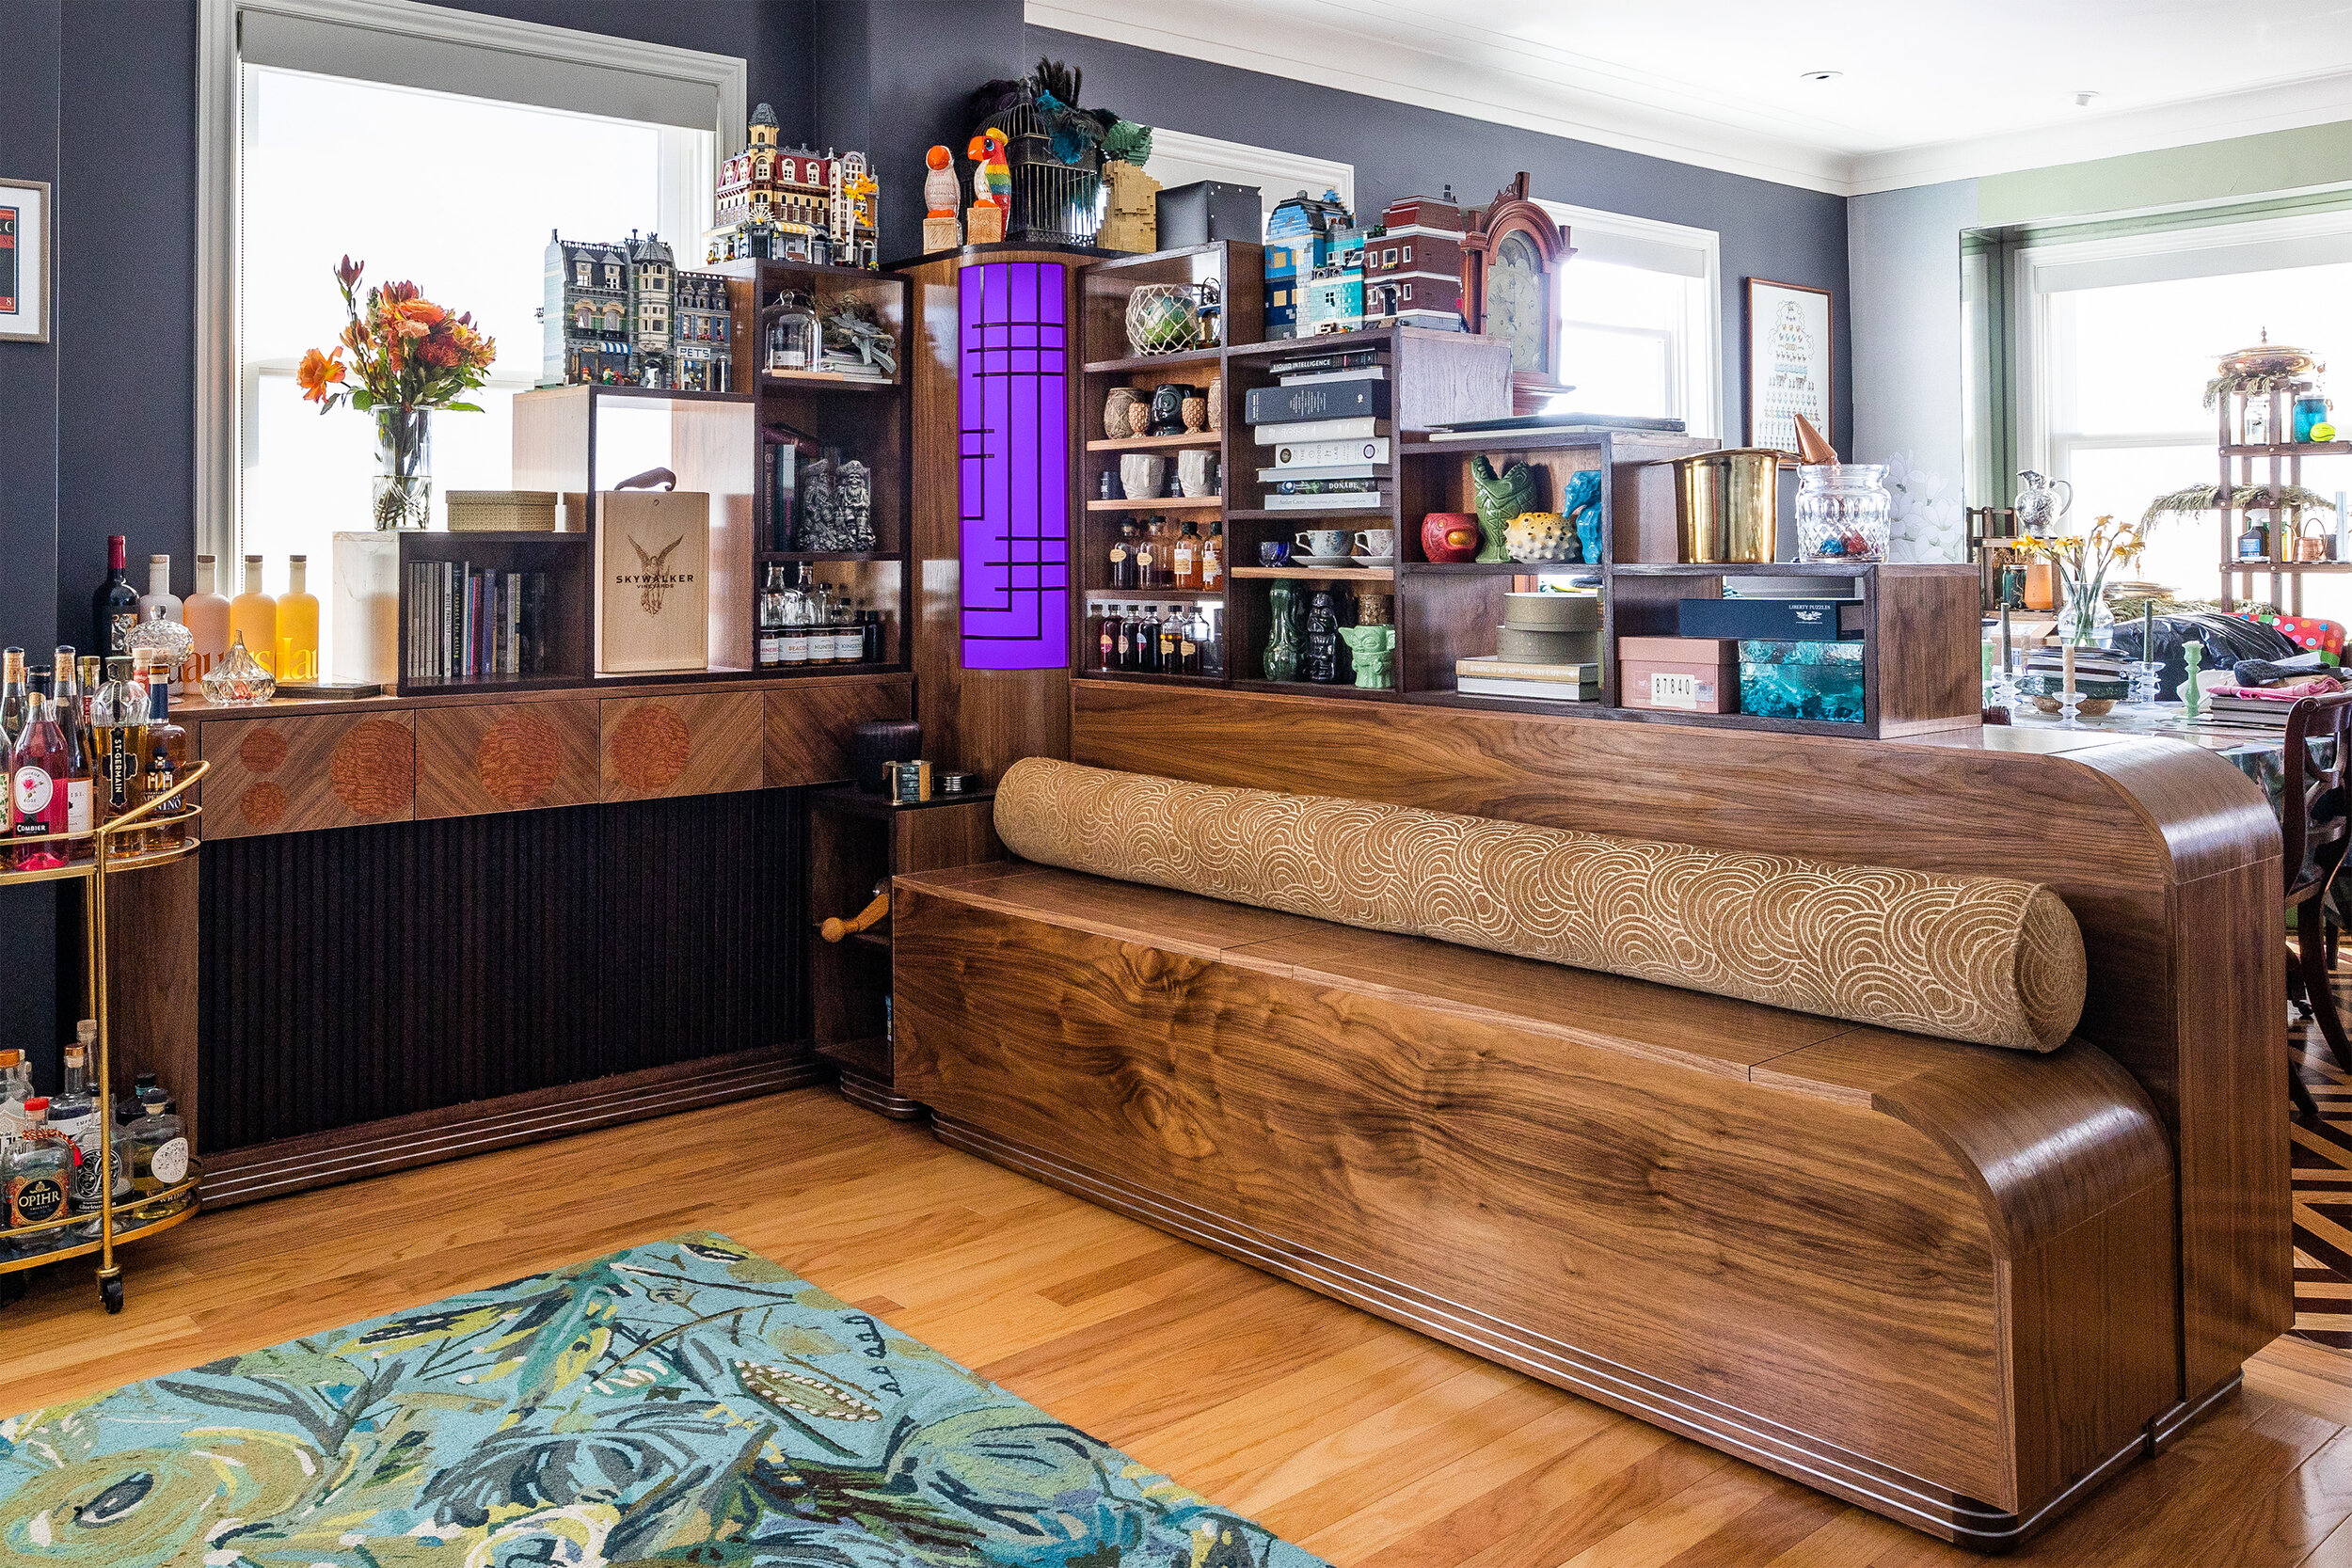
About three months after I started, I finally delivered the last of the seven pieces for the Gershwin Day Bed project, first described here. As a quick recap, this was inspired by an authentic 1920s piece owned by George Gershwin, but fine-tuned for the needs and aesthetic of my San Francisco client. And interestingly, in my searches over the months, I’ve stumbled on another recreation of the original piece.
Stats
13 sheets of walnut & mahogany veneered plywood cut into 119 pieces
32 square feet of walnut & lacewood veneer
40 board feet of solid walnut and solid wenge
4 redwood 2x8s
200 feet of aluminum rod & 18 feet of aluminum bar
18 feet of LED lighting
One quart of hide glue and a half gallon of wood glue
Total weight of the seven pieces: approx. 700#
Learnings
Three mistakes or almost-mistakes caused me a few extra hours of work, or at least thinking or design time, each:
Hallway size: Make sure there’s enough hallway space to rotate a piece out of the elevator, as well as into it. Fortunately, I adjusted the design due to this before I started construction, albeit after the design was almost finalized.
Double-check roundness & diameter: Verify that manufactured pre-bent quarter round plywood is indeed exactly the size it is supposed to be prior to gluing. Though it looked good with a quick fit-check, when I started gluing and screwing, there was a 1/4” gap due to imprecision with the radius.
Build on a perfectly flat surface: Though all the angles appeared to be perfectly square and all the measurements were individually correct, one of the pieces just wouldn’t fit! This stumped me for a while until I realized that the surface on which I was doing the assembly was not perfectly flat: an 1/8” variation in flatness over the 7’ of the surface caused a 1/2” alignment issue.
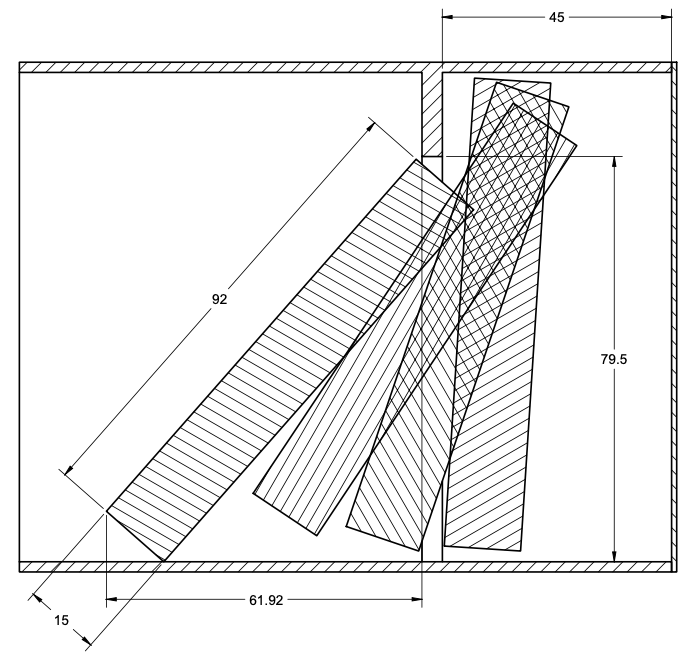
Drawing how I would rotate the piece out of the freight elevator into the hallway saved us from a lot of heartache on the final delivery.
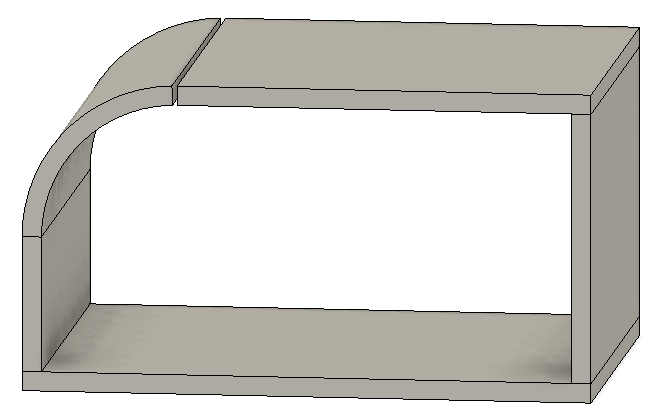
This simplified drawing zeros in on the error in the quarter round plywood, which I worked around by trimming the longer side by about 1/4”.

The top image exaggerates the impact of attempting to build on a surface that is not flat; my problem was closer to the bottom image, where an almost-imperceptible 1/8” deviation in flatness caused a 1/2” issue in alignment at the top of the shelf dividers.
Progress Photos
For some progress photos along the way, check out this gallery.
Platform Corners
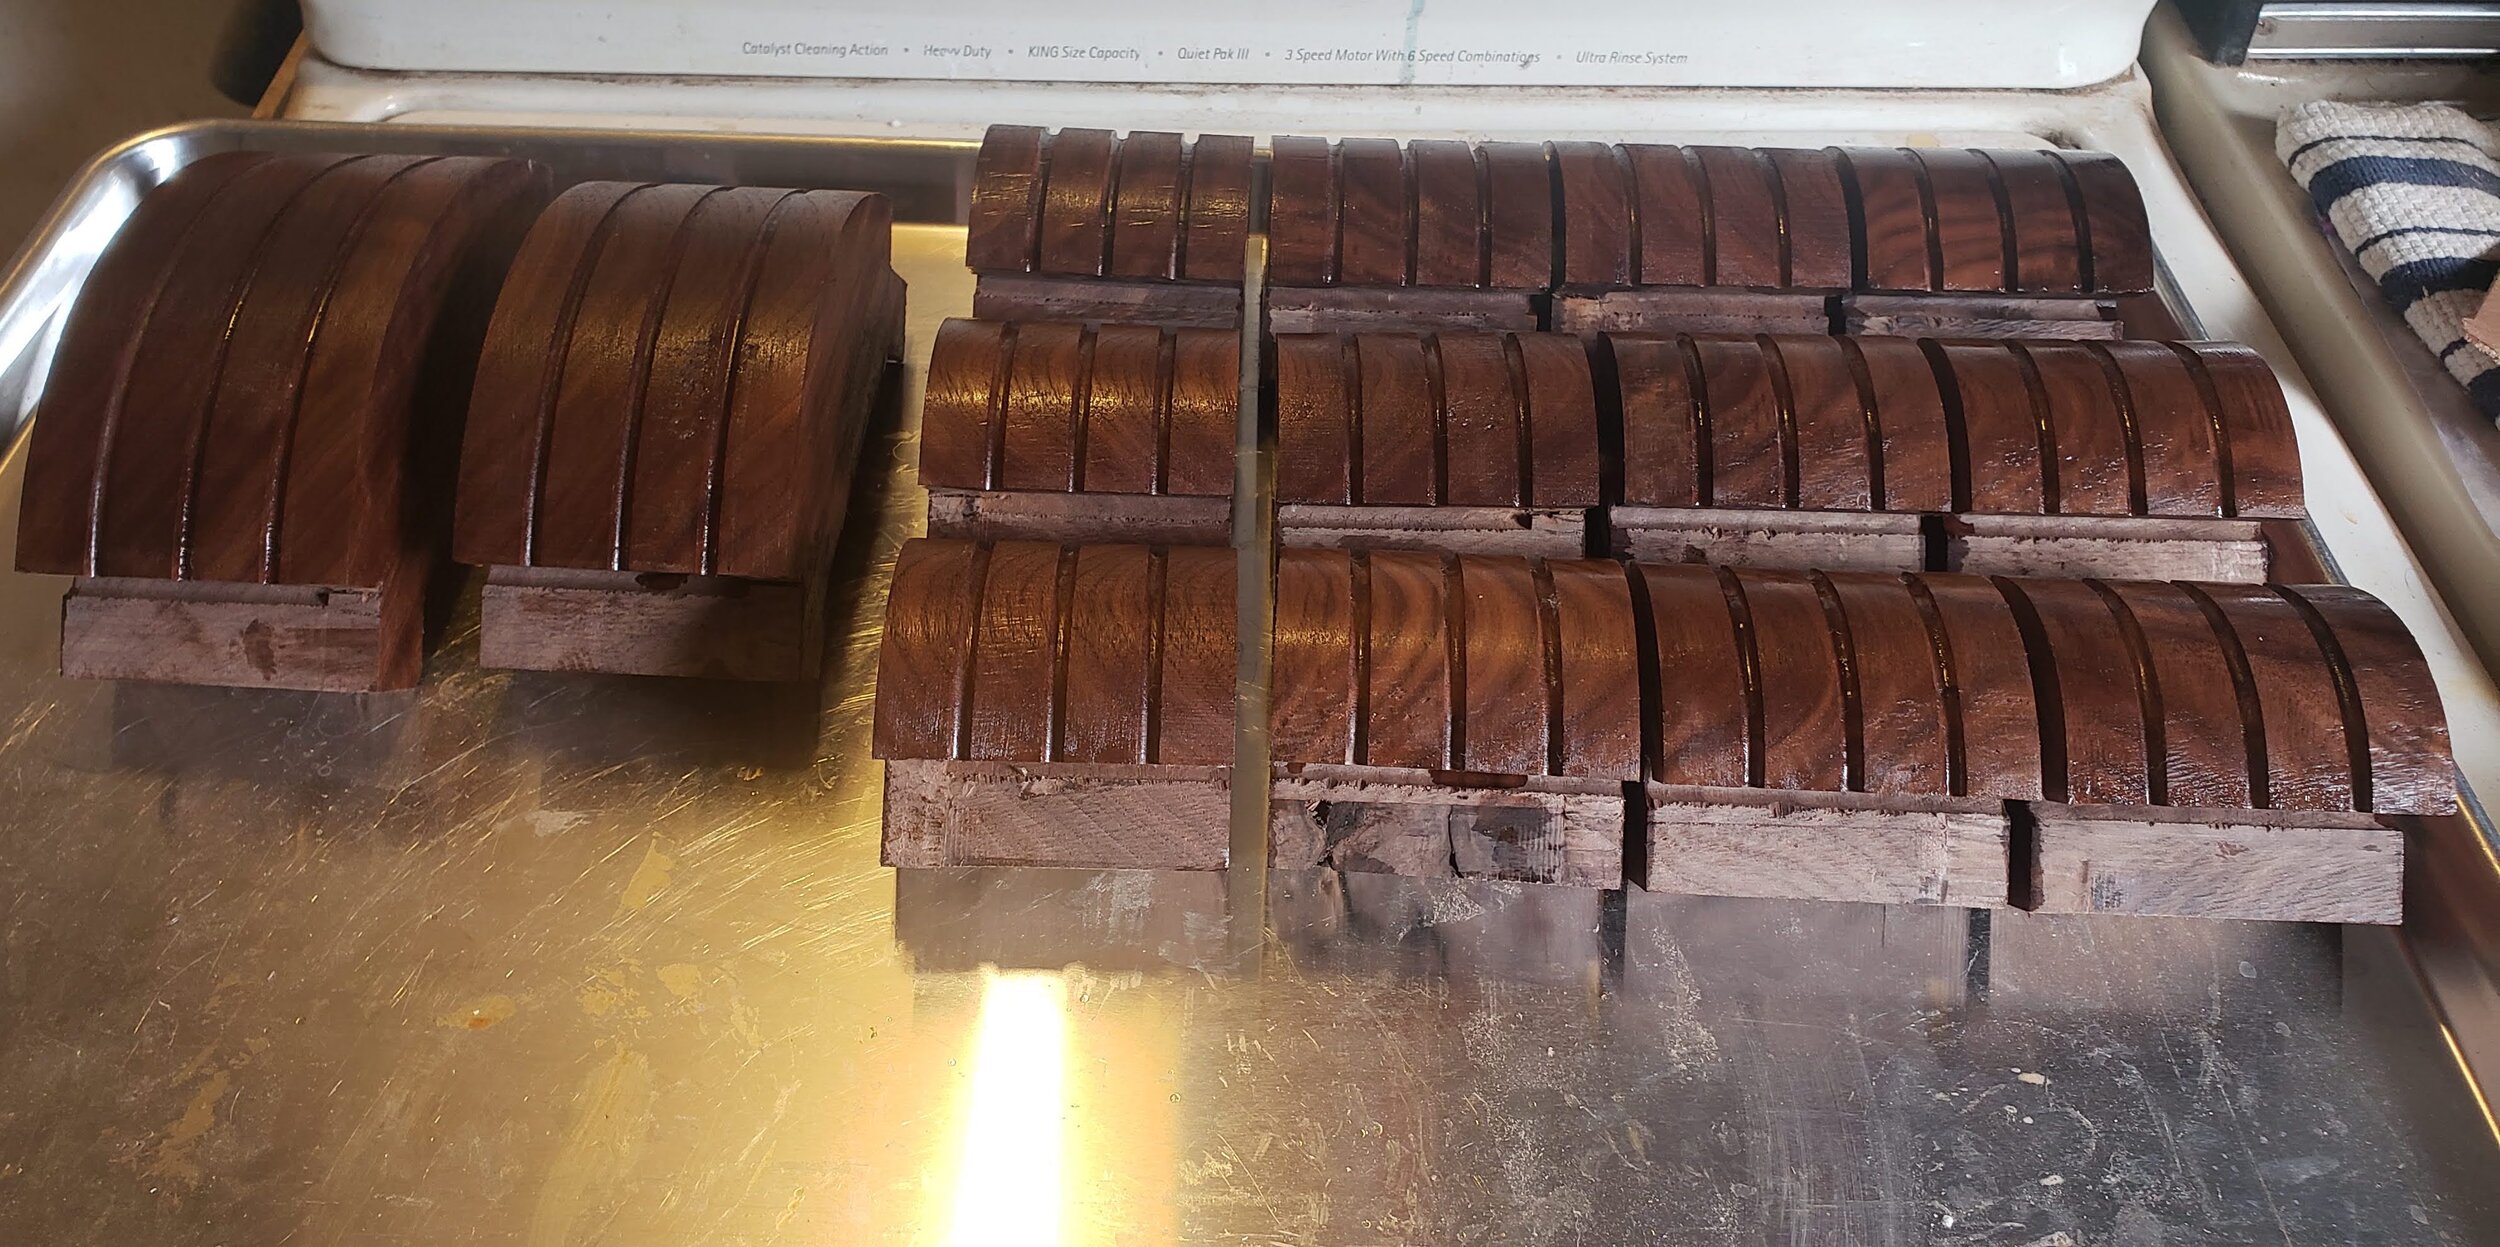
All the floor pieces sit on platforms with aluminum trim; while the long straight sections of platform are of walnut plywood, the corners were rounded so needed to be of solid walnut. Most corners had the same radius, but a few had larger radiuses where the outside corner of the furniture was also on a radius.
This is just prior to assembly of the pieces into platforms.
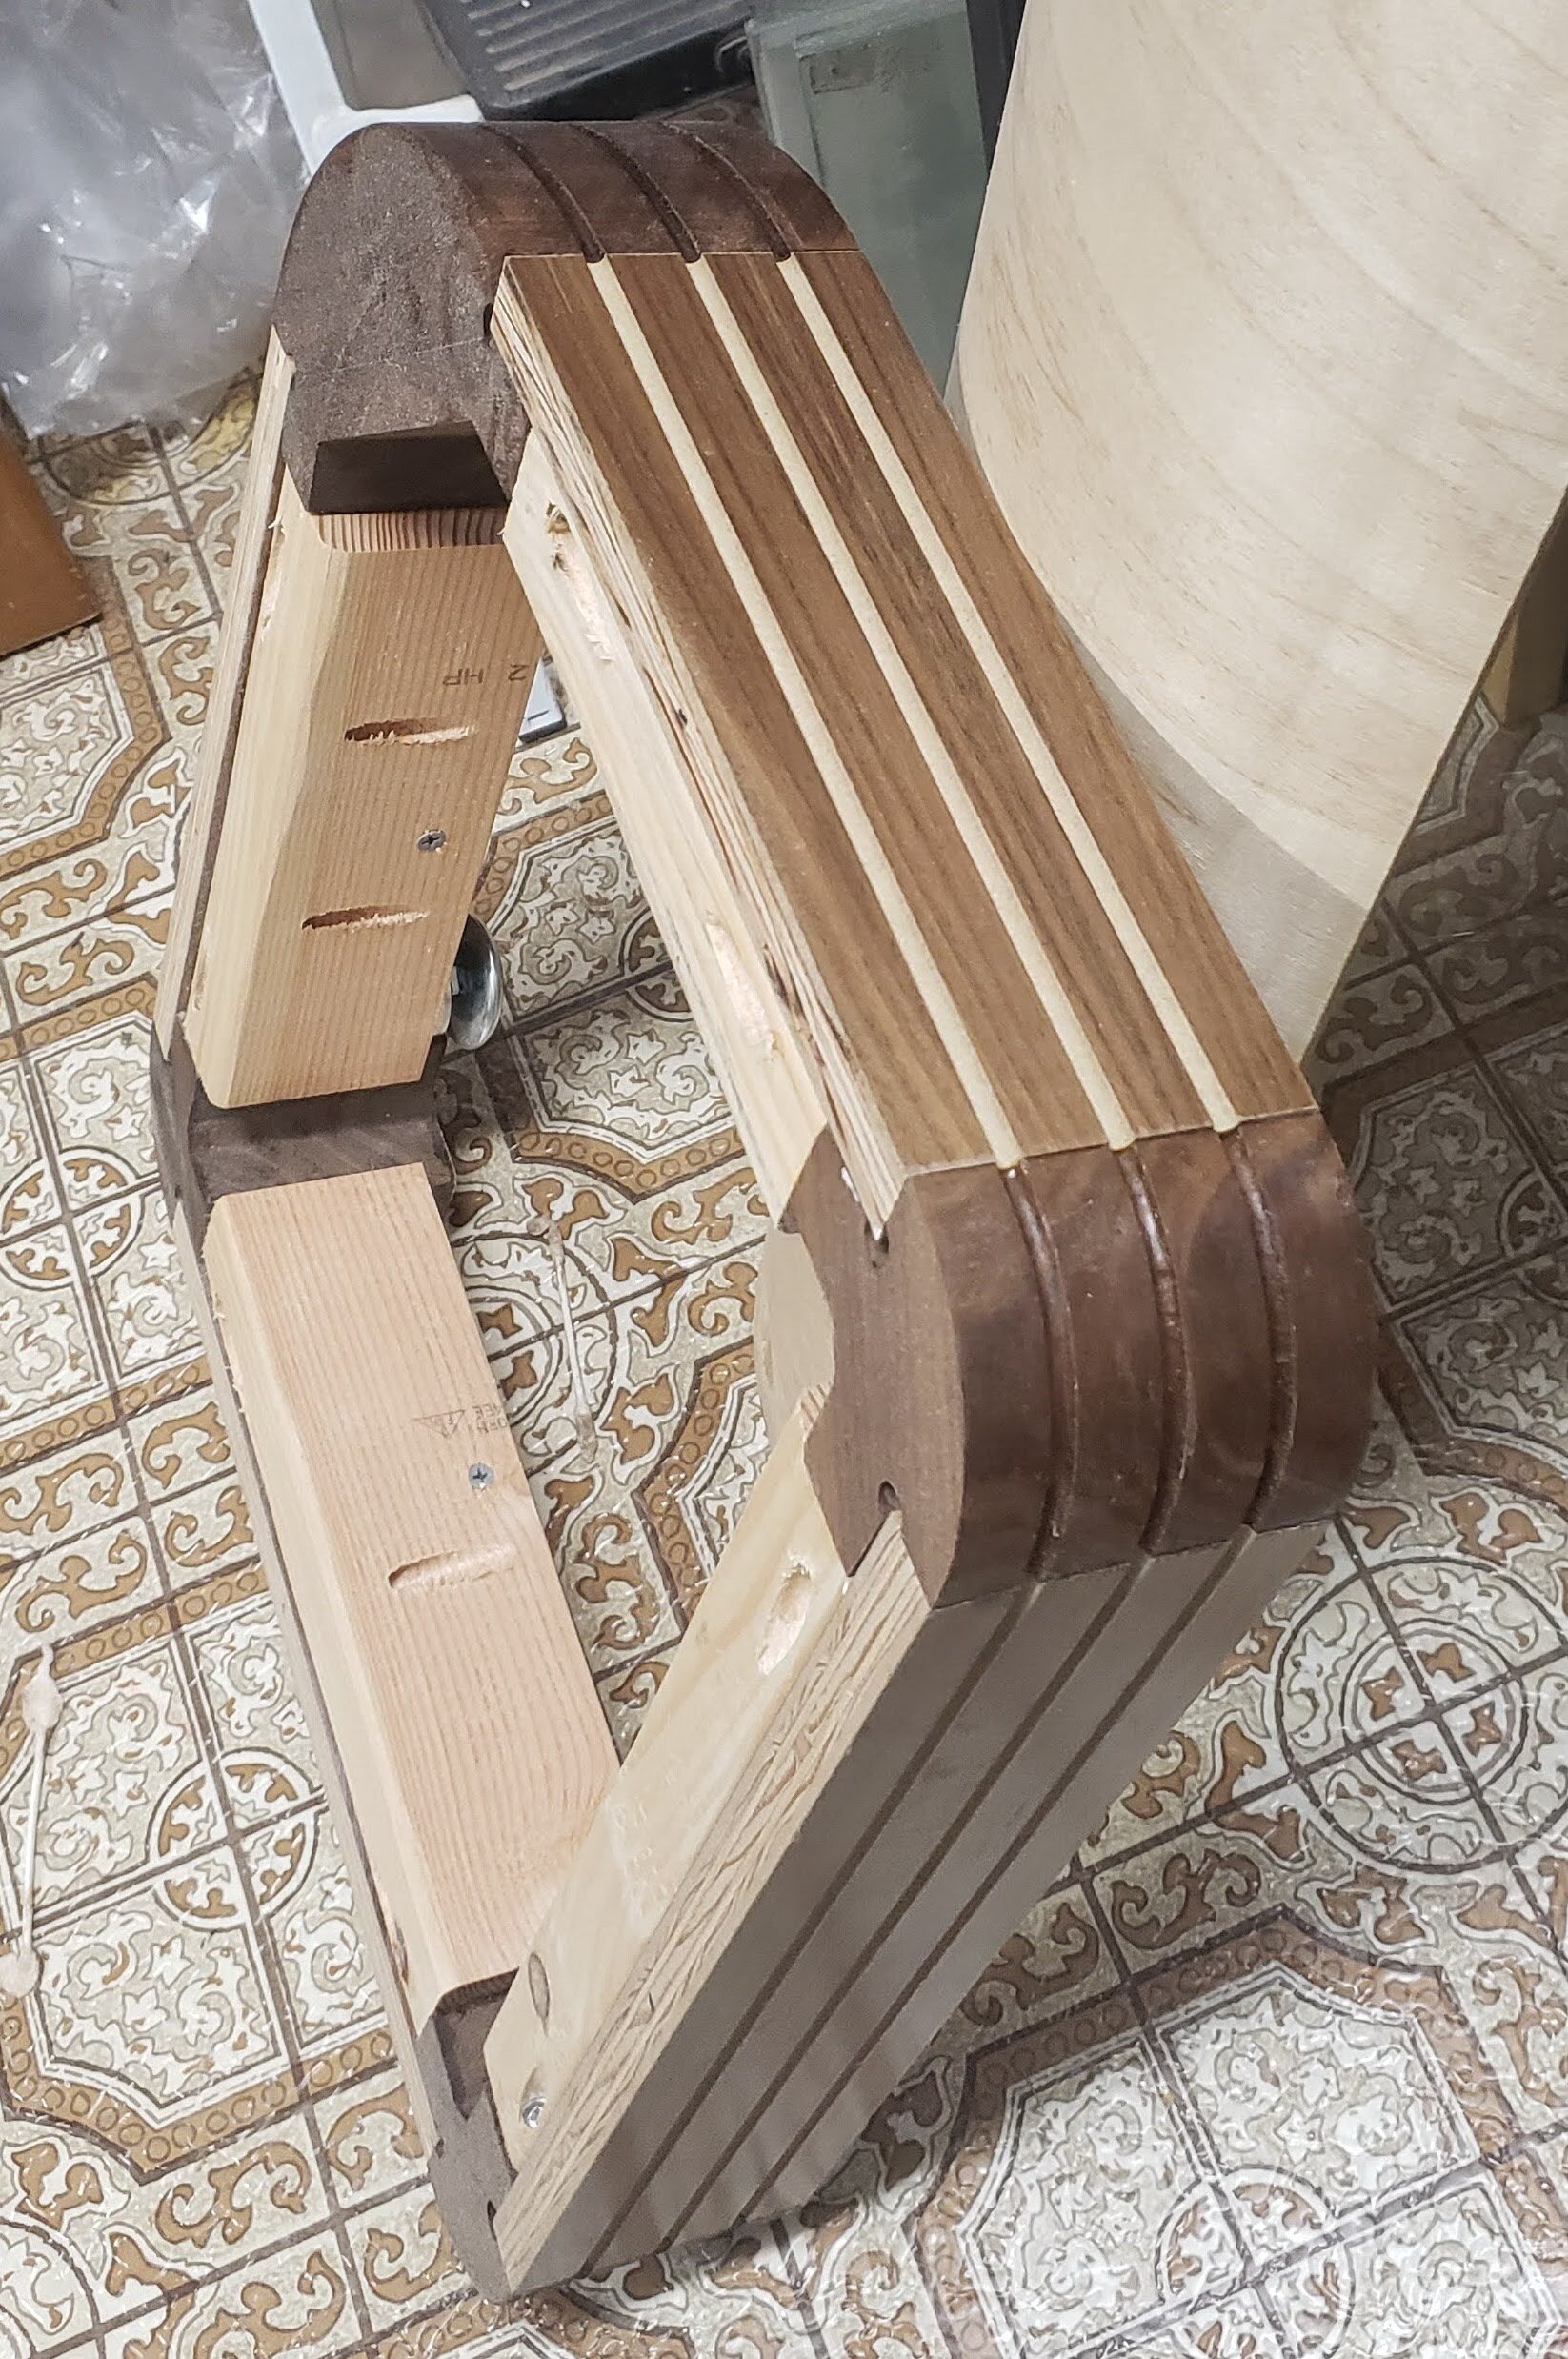
Platform Assembly
This shows one of the five platforms before the aluminum trim is shaped and fitted. All the platforms have internal redwood structure, most with cross pieces for rigidity and mounting points for mid-span adjustable feet.
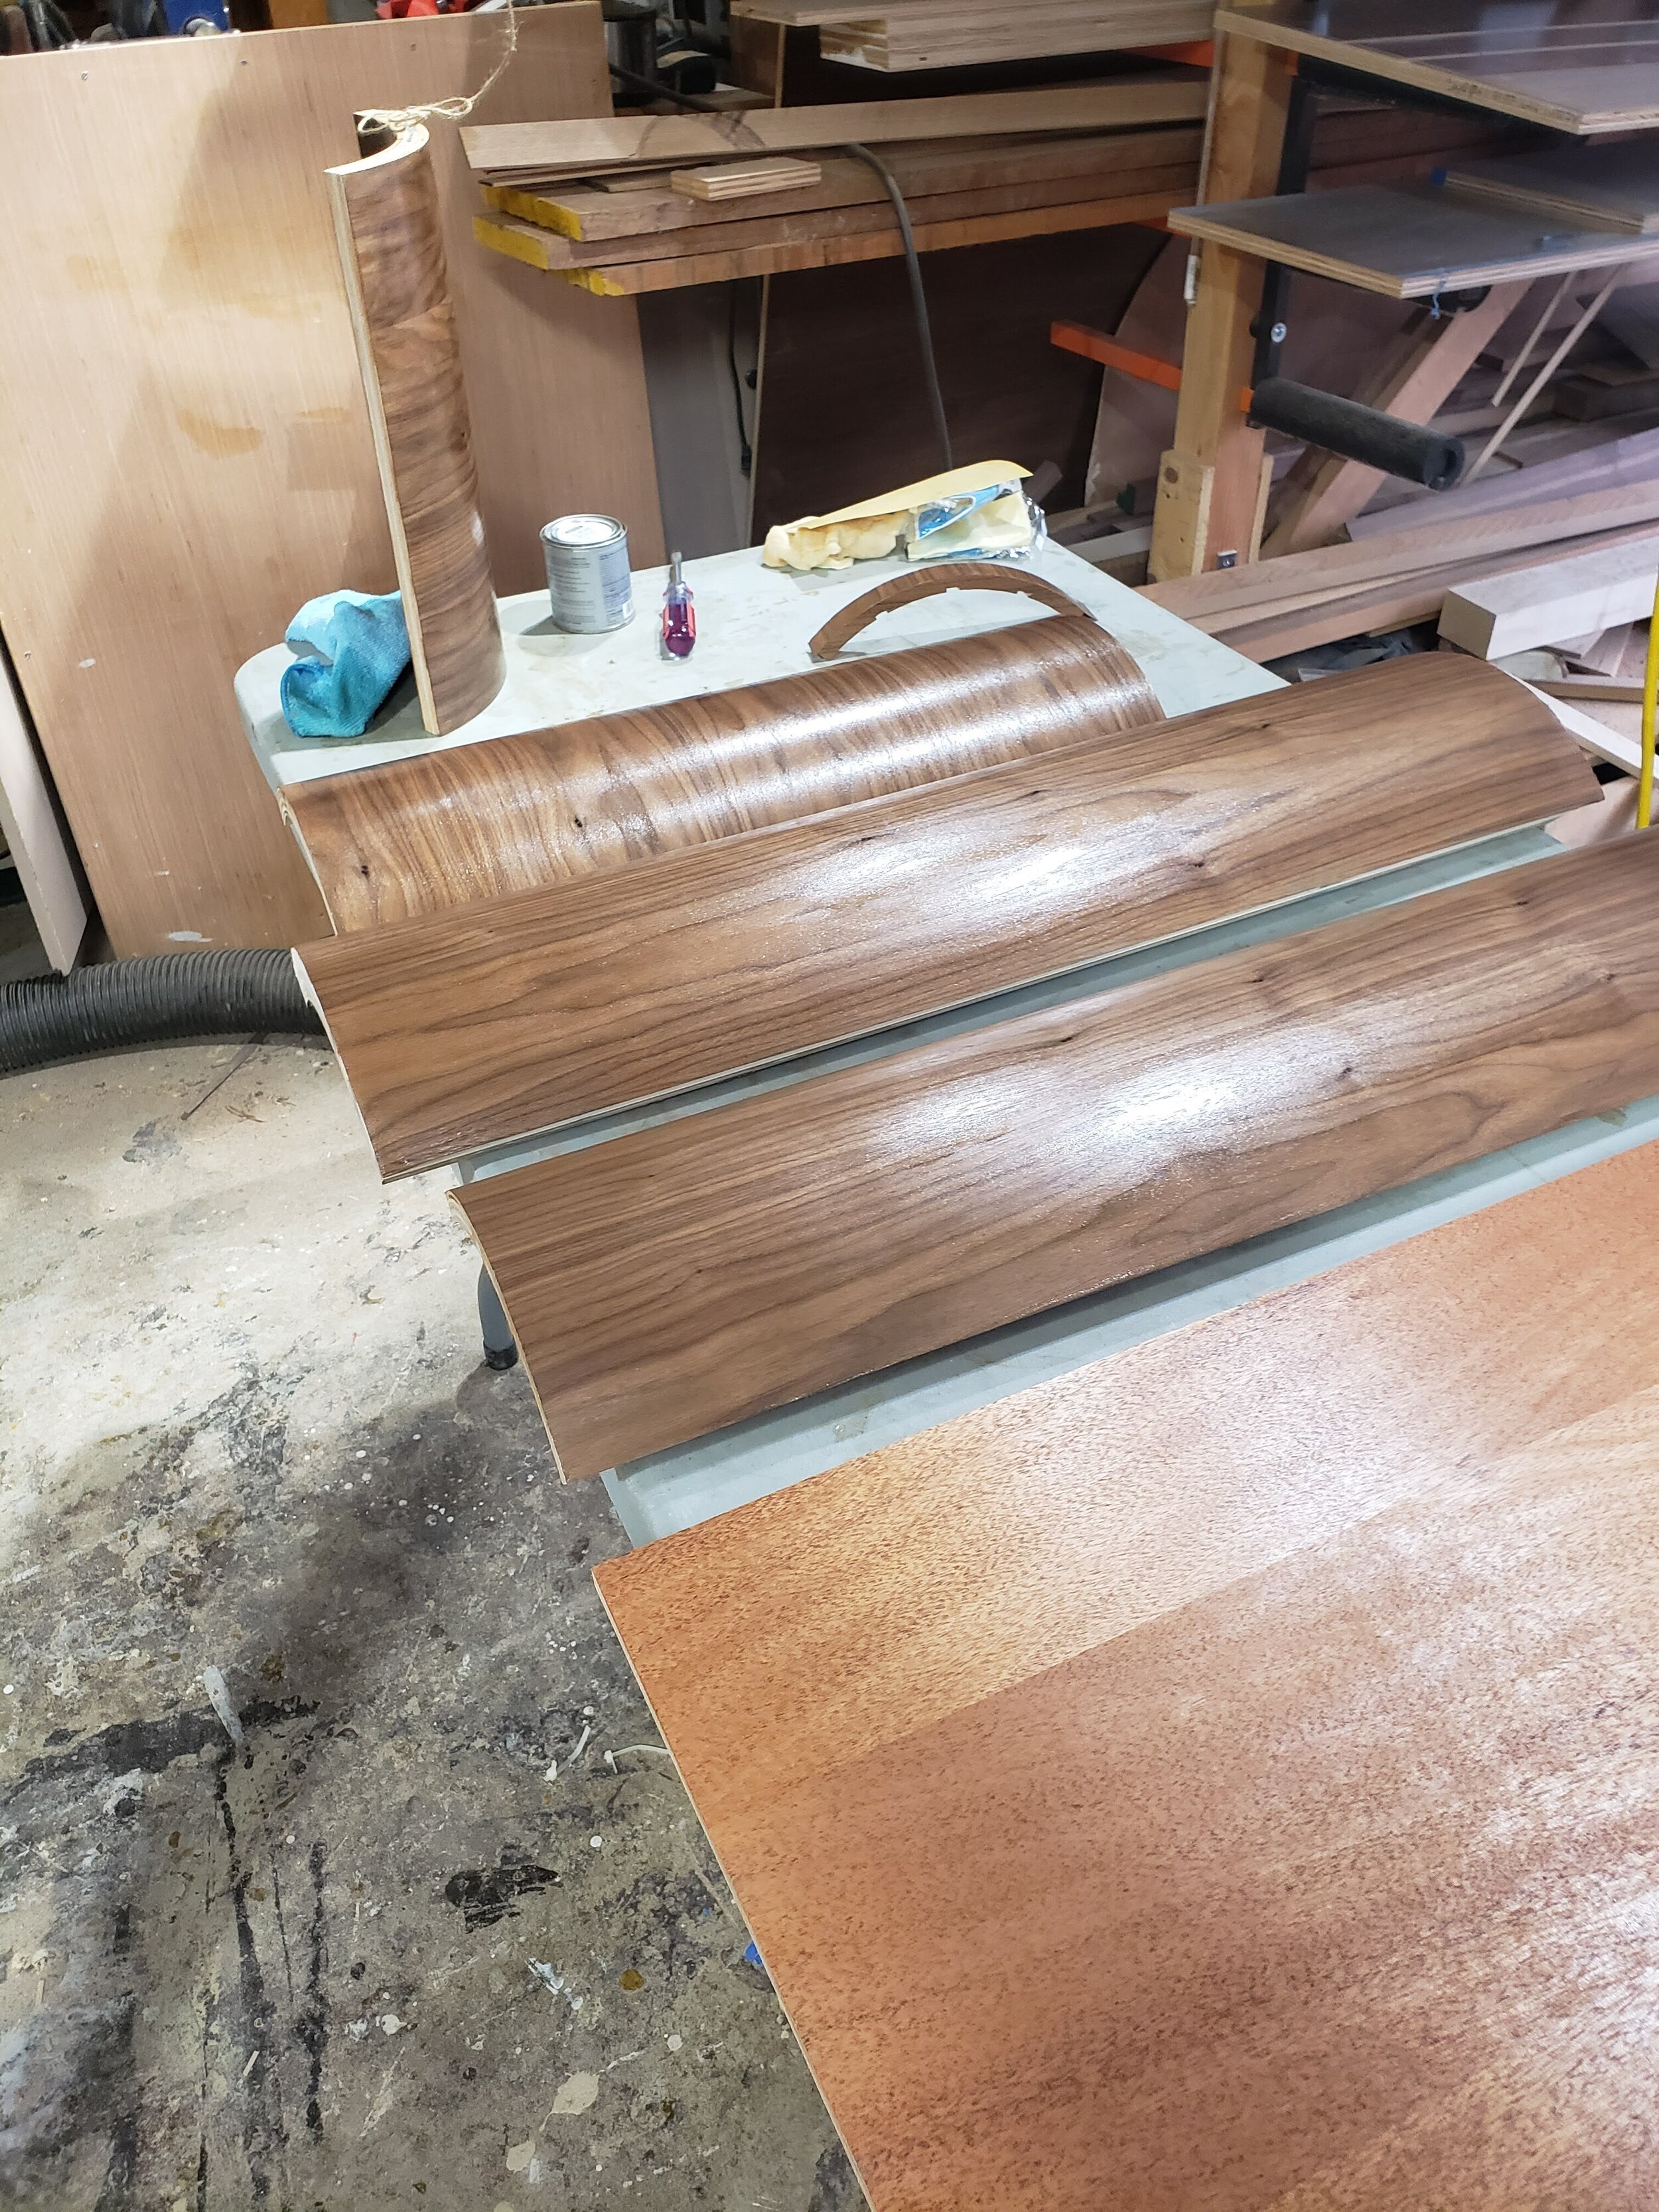
Veneered Quarter Rounds
Another early-stage preparation was veneering all the quarter rounds. While most of the pieces were designed in such a way as to use generally available pieces, one piece - that of the lamp - required me to add thickness to the radius to work with existing lamp tube sizes.
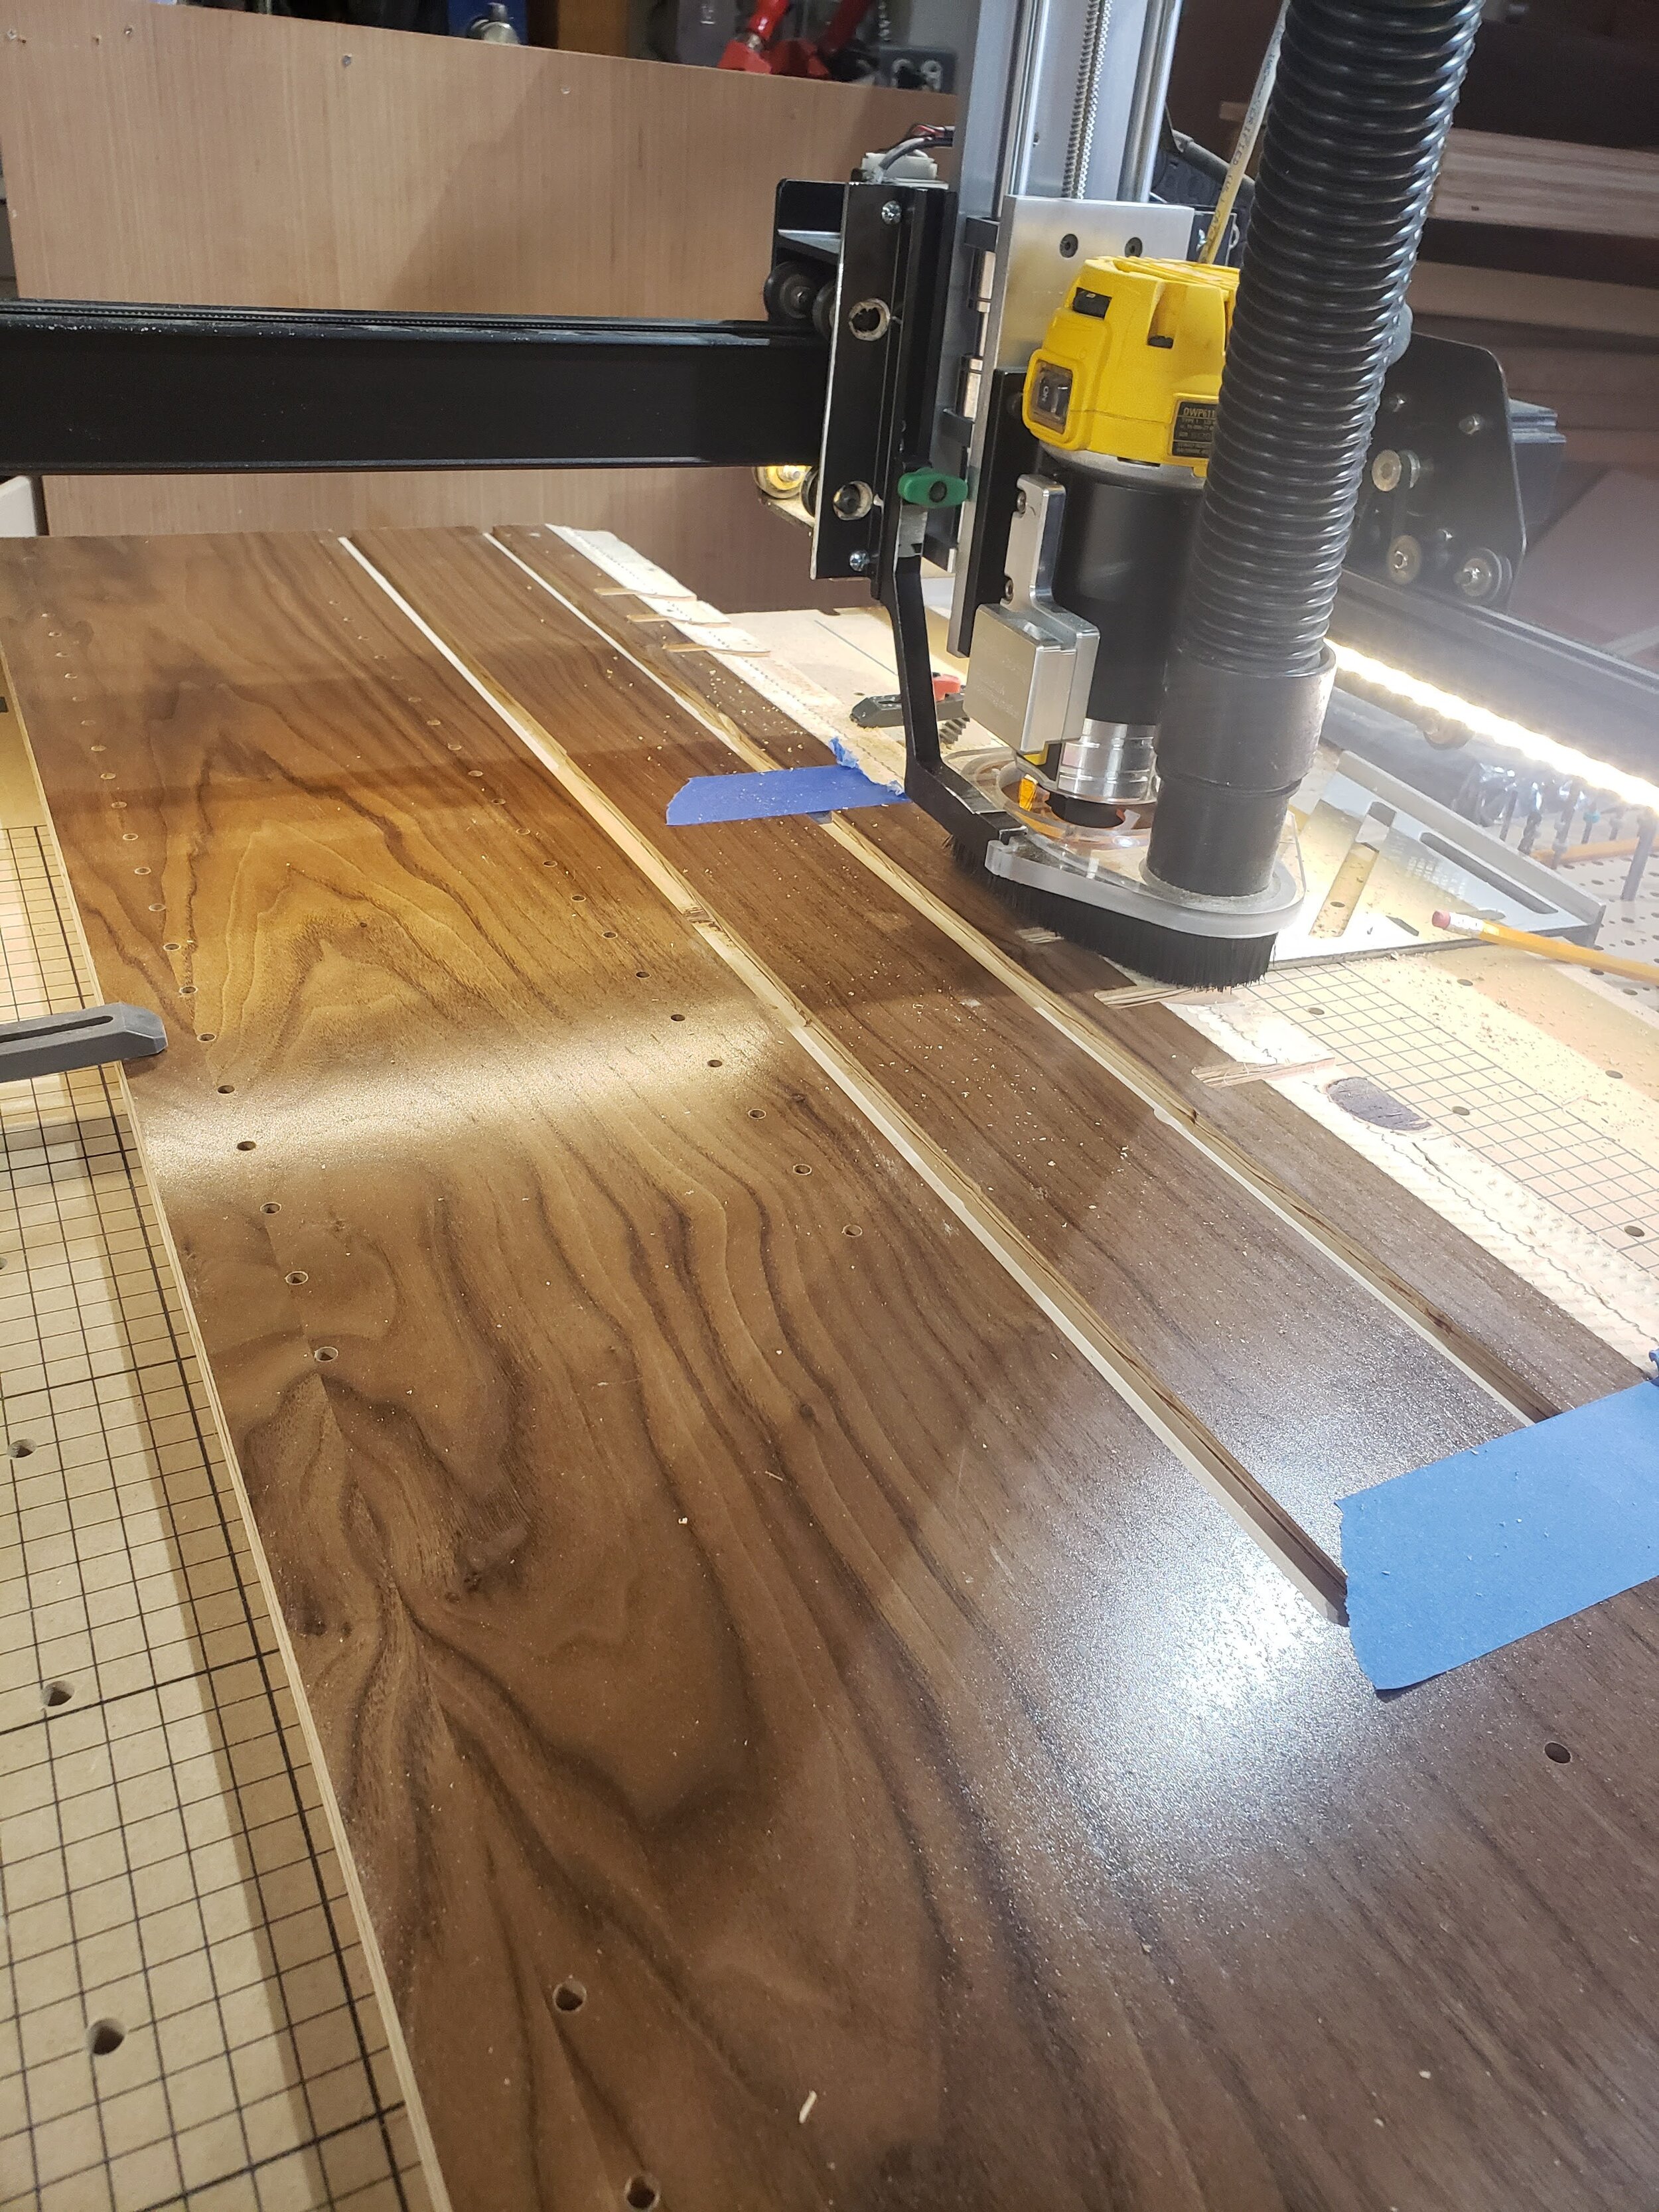
Lamp Sides
The lamp, the focal point of the entire piece, was particularly challenging to fabricate both with respect to exercising a large range of techniques, and also with respect to how to assemble in such a way as to ensure its maintainability but also hide all joints. Here you can see the channels for the backs at different depths, while my CNC routes out extra depth for the lamp tube and the aluminum trim.
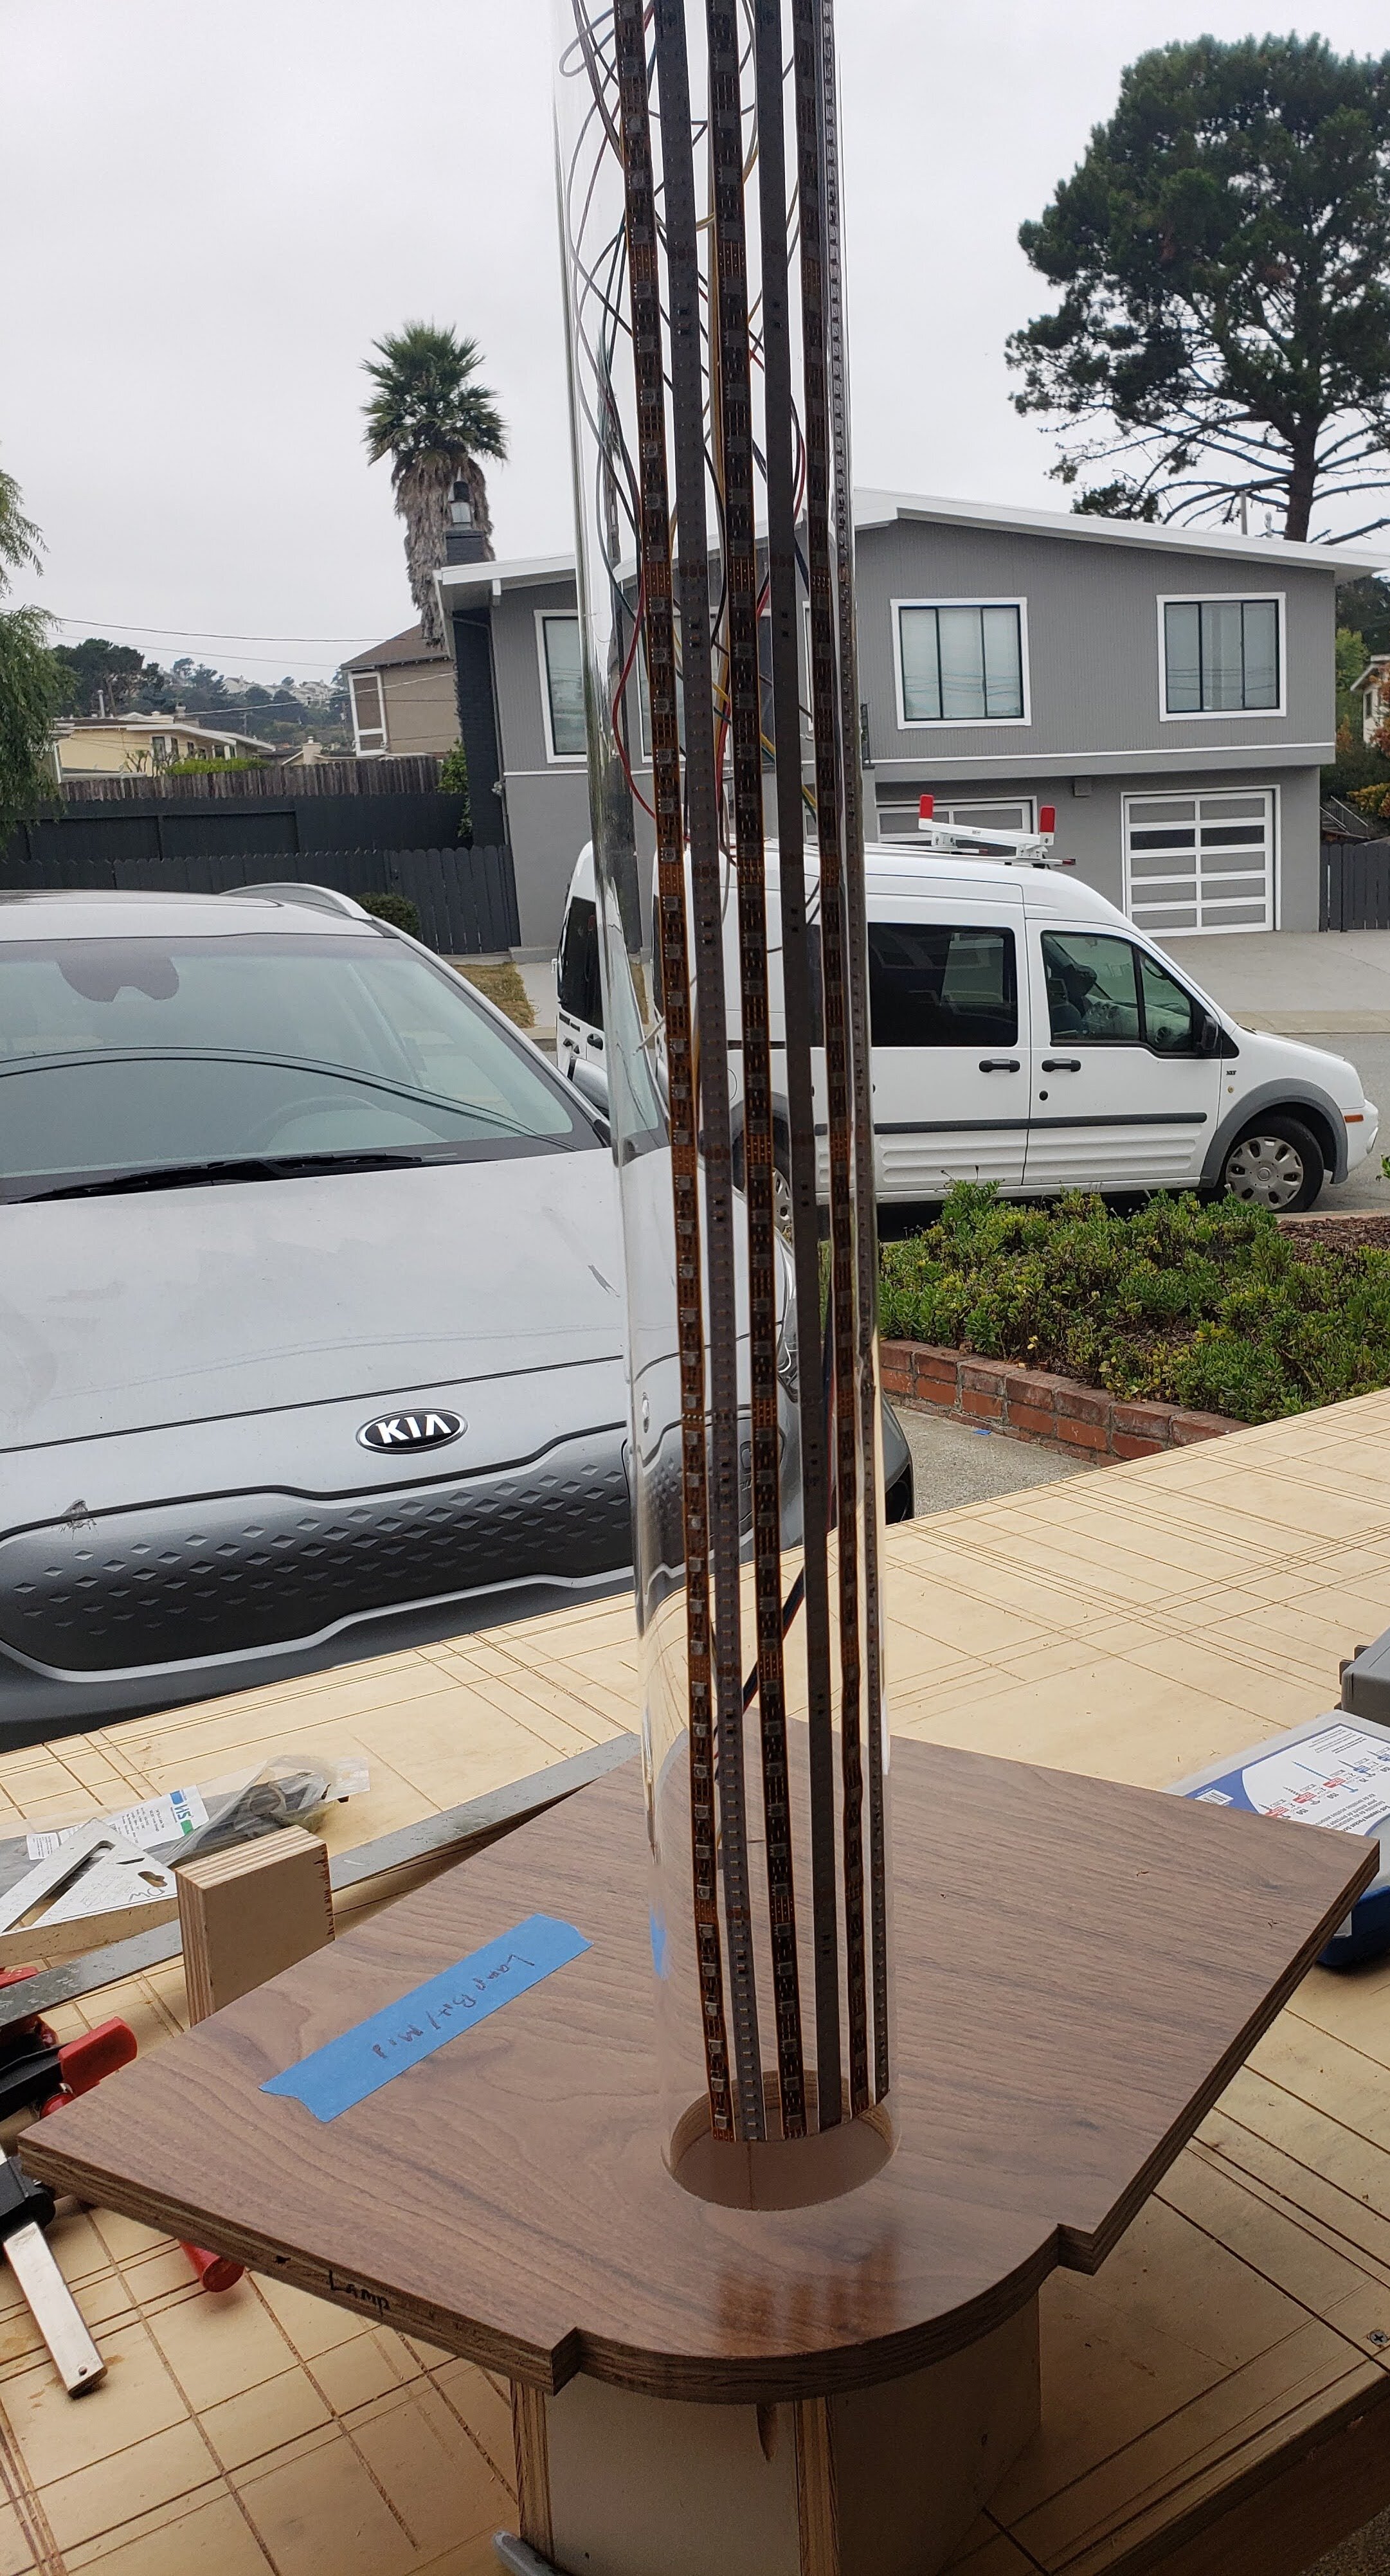
Inner Lamp Tube
The outer surface of the lamp is an architectural grade 12” diameter acrylic diffusion tube, but here we see the inner tube onto which 3 RGB and 3 tunable white LED strips are mounted, and how that in turn is attached to the middle of the lamp. The inner tube can slide completely out if needed for maintenance or repair.
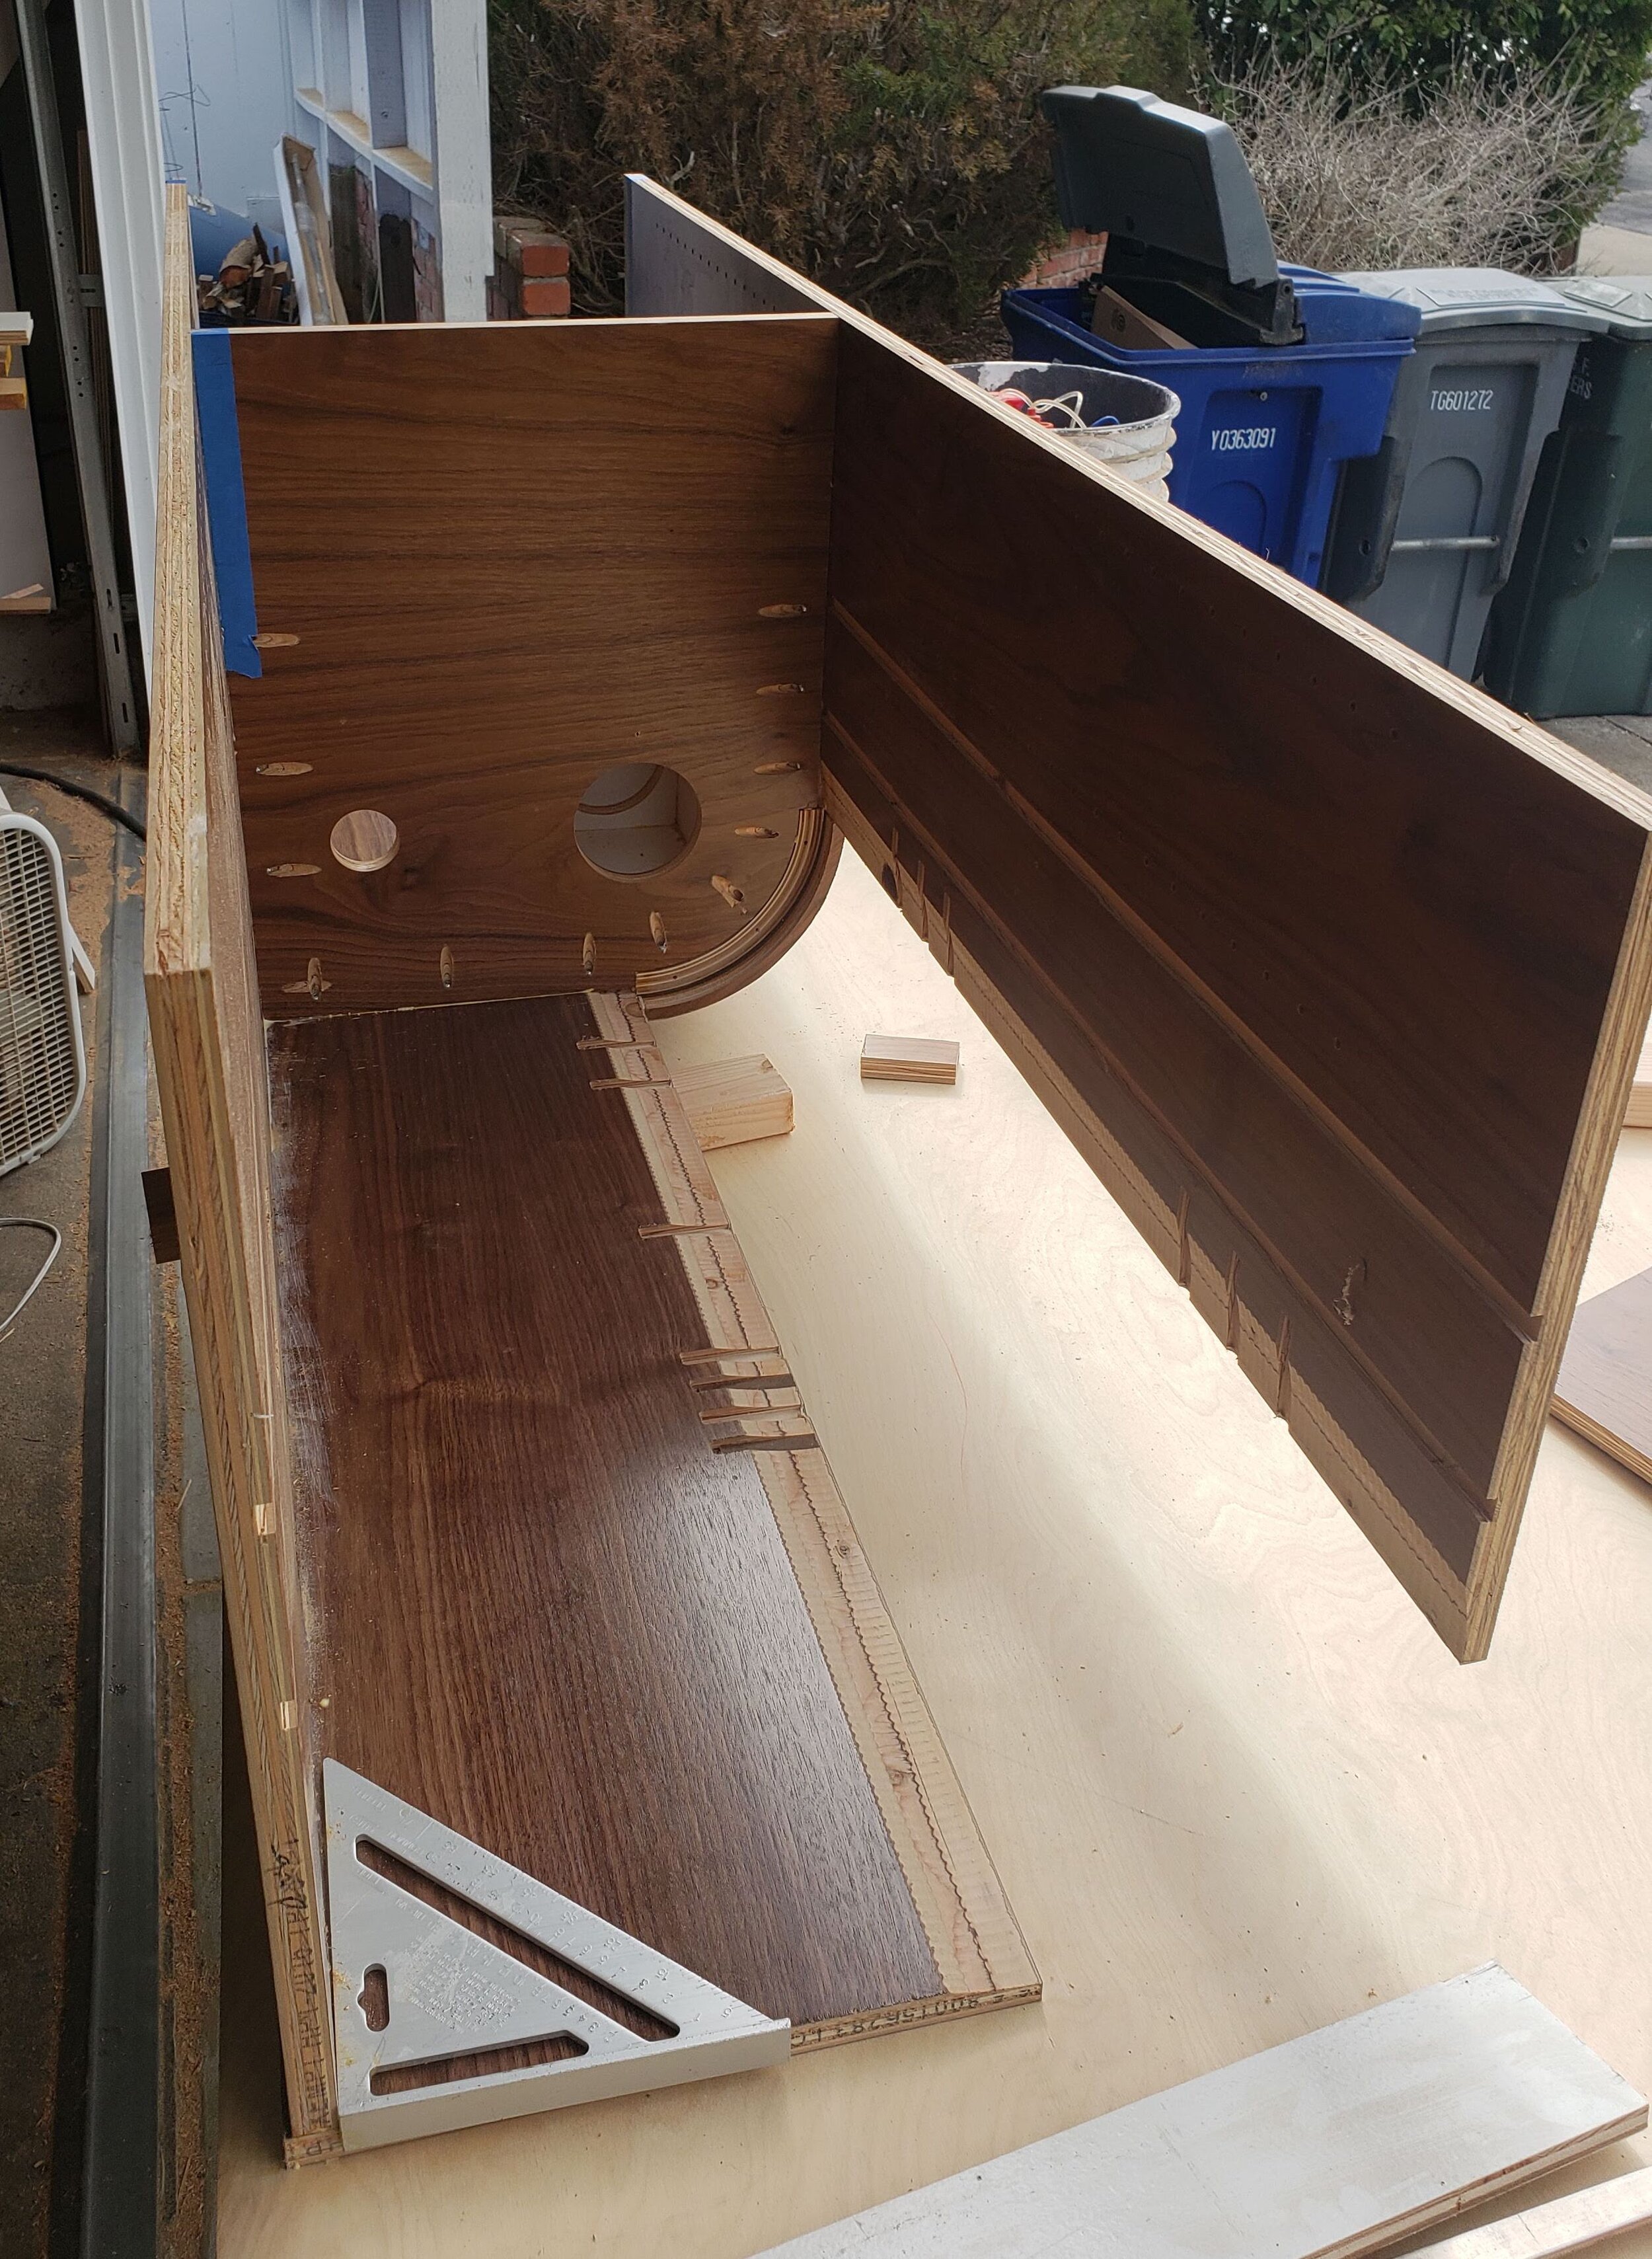
Lamp Assembly from Top
The lamp is beginning to take shape here, with most of the outer pieces assembled.
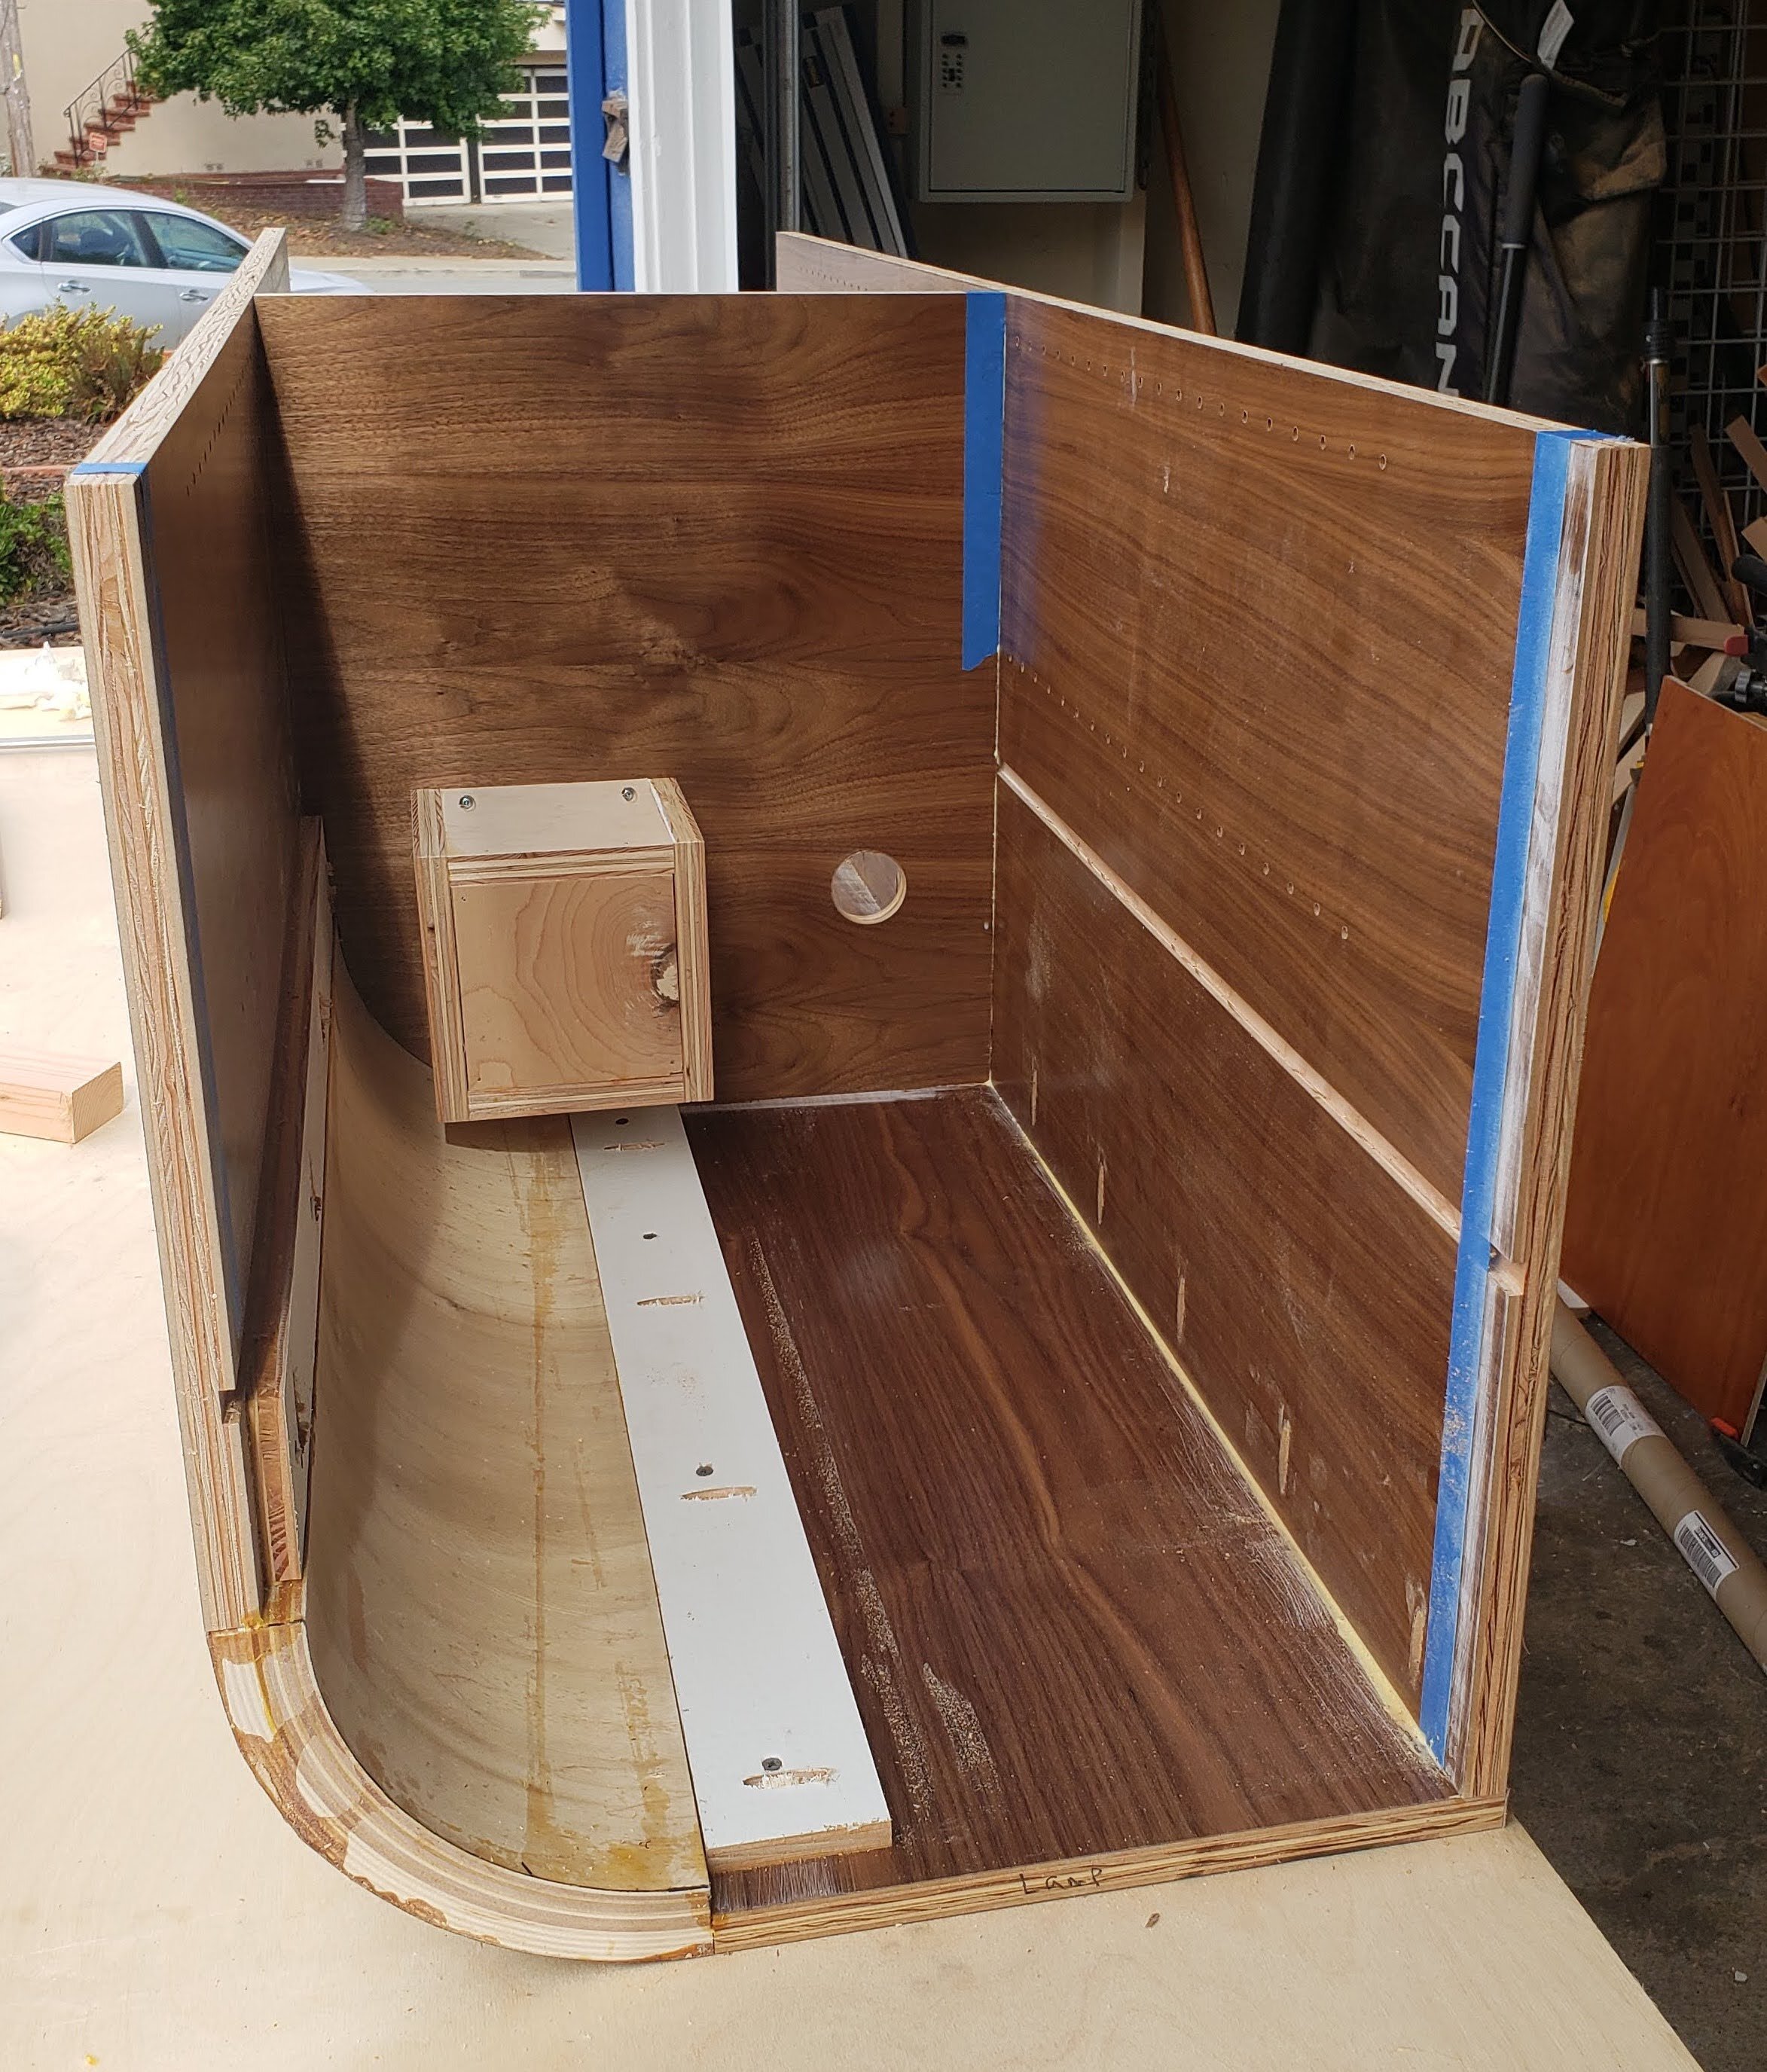
Lamp Assembly from Bottom
We can now see the lamp assembly from the bottom, with a hole for the power cord, the box to hold the lamp tube, and the thicker quarter round that I had to build up.
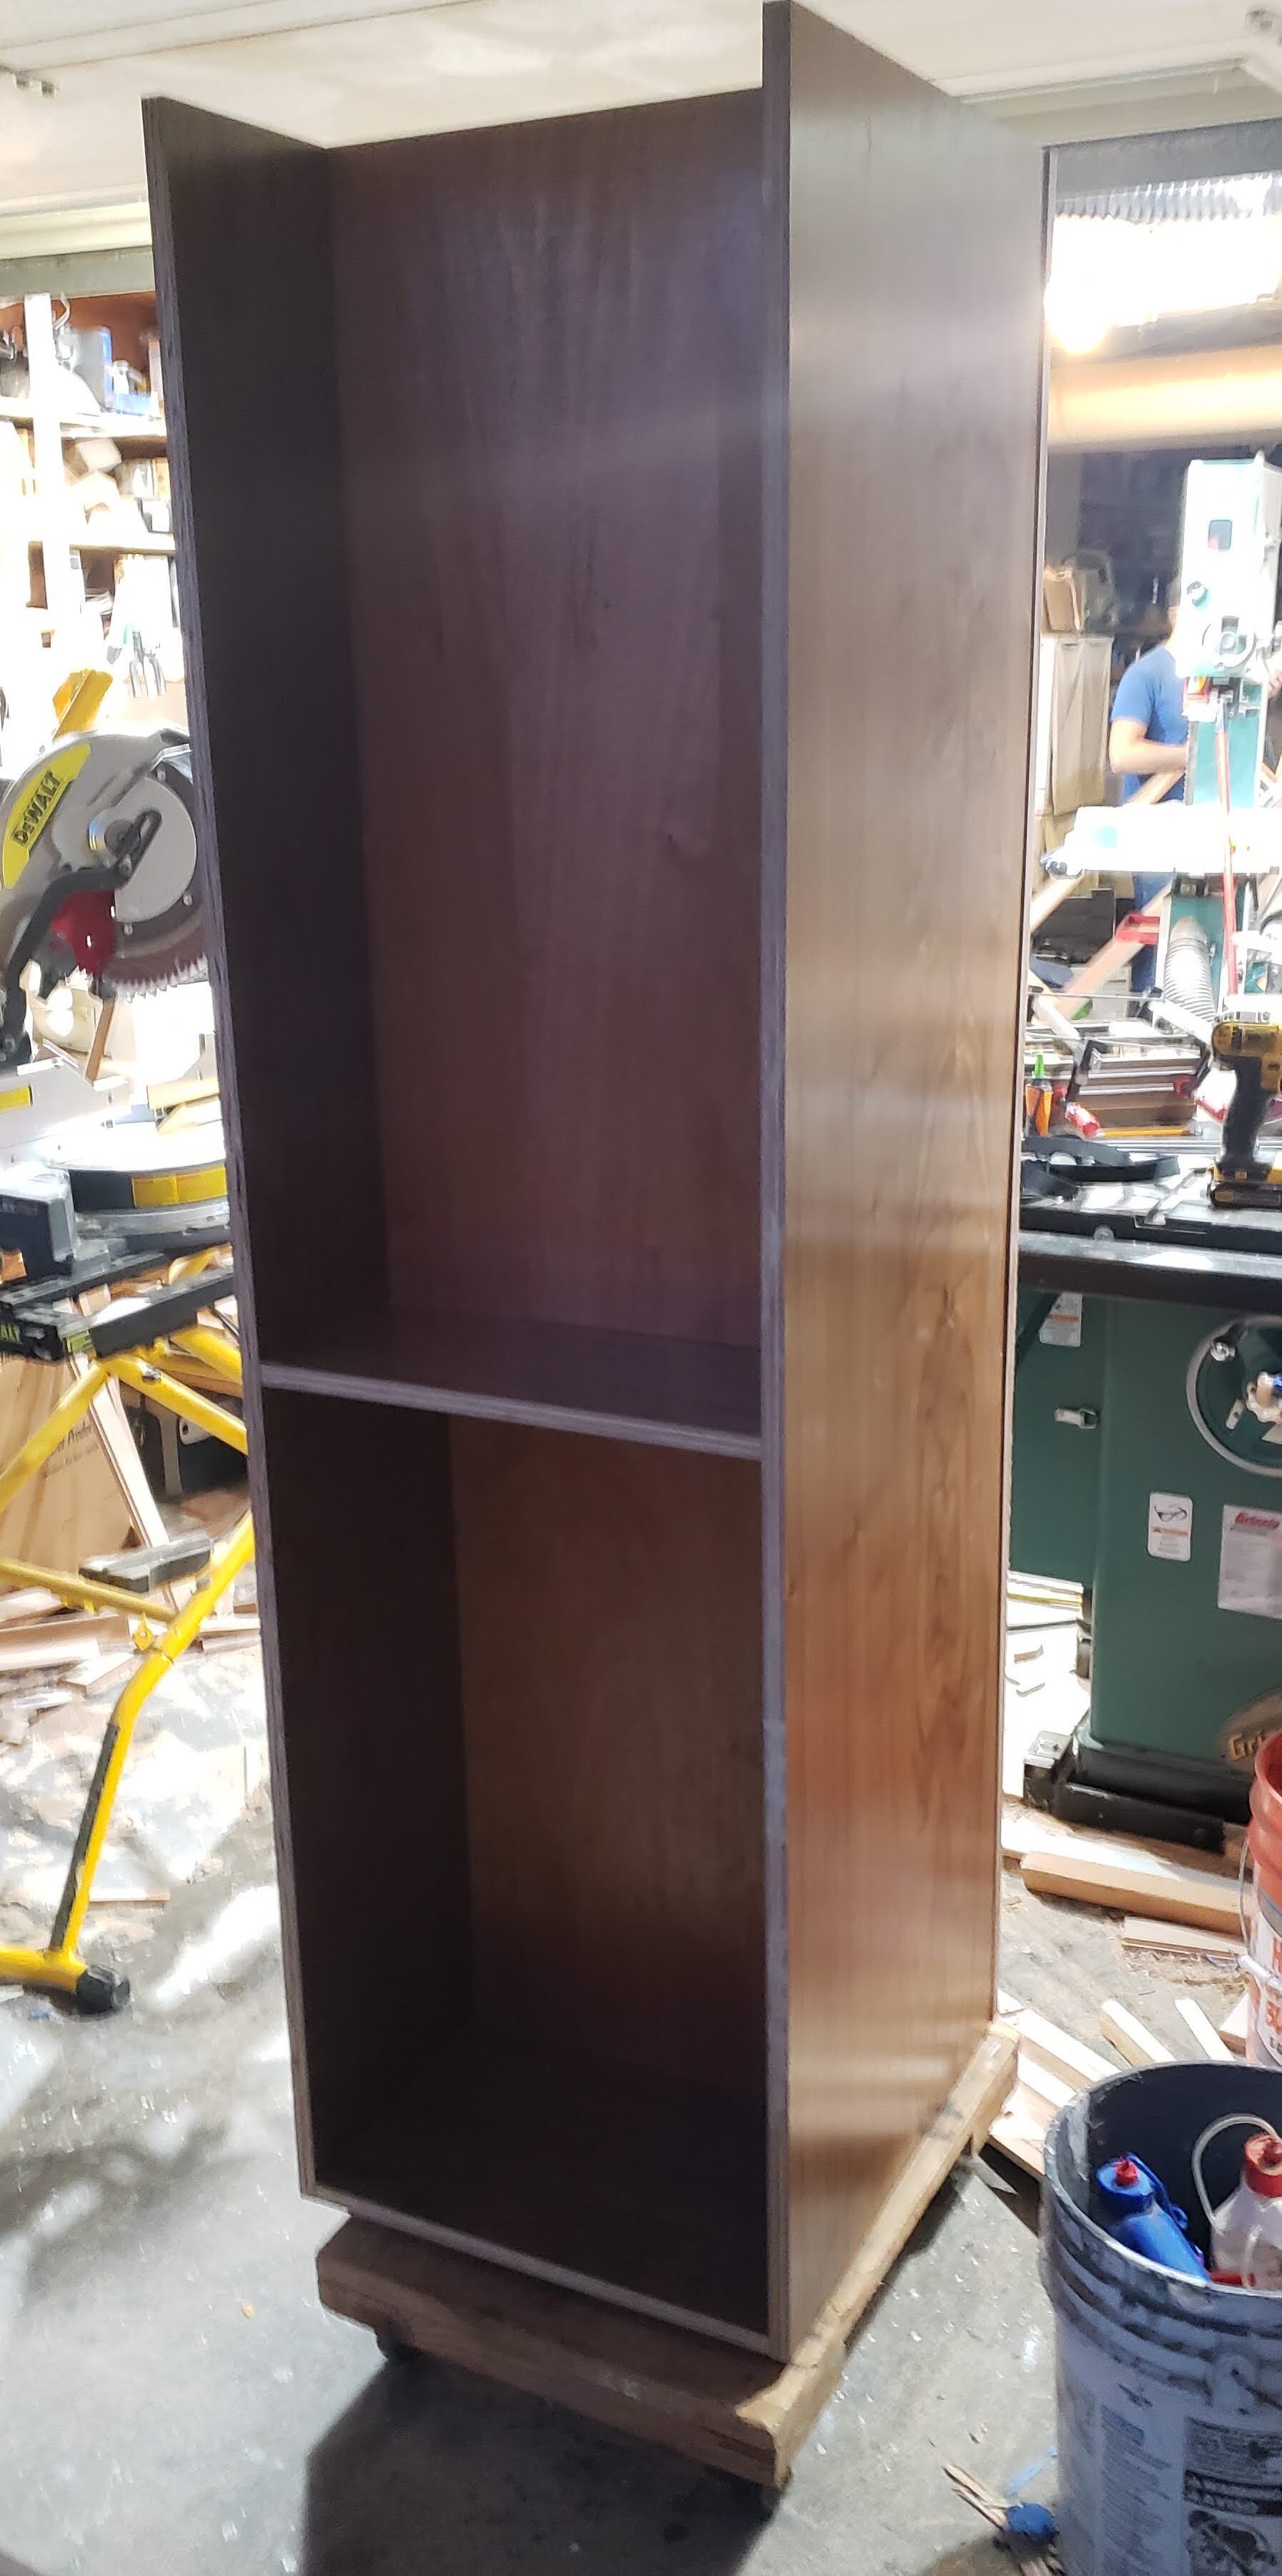
Lamp Standing Up
With the backs in place, this piece is beginning to really take shape.
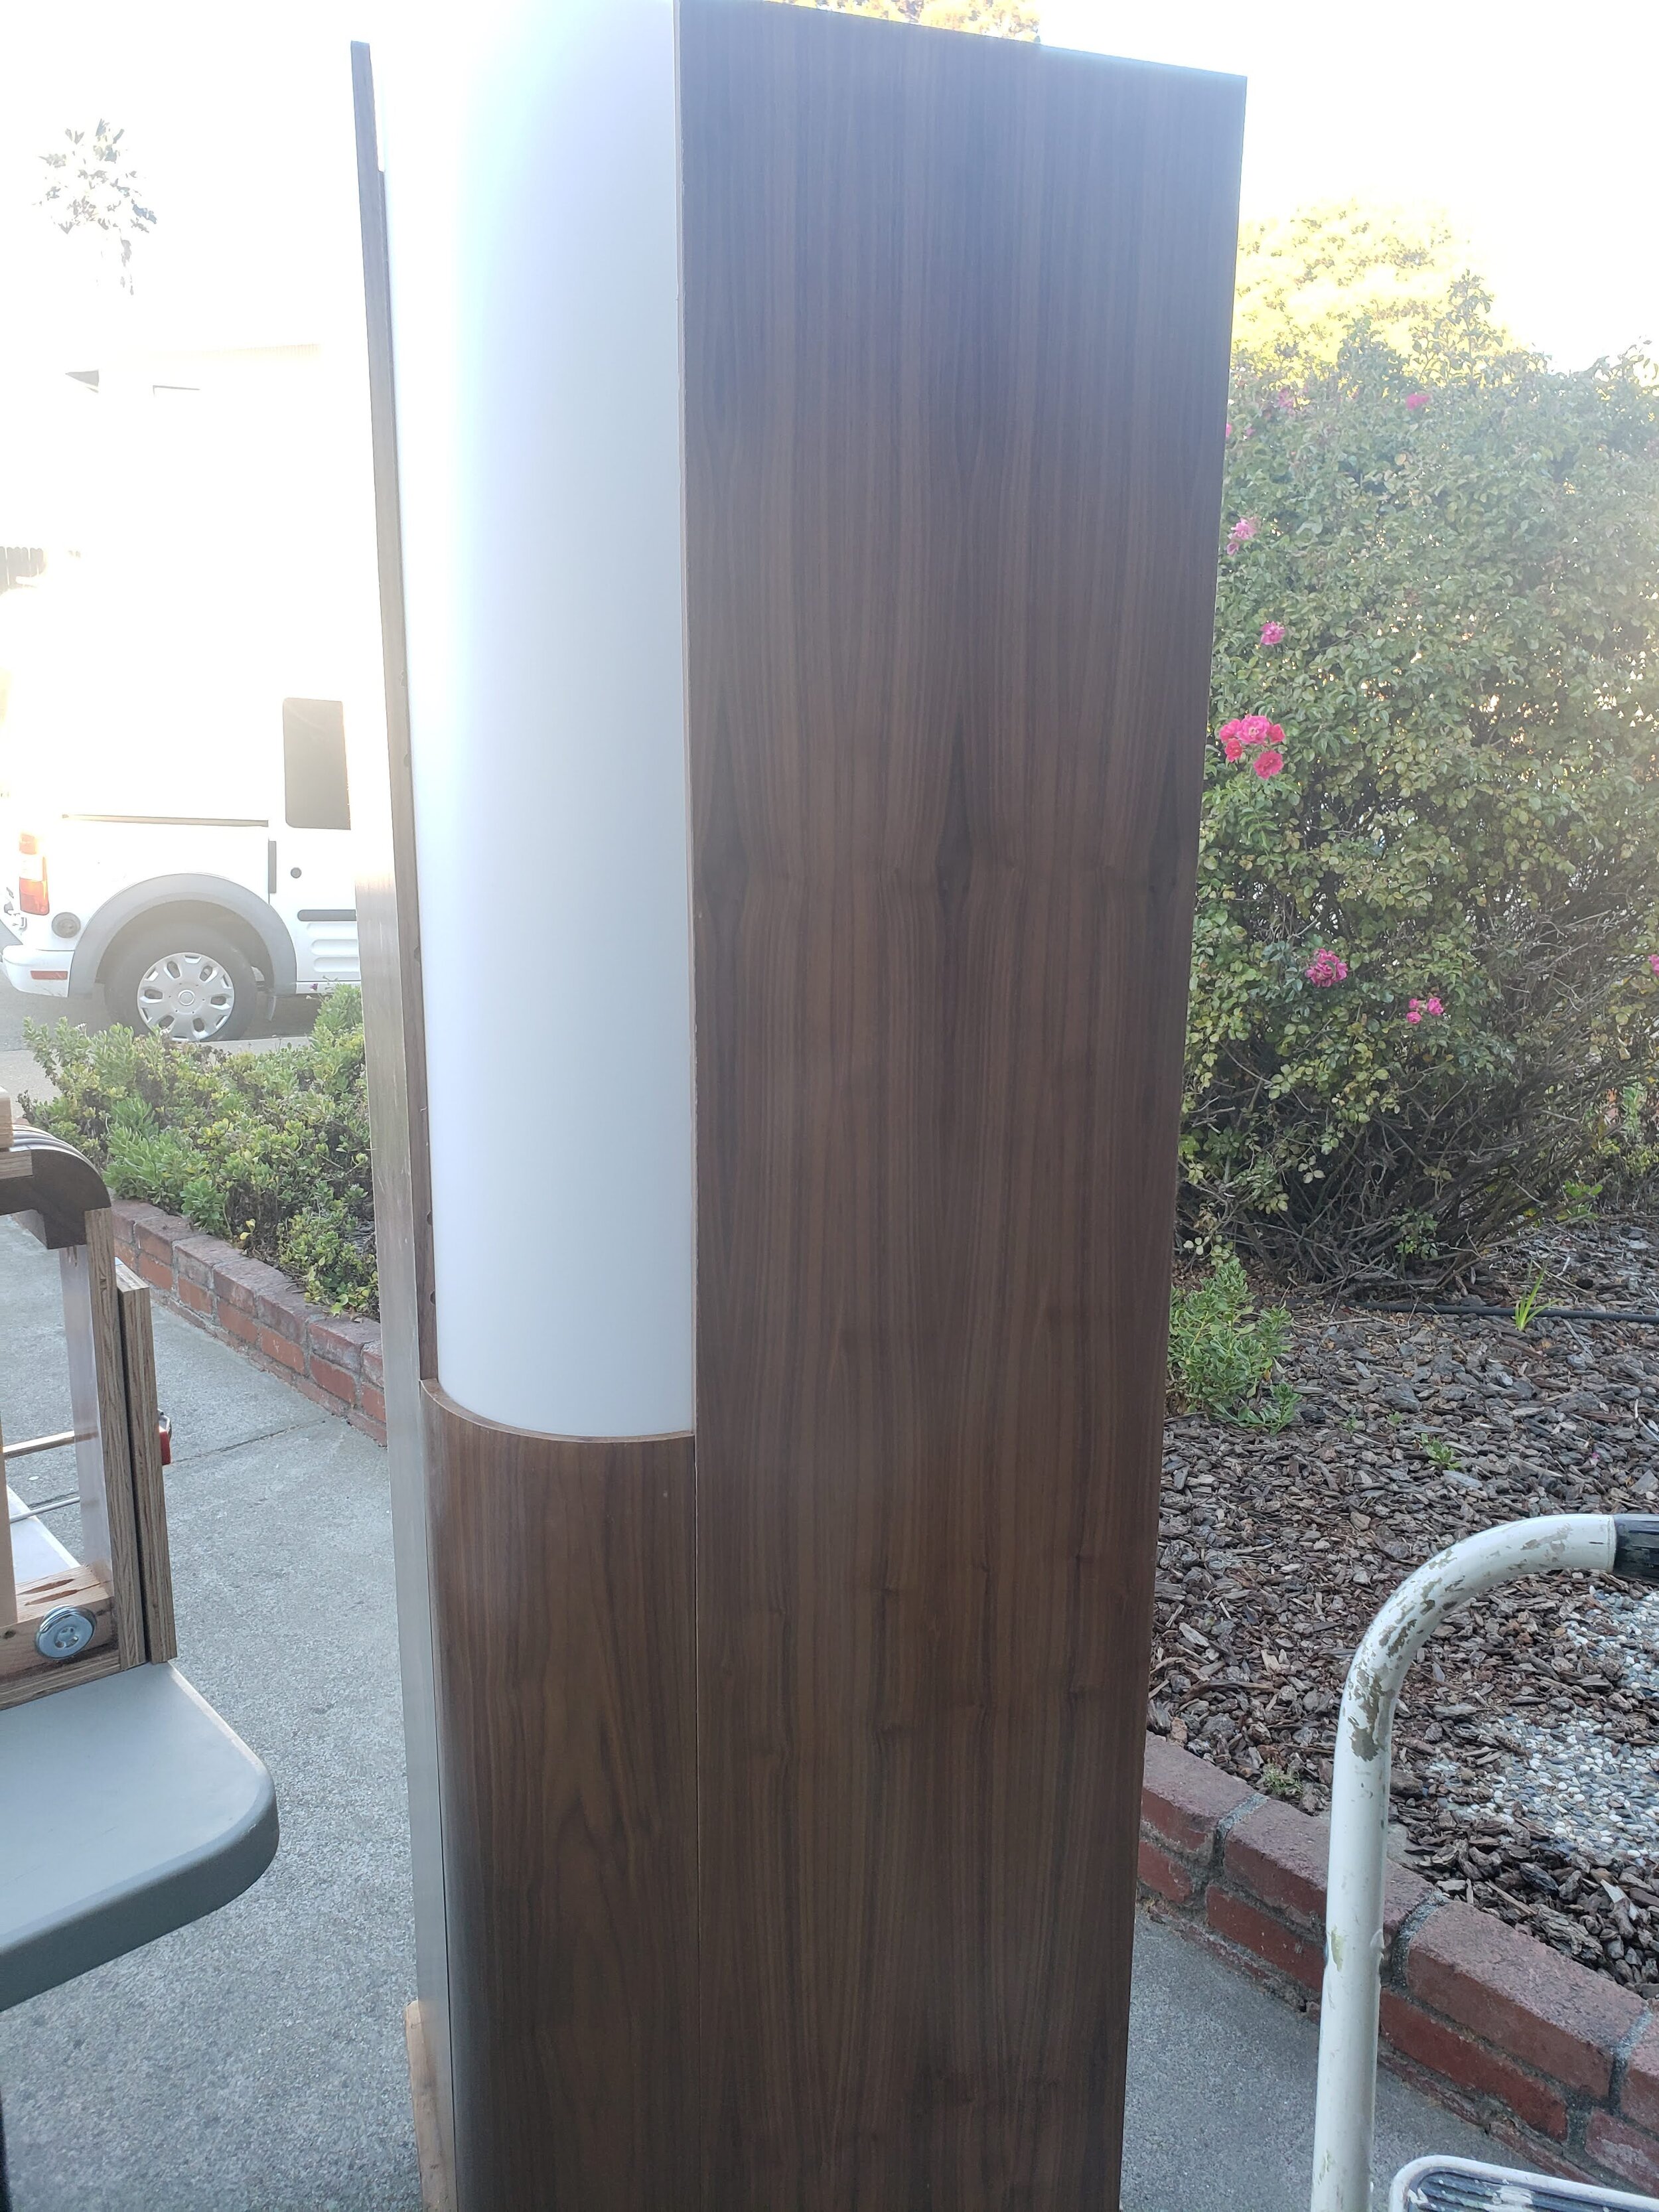
Lamp Tube Test Fit
Phew! The 12” diameter lamp tube - which is quite an expensive piece itself, about $100 per linear foot! - fits into the lamp.
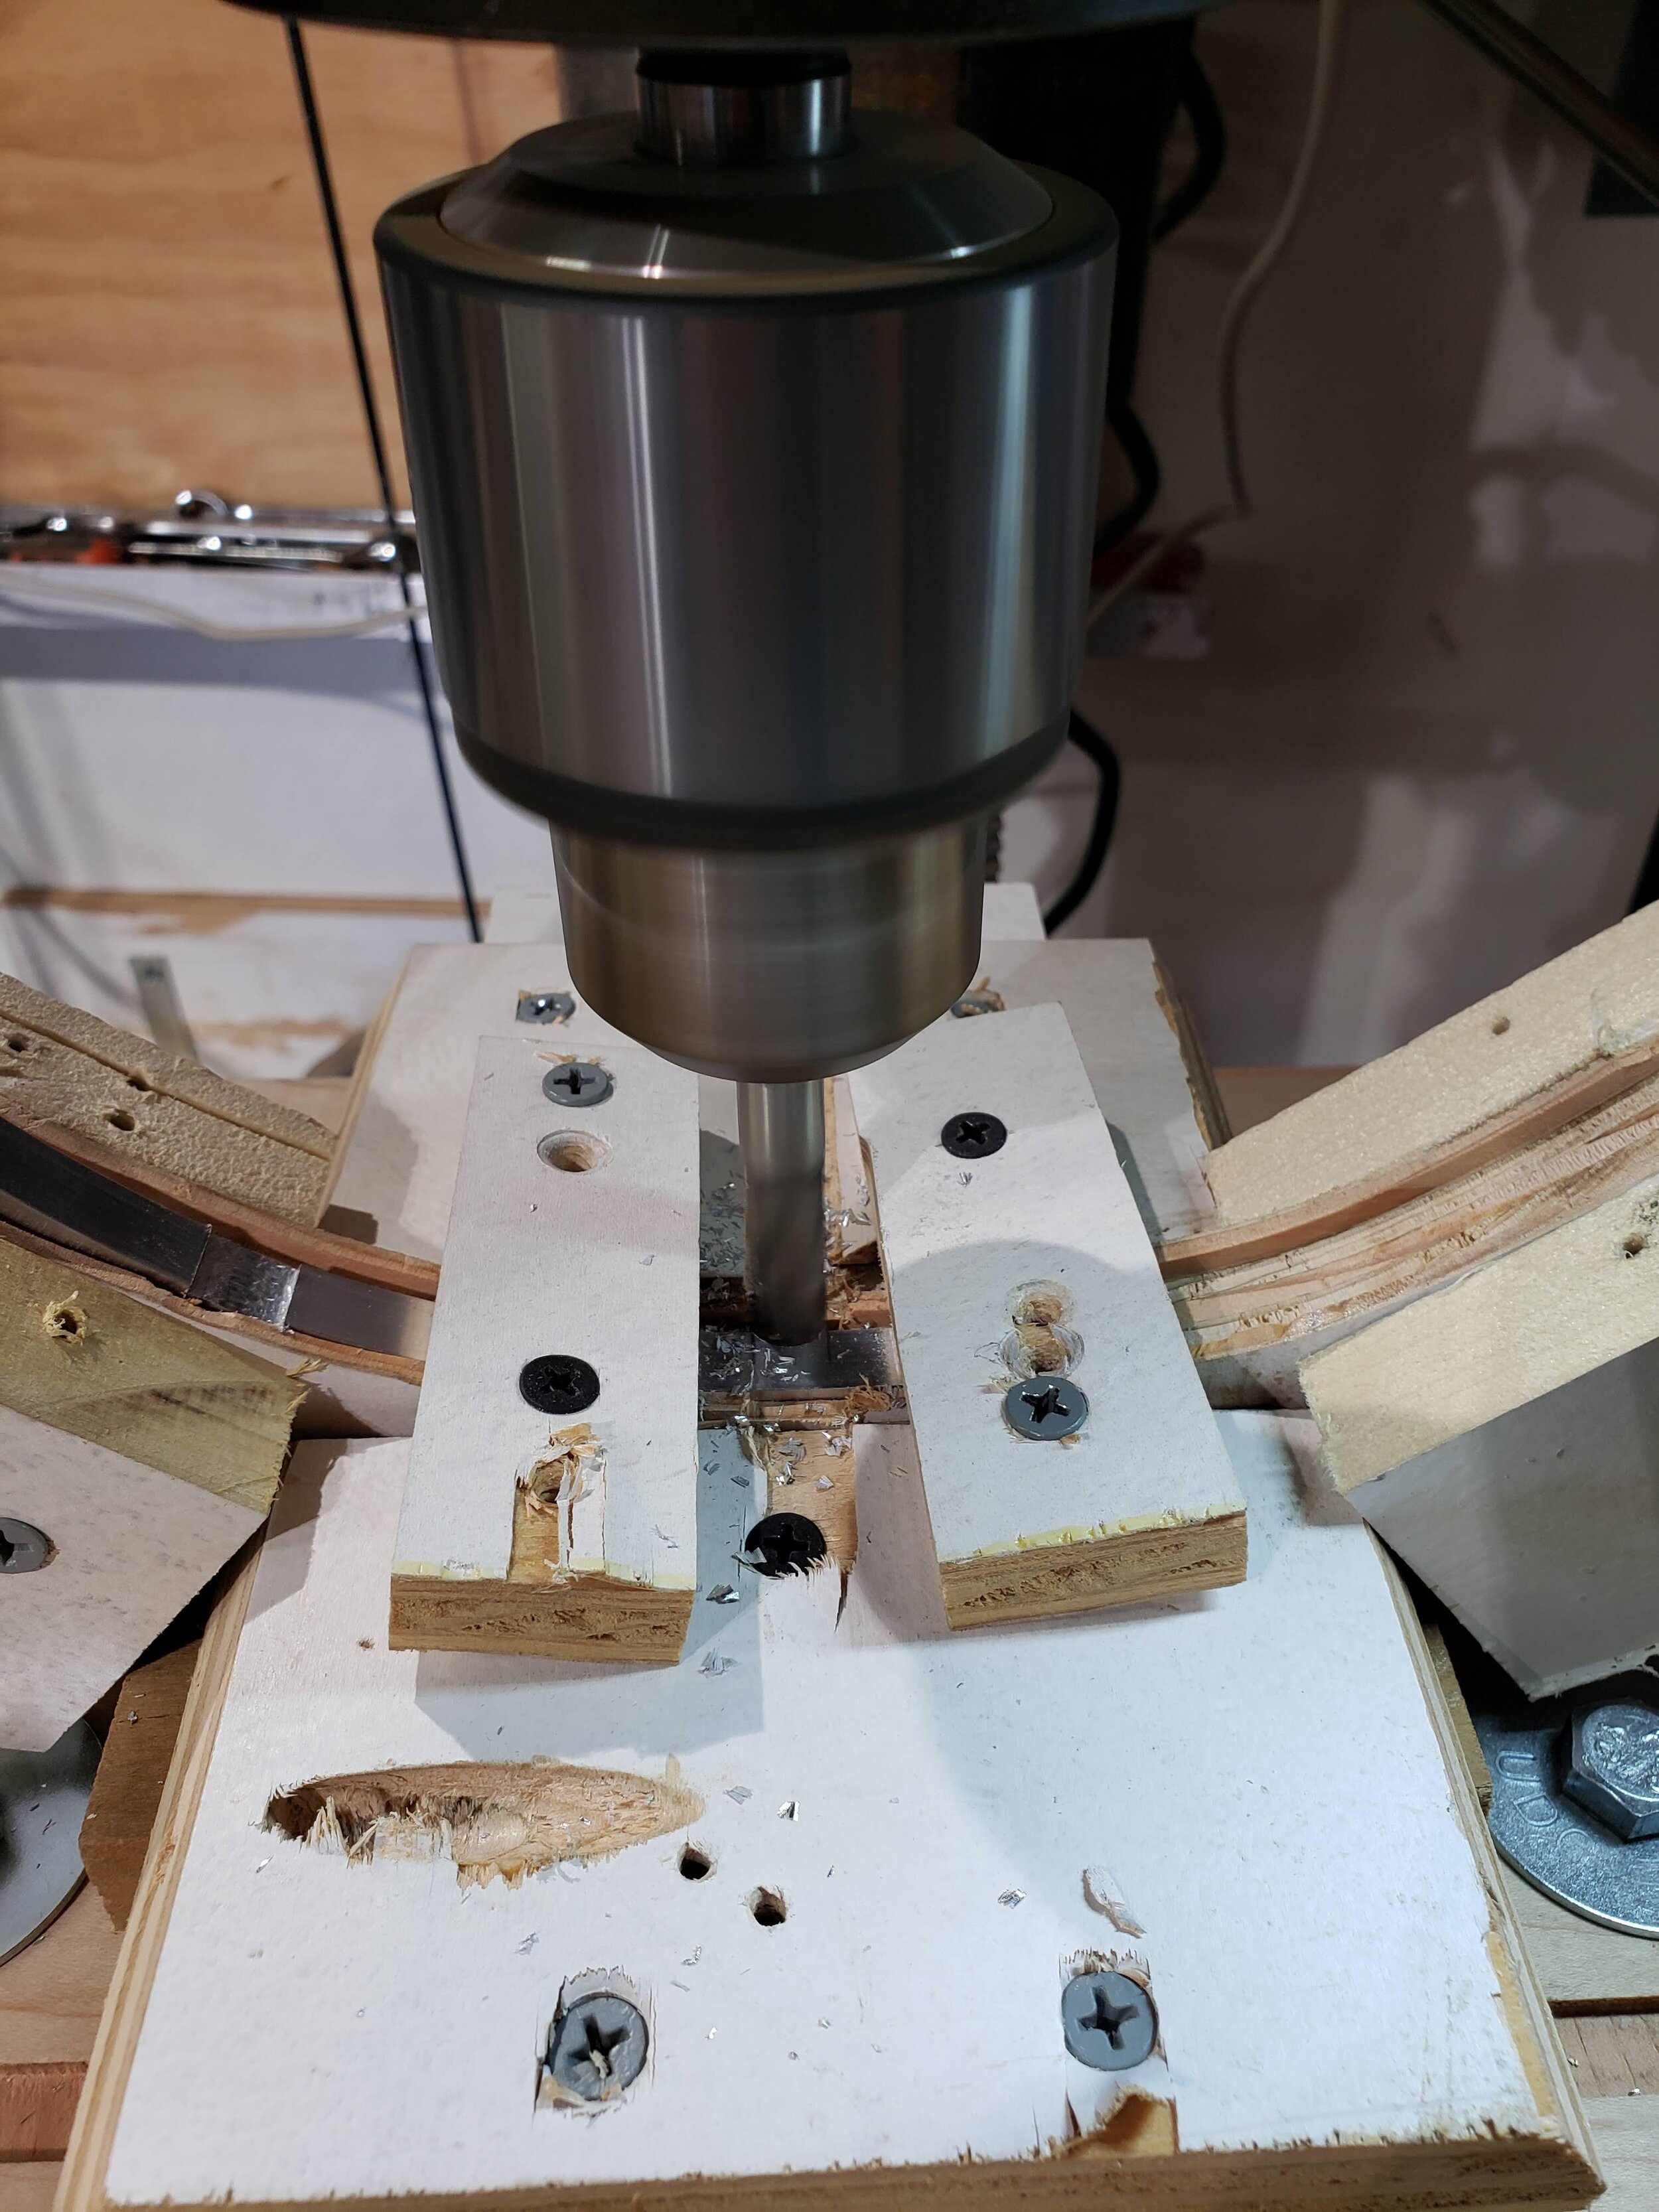
Lamp Trim Milling
Milling the aluminum pieces for the lamp trim was particularly challenging. All the intersecting pieces are essentially joined by cross-laps. The vertical pieces were fairly straightforward to mill using an end mill with my 2HP drill press and an X/Y manual milling table; this puts a lot of lateral stress on a drill press, something the machine isn’t designed for. However, my over-engineered drill press managed to survive.
The horizontal pieces, however, were much more challenging because they had to be bent to shape first. (Bending them after the milling would have been both very imprecise, and further, the bending process would essentially fold the pieces at the weakened locations of the lap joint). So I built a curved jig to hold the pieces tight and then mounted that jig to the X/Y milling table.
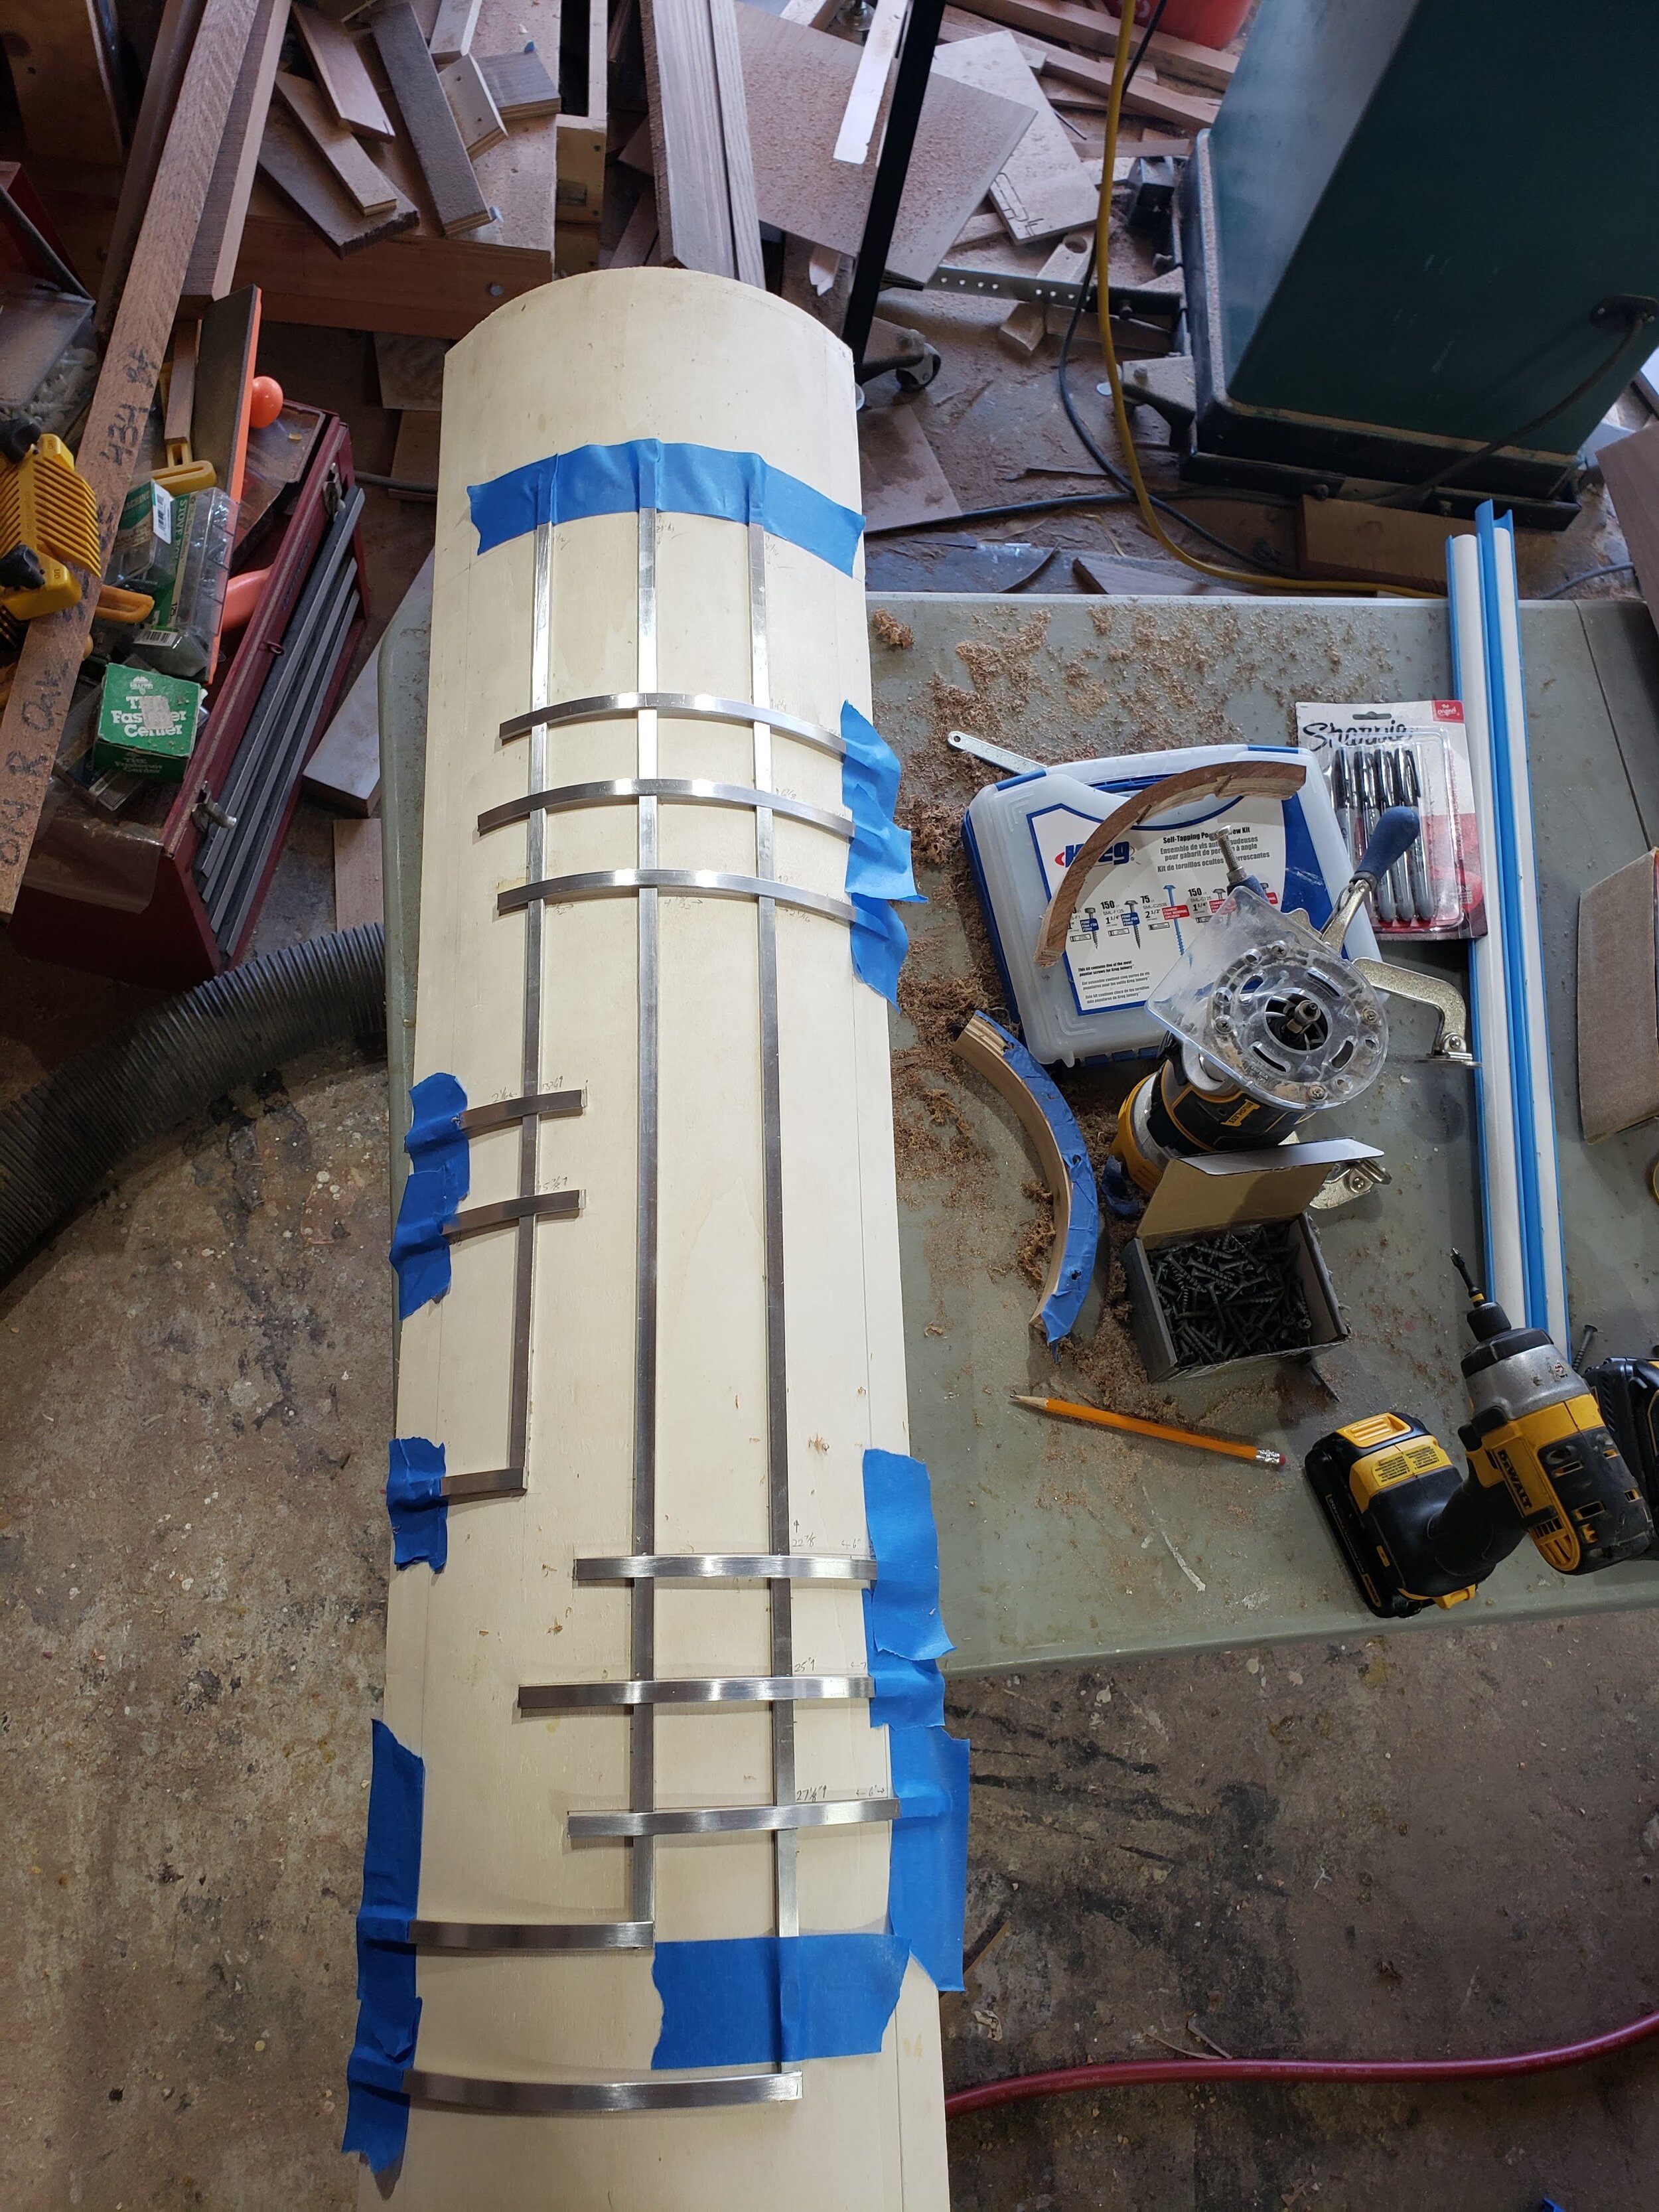
Lamp Form
I had created this form for the trim, transferred from the drawing to a piece of 1/8” bendy plywood onto which I could test the fit before gluing the trim to the lamp.
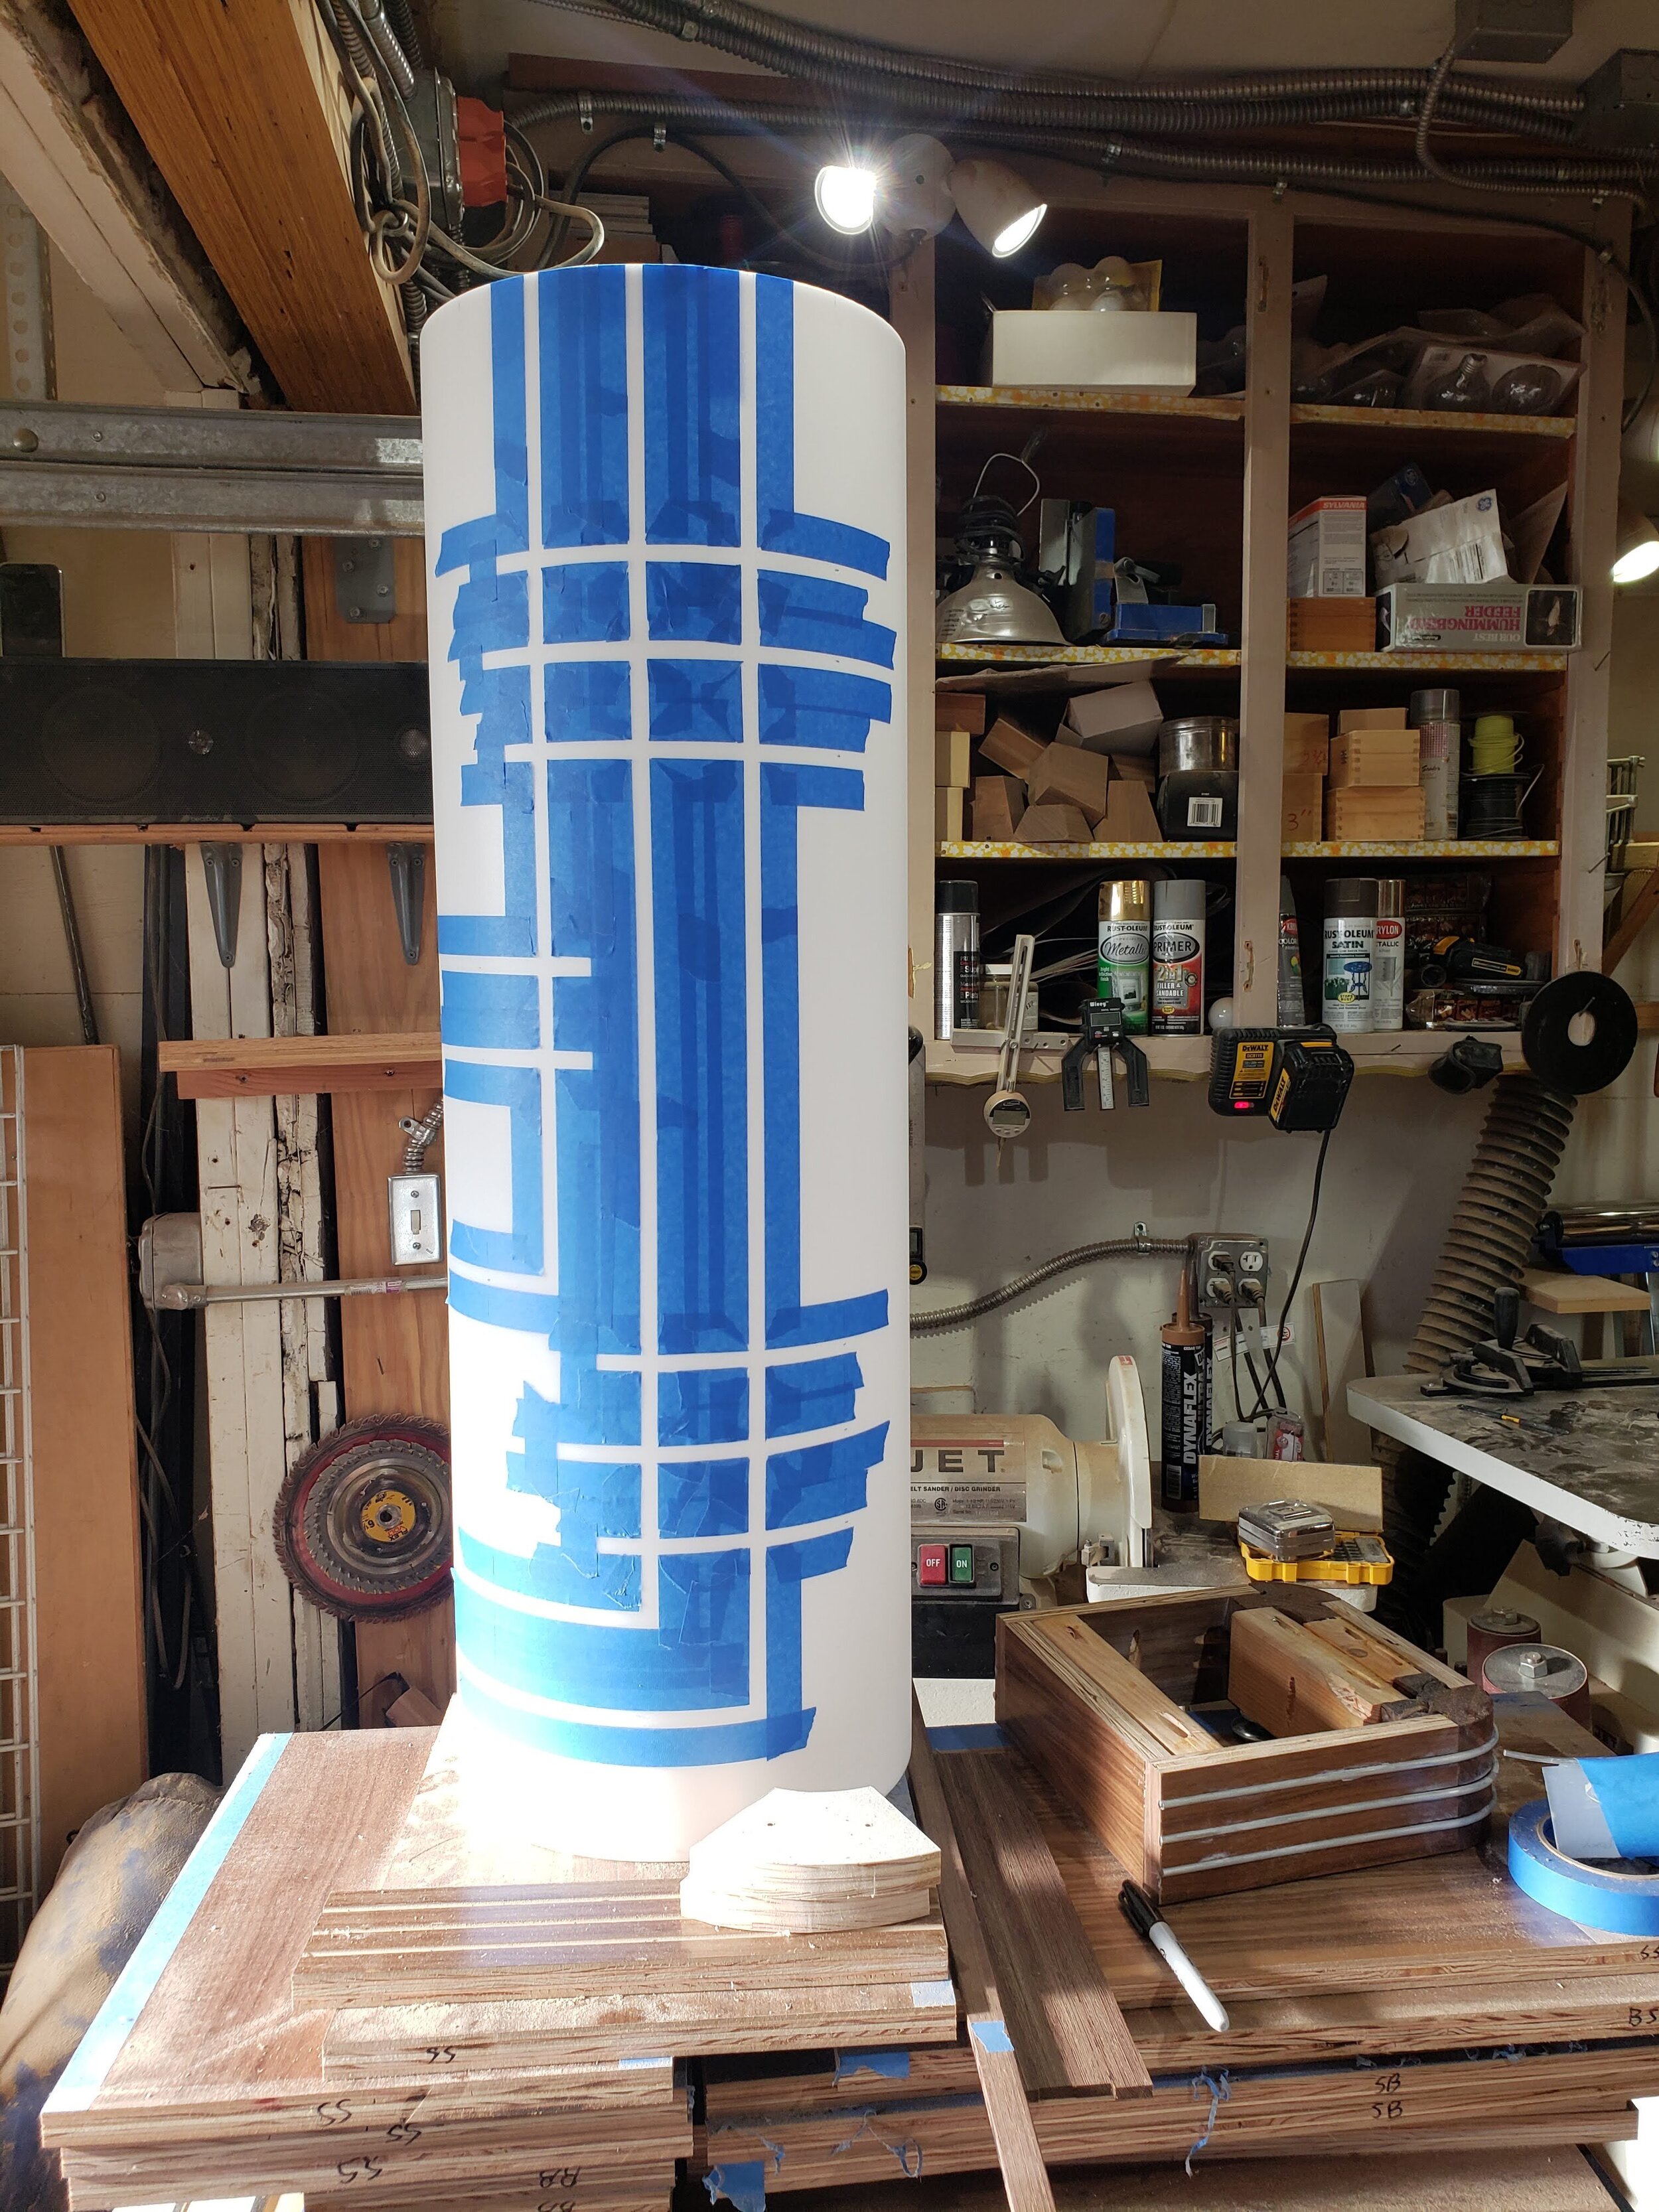
Glue Preparation
Having tested a number of adhesives with the acrylic tube, I found a glue that worked well. Unfortunately, however, this specialized glue has a very short cure time, and - though not quite watery, is still too-easily spread to (and damaging to) areas that do not need glue.
So, prior to gluing, I first create a negative on the lamp using painters tape that can be easily peeled off. This serves as both safety for the tube, and a guide for where to deposit the glue.
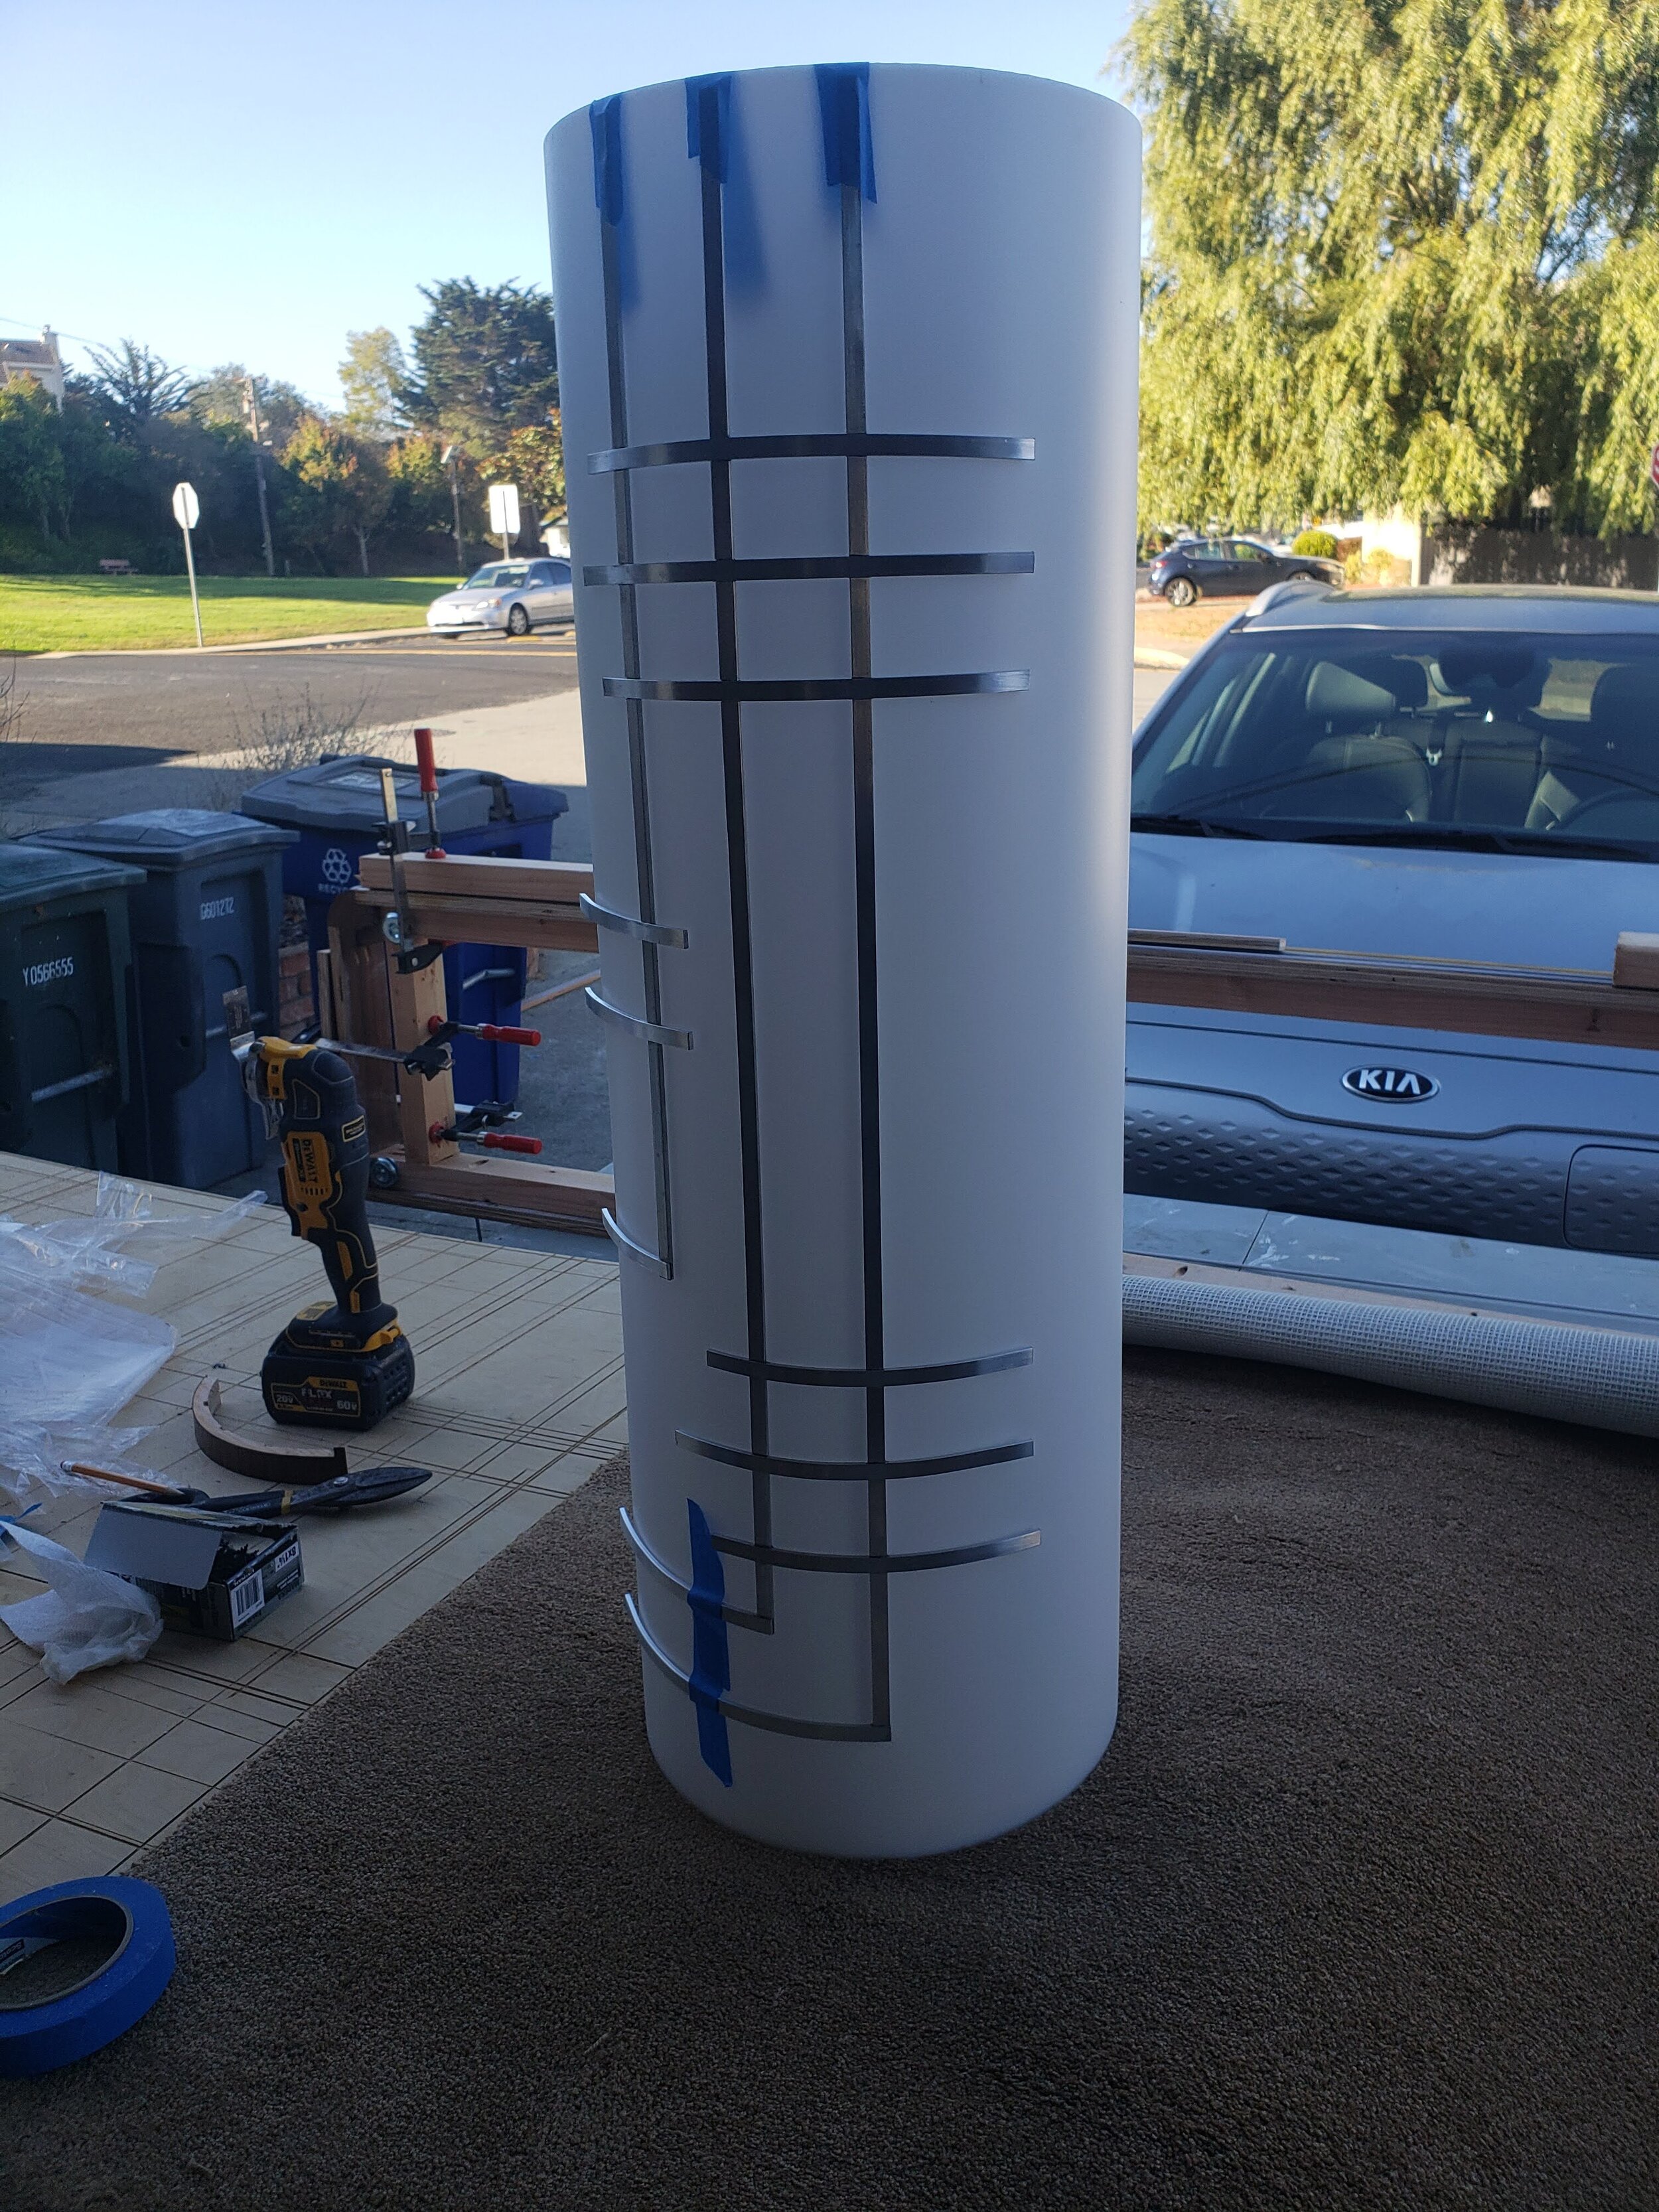
Lamp Trim Attached
After a stressful hour gluing, and then a couple hours removing the tape, we have success! The trim is securely fastened to the lamp tube.
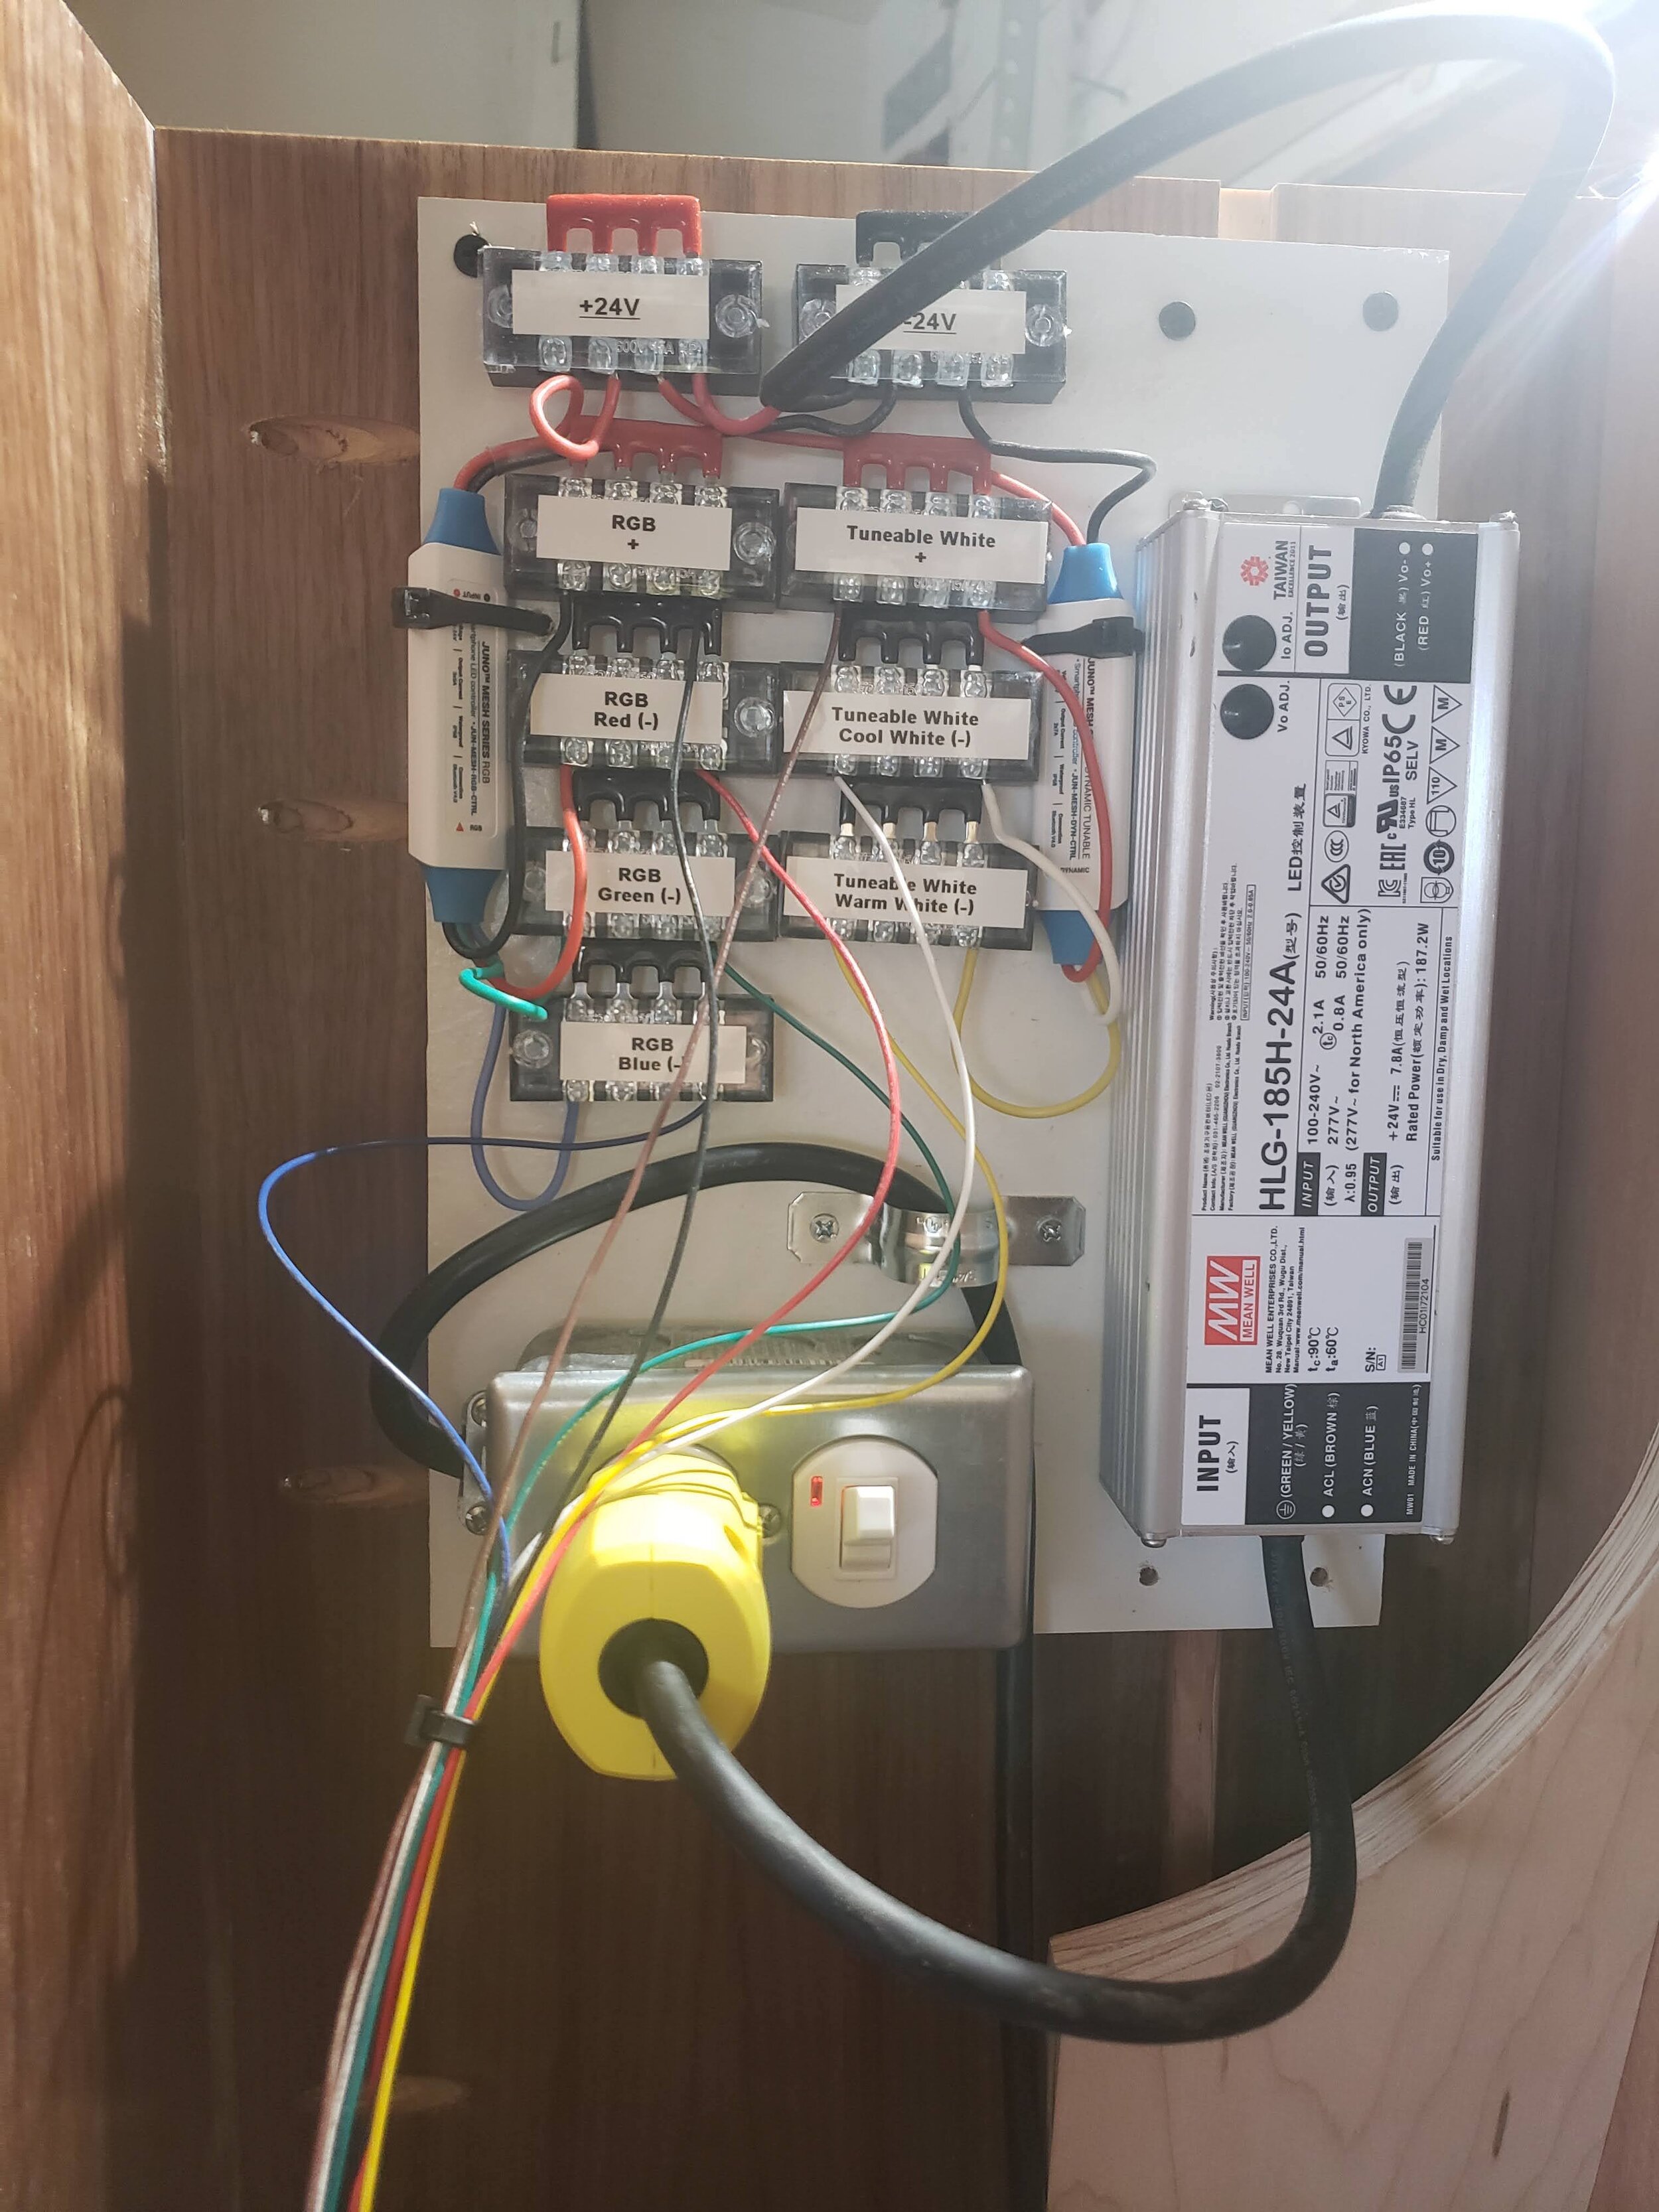
Wiring It Up
As one of the final steps with the lamp, I’m now able to wire all the LED strips together; I do this using terminal blocks and a standard outlet switch, again for maintainability.
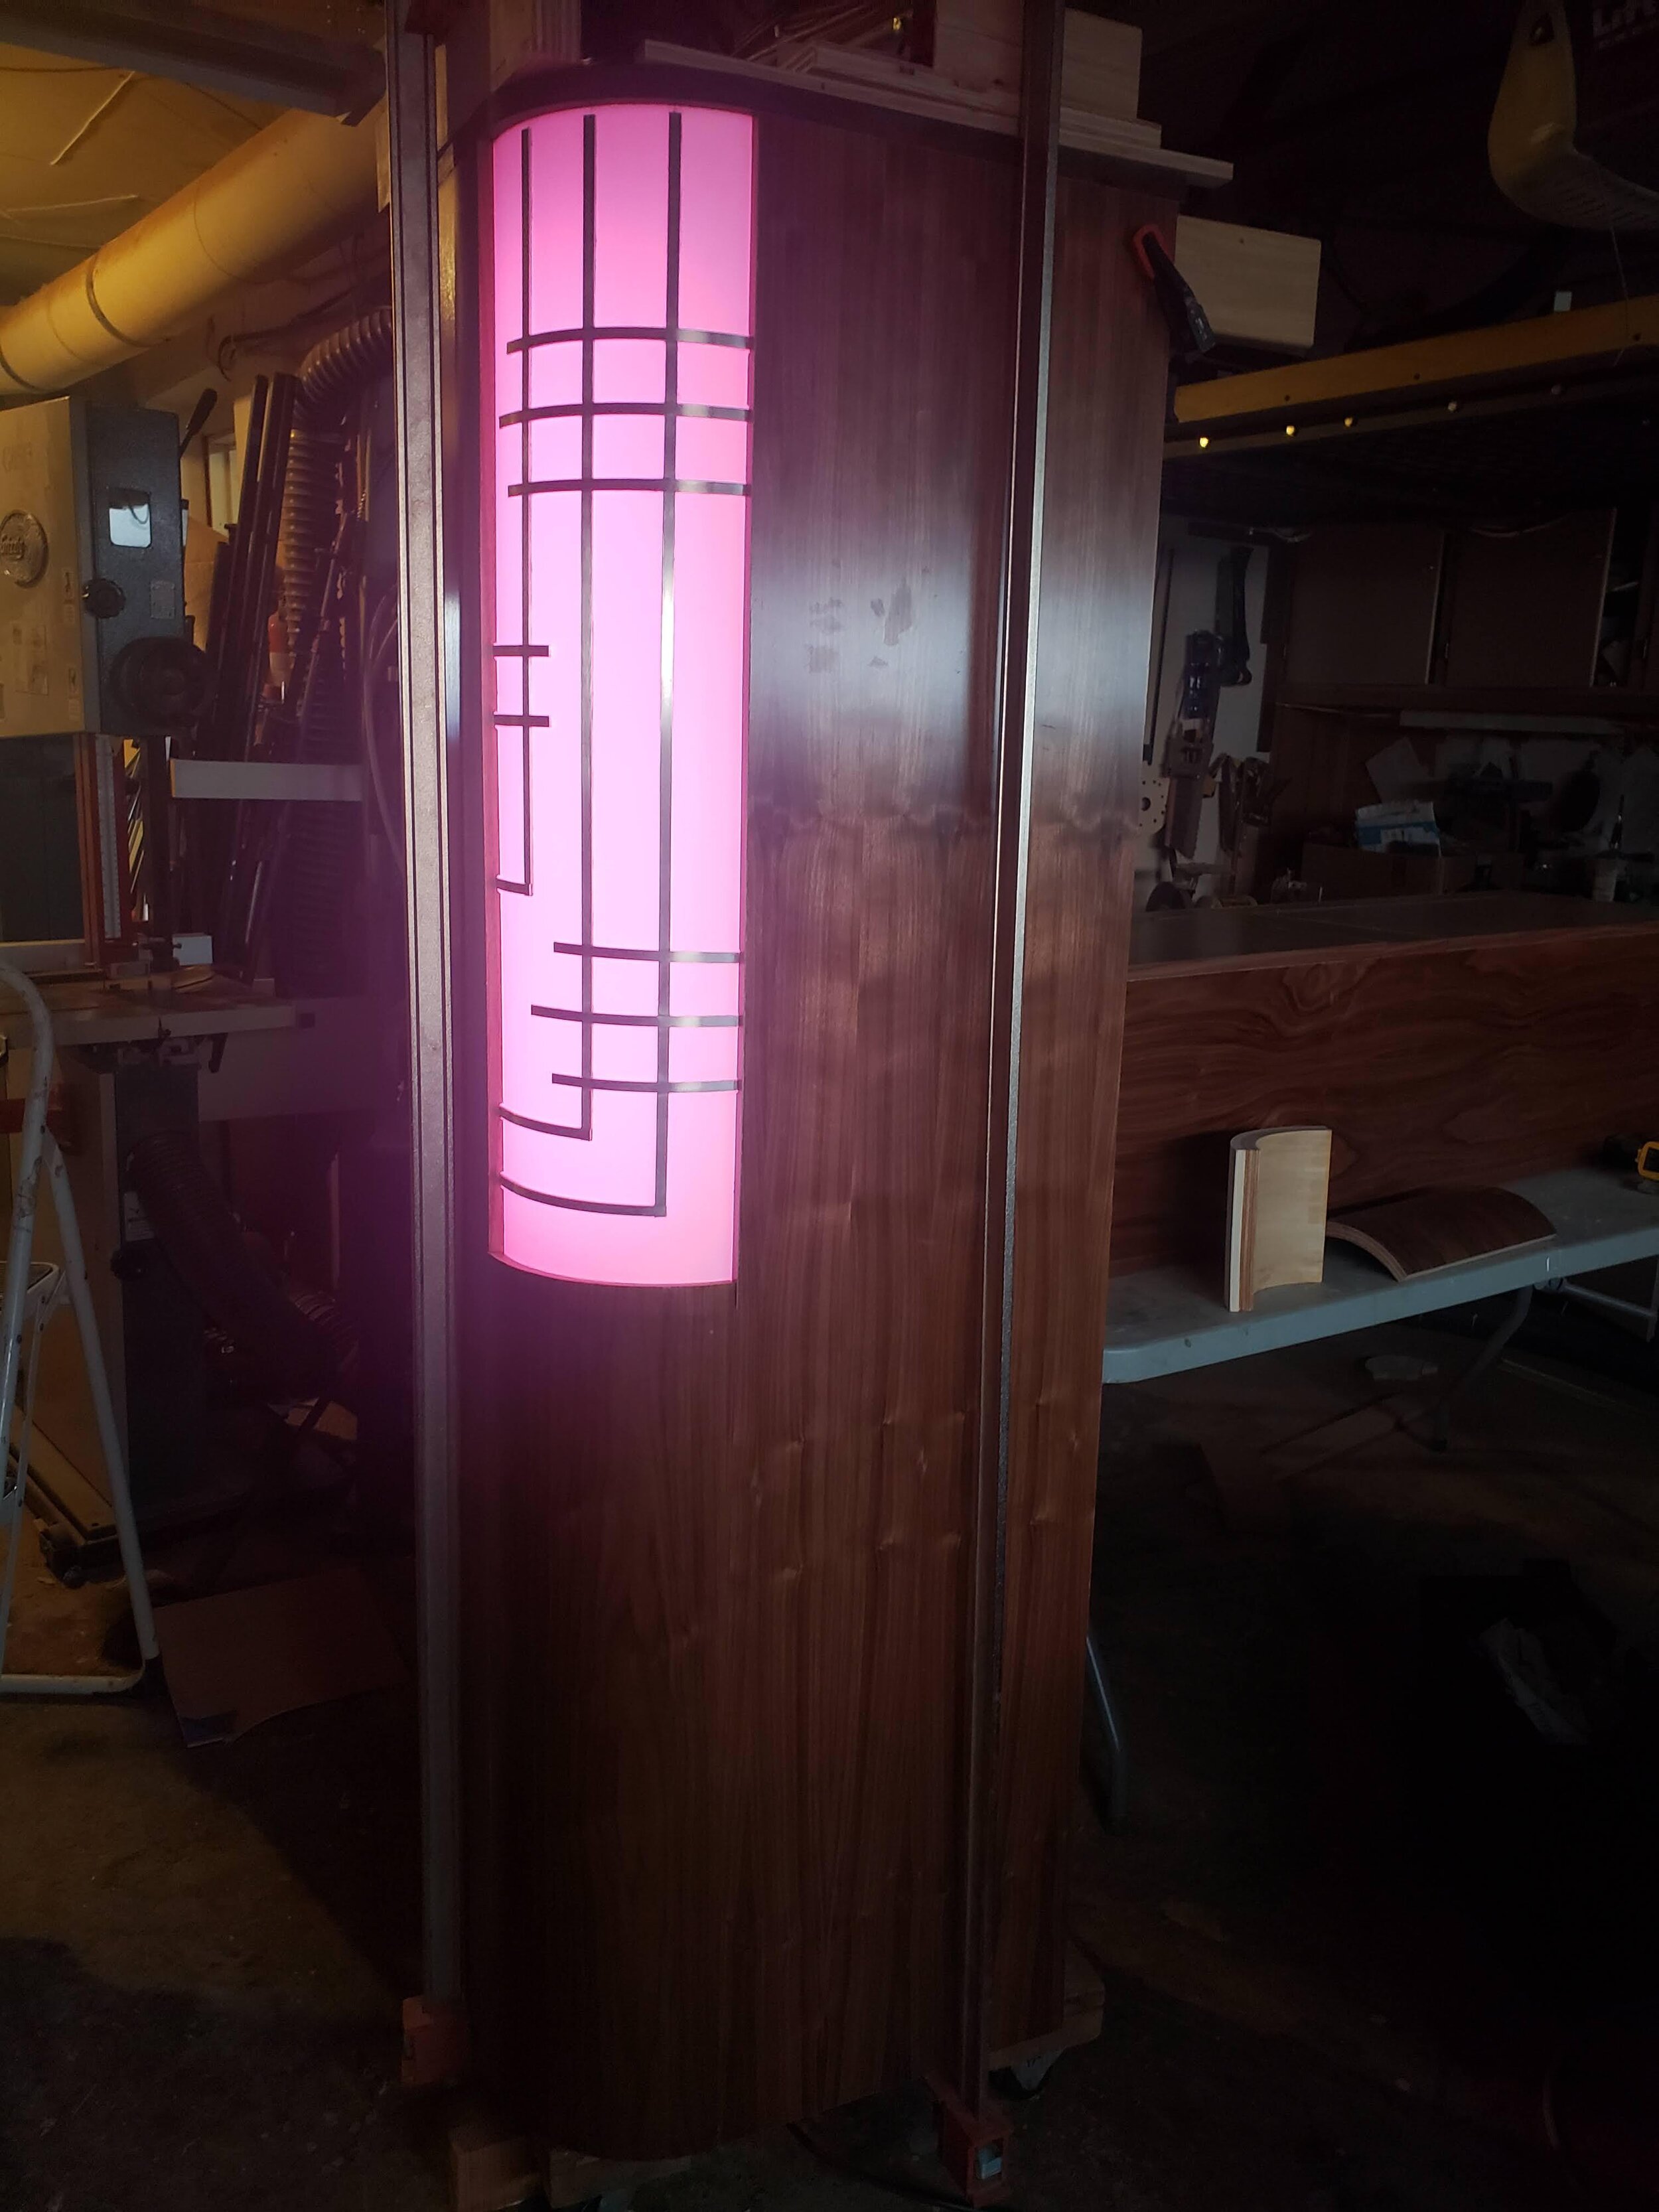
Lamp Completed
I really like the lamp, so much so that I contemplate cancelling the project and keeping it for myself! But, alas, I do not have enough space in my home for the next six pieces as well, and I guess I do have a contract with the client.
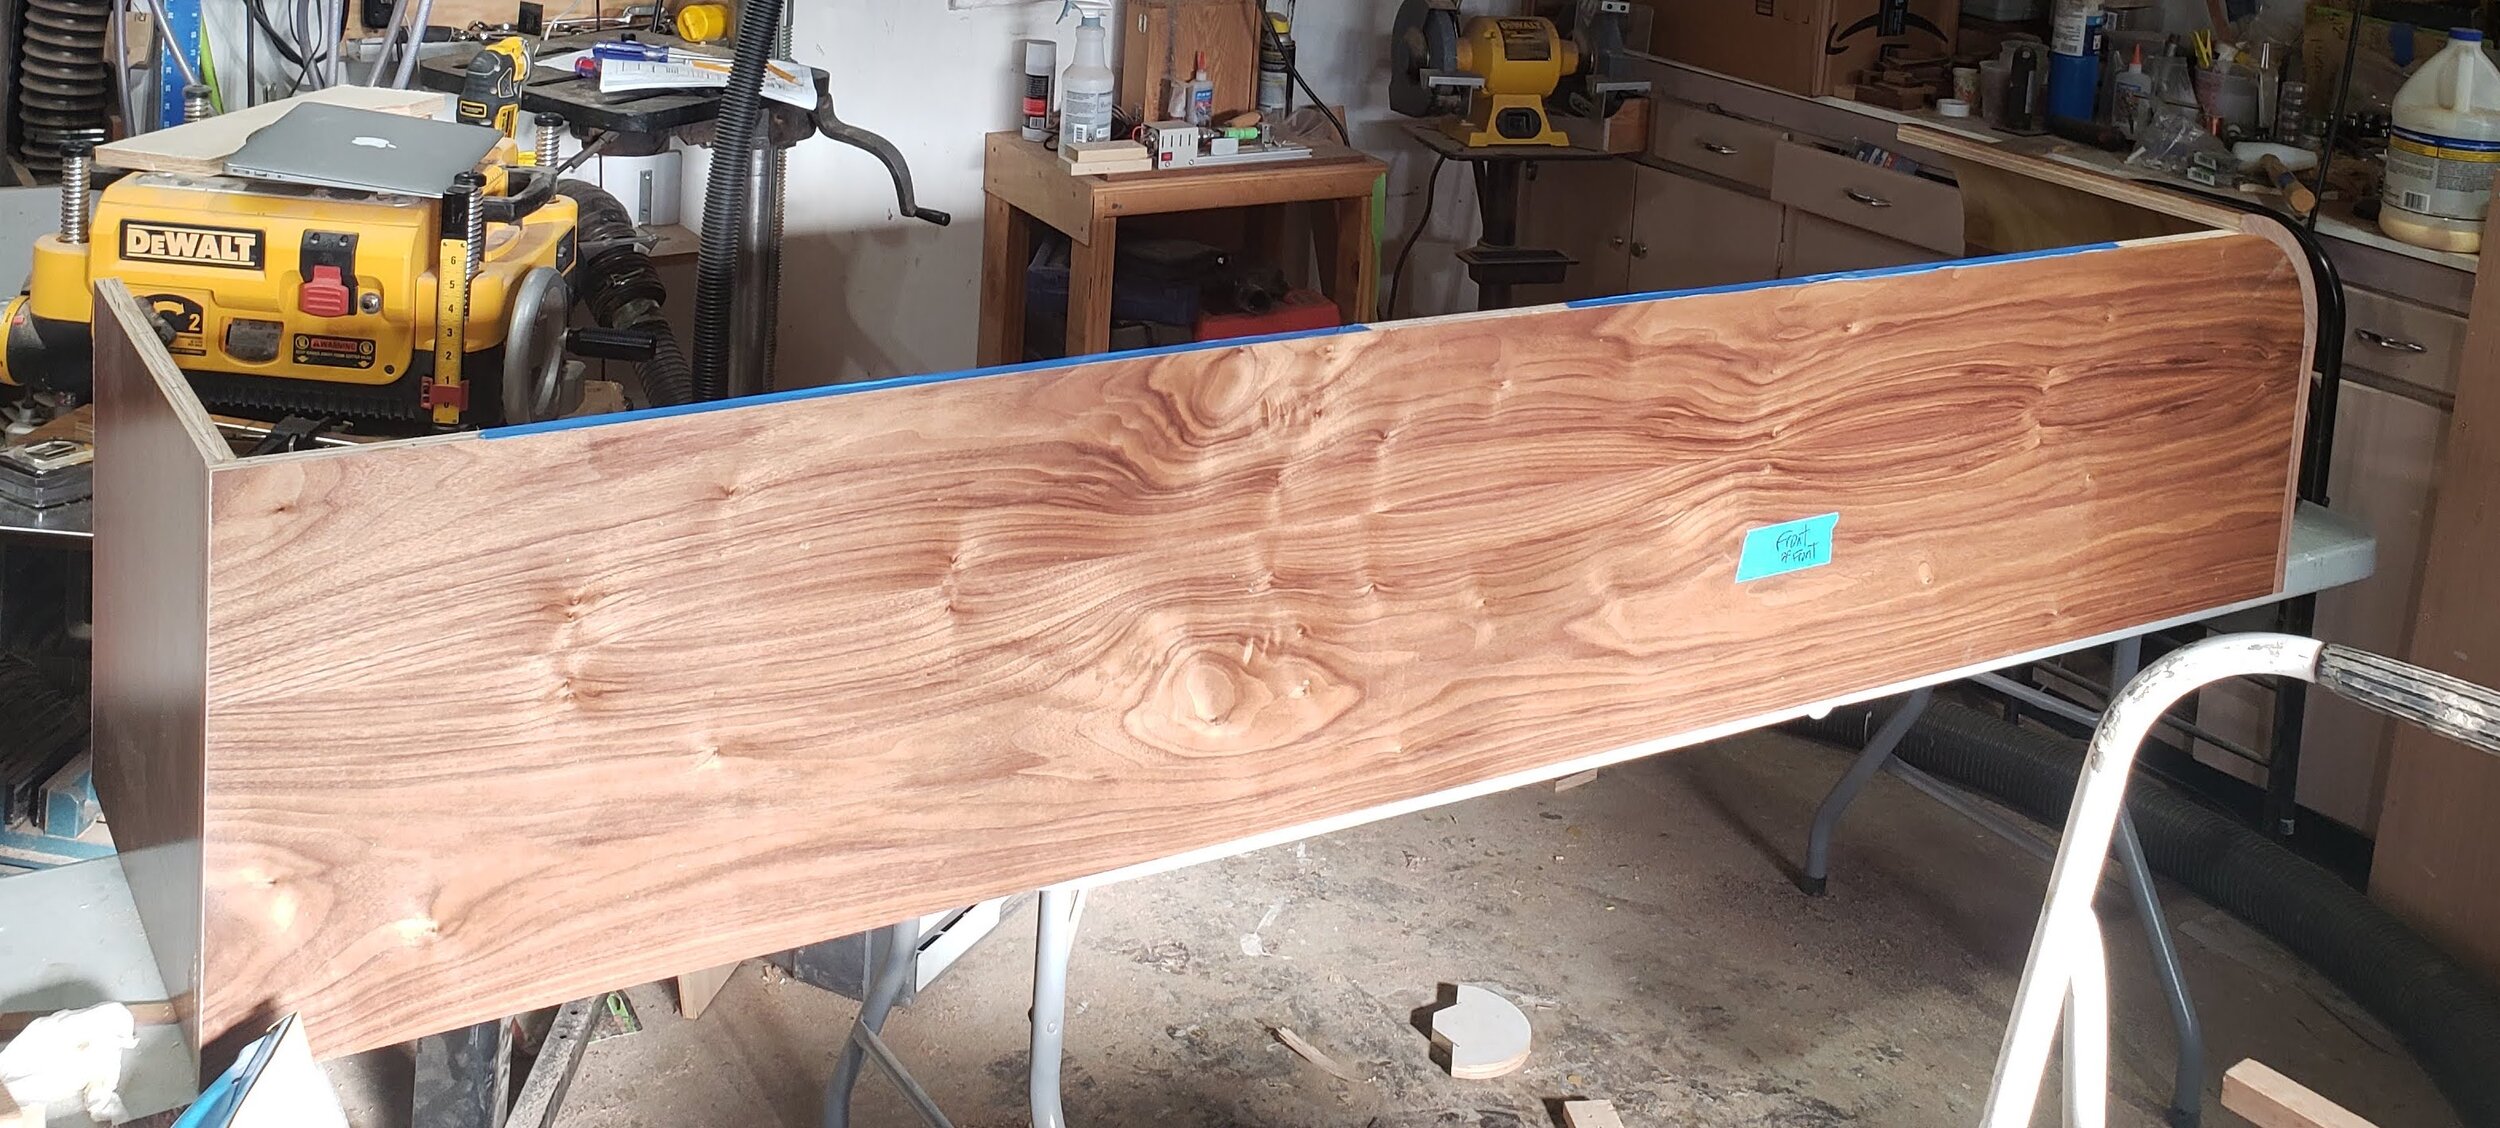
Partial Bench
Here the bench is assembled with everything except the top.
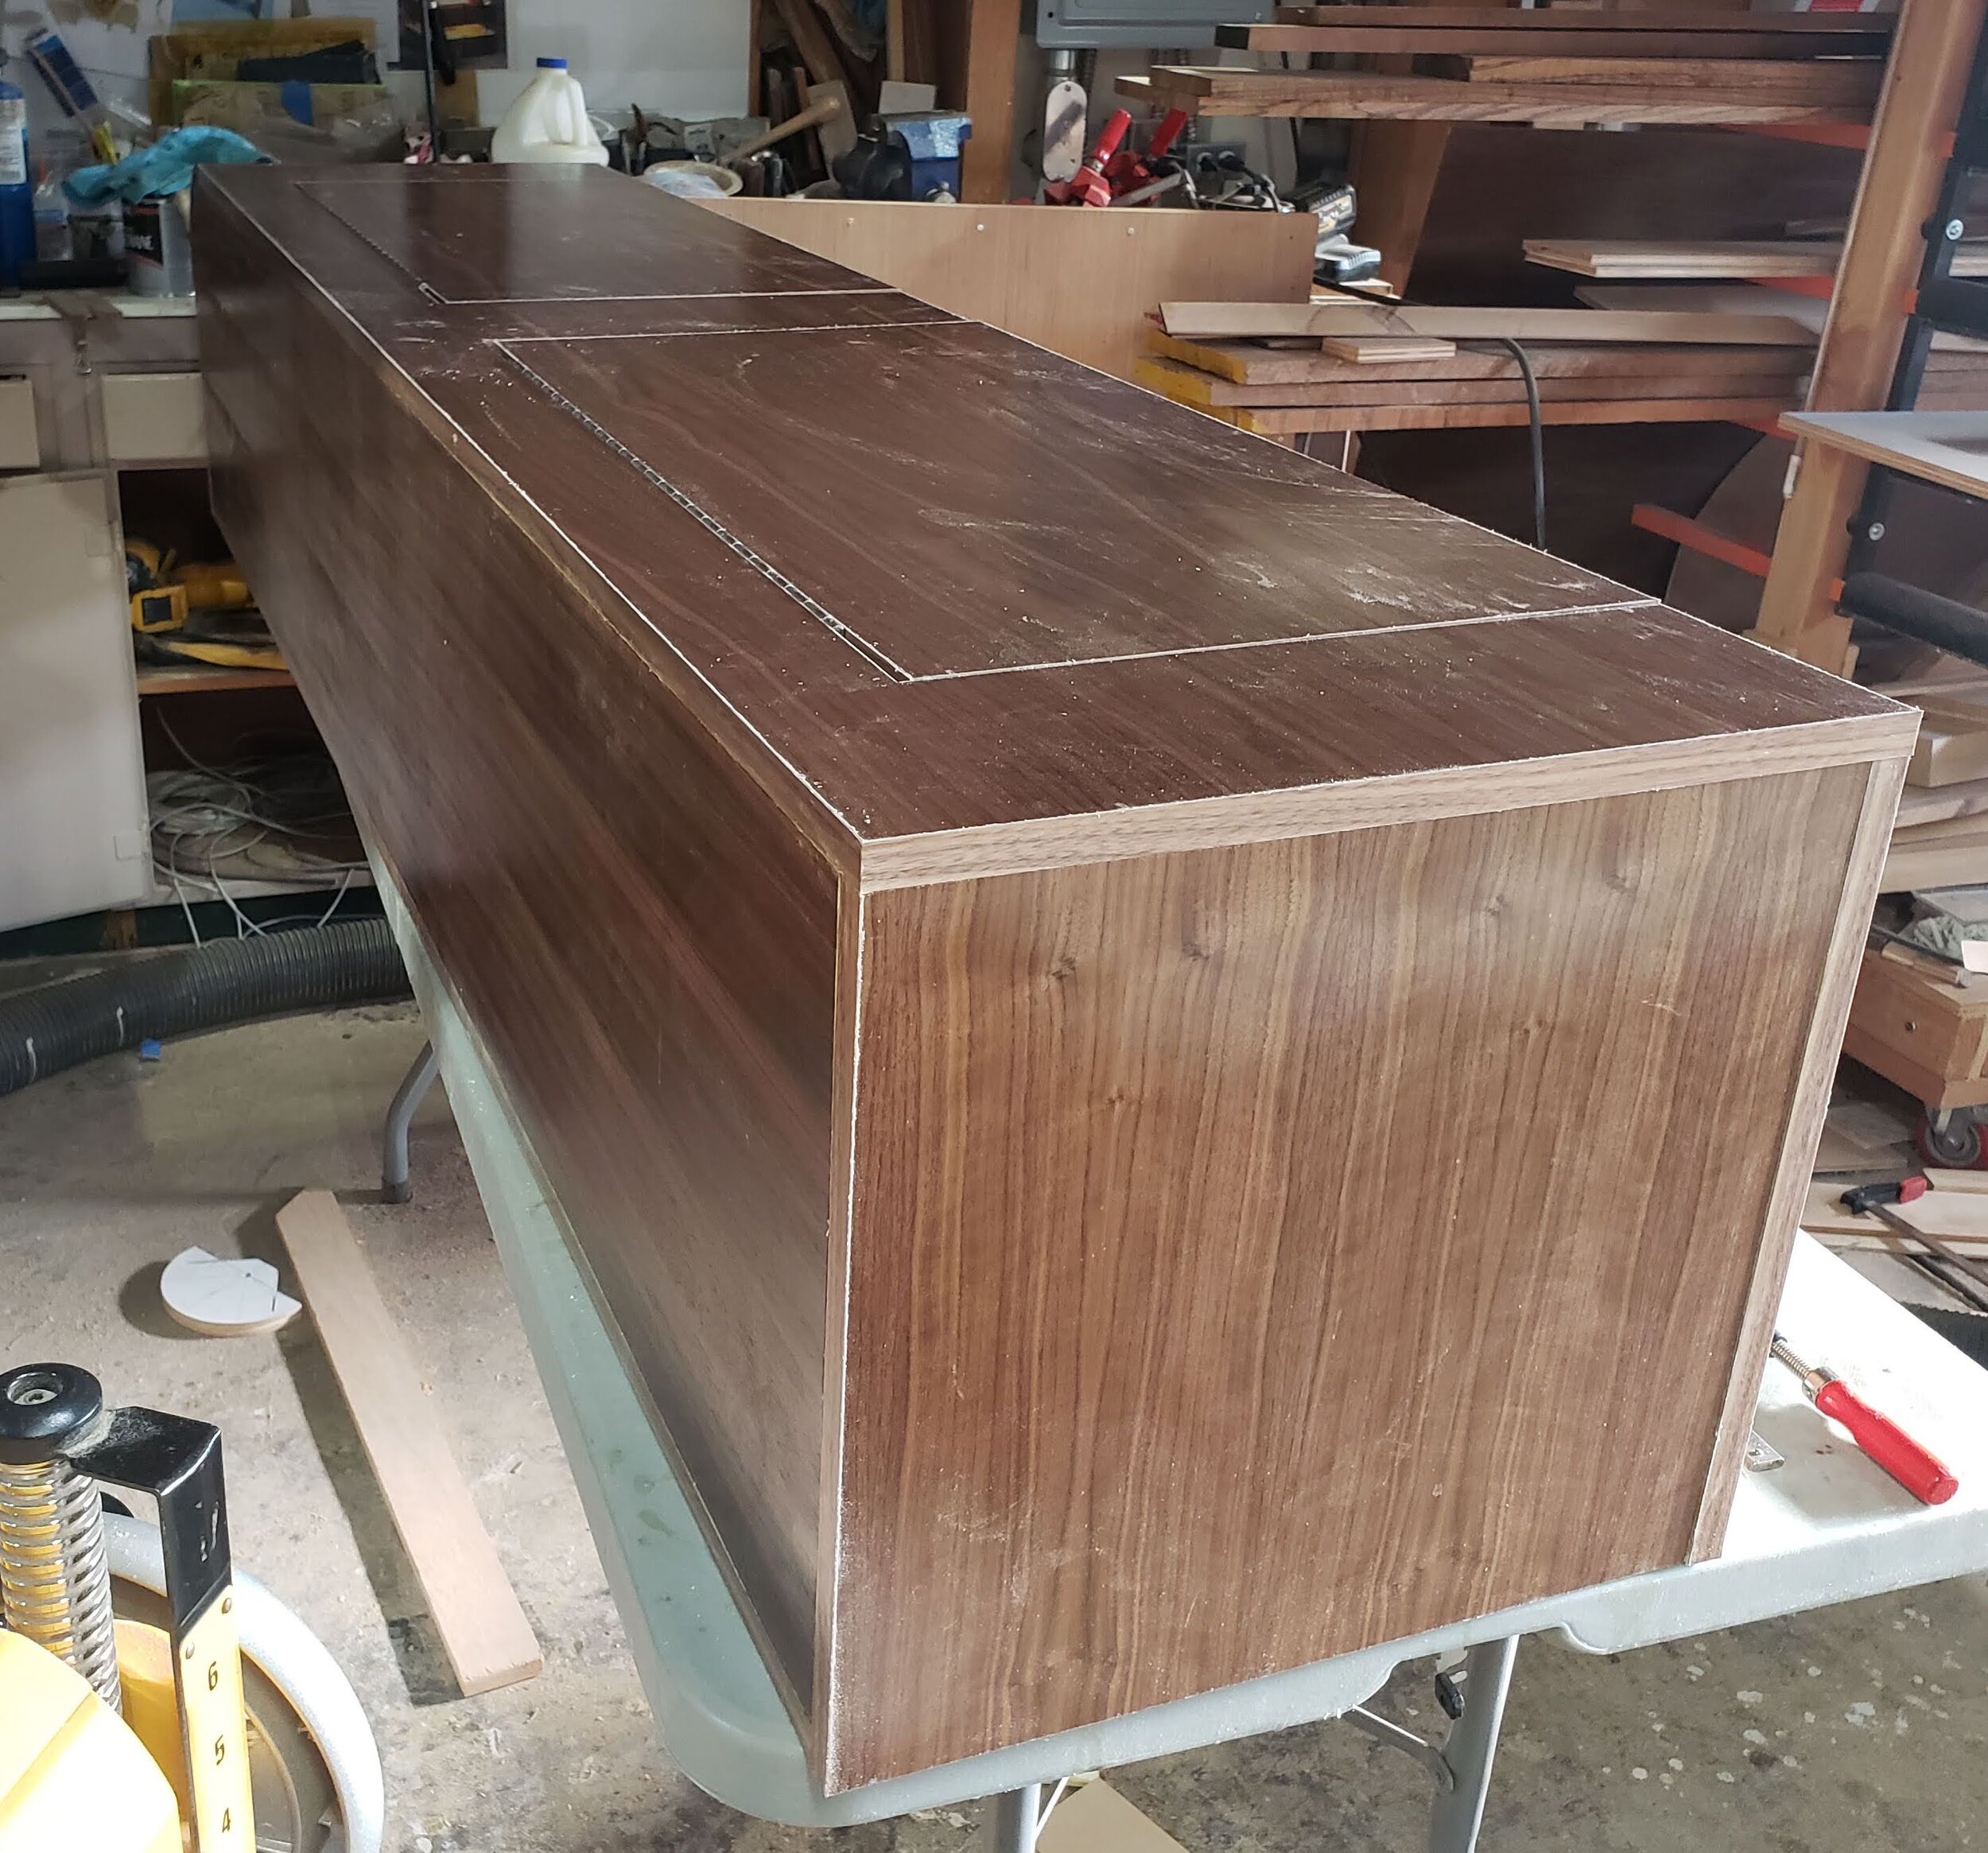
Completed Bench
And the bench top - with all the openings and continuous hinges - is now in place.
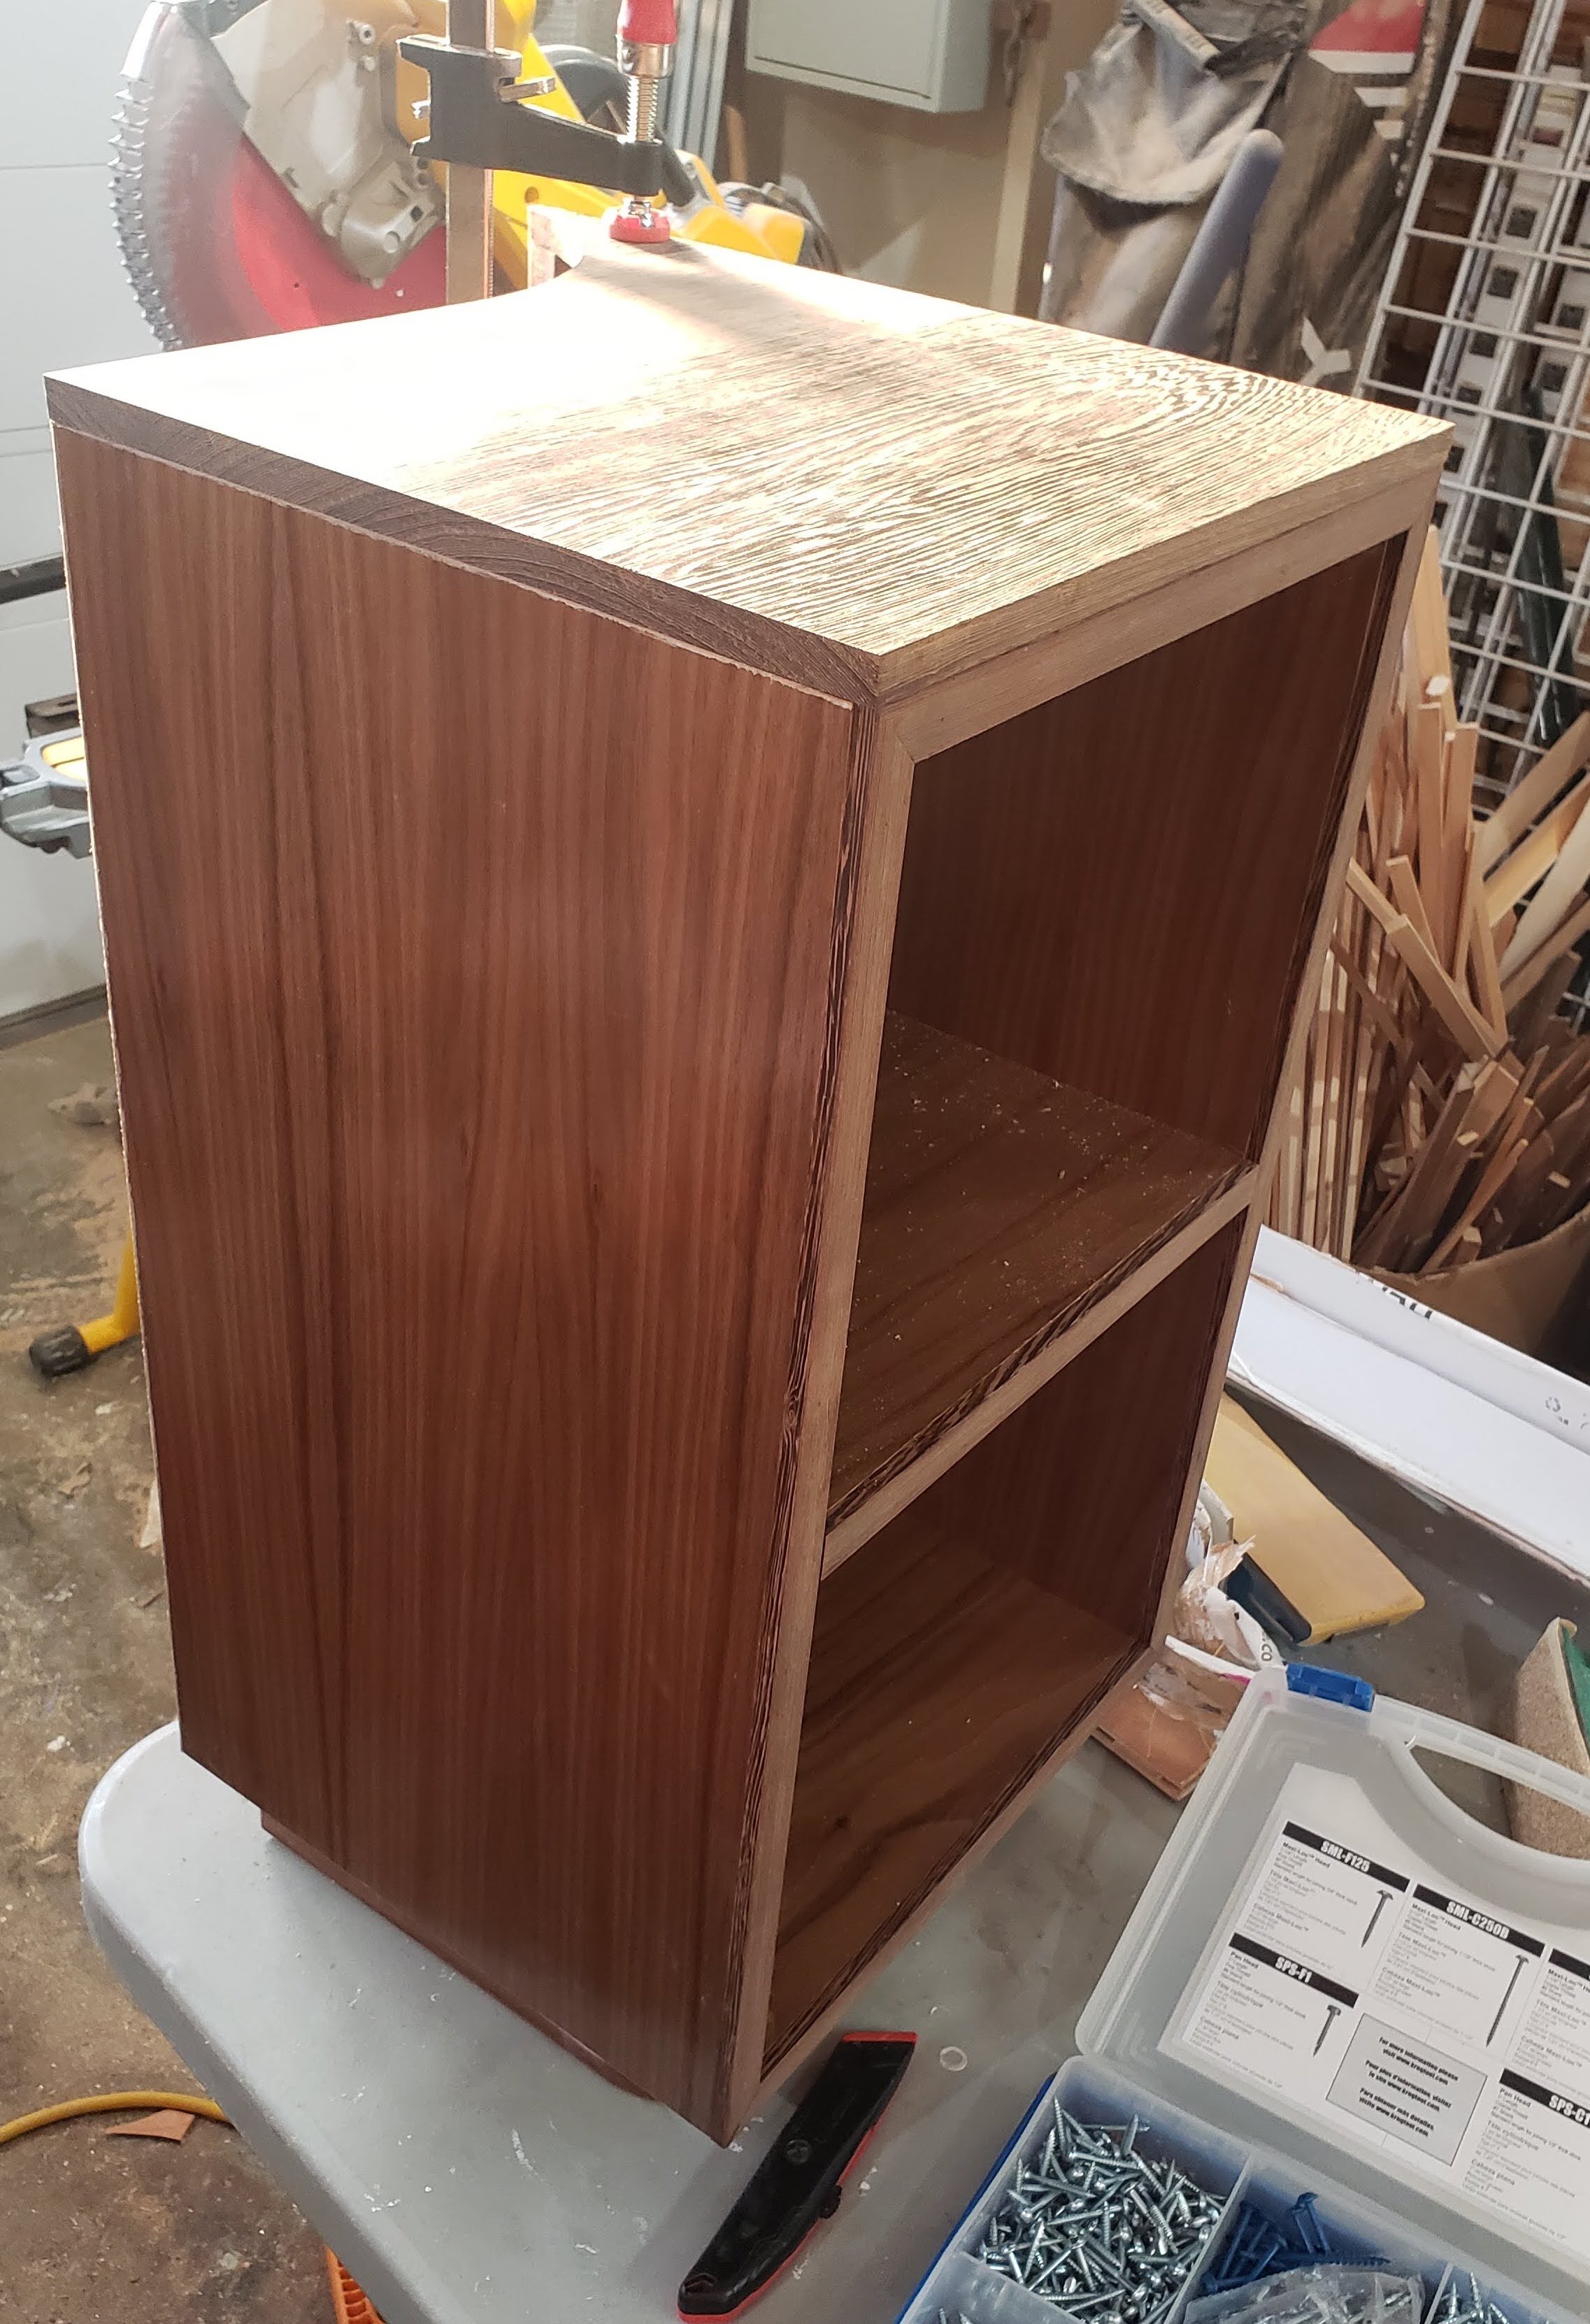
End Table
This small piece was needed for visual continuity between the bench, lamp, and wall buffet, to fill a small space due to curvature of the lamp, and a column jutting into the floor plan in the client’s condo.
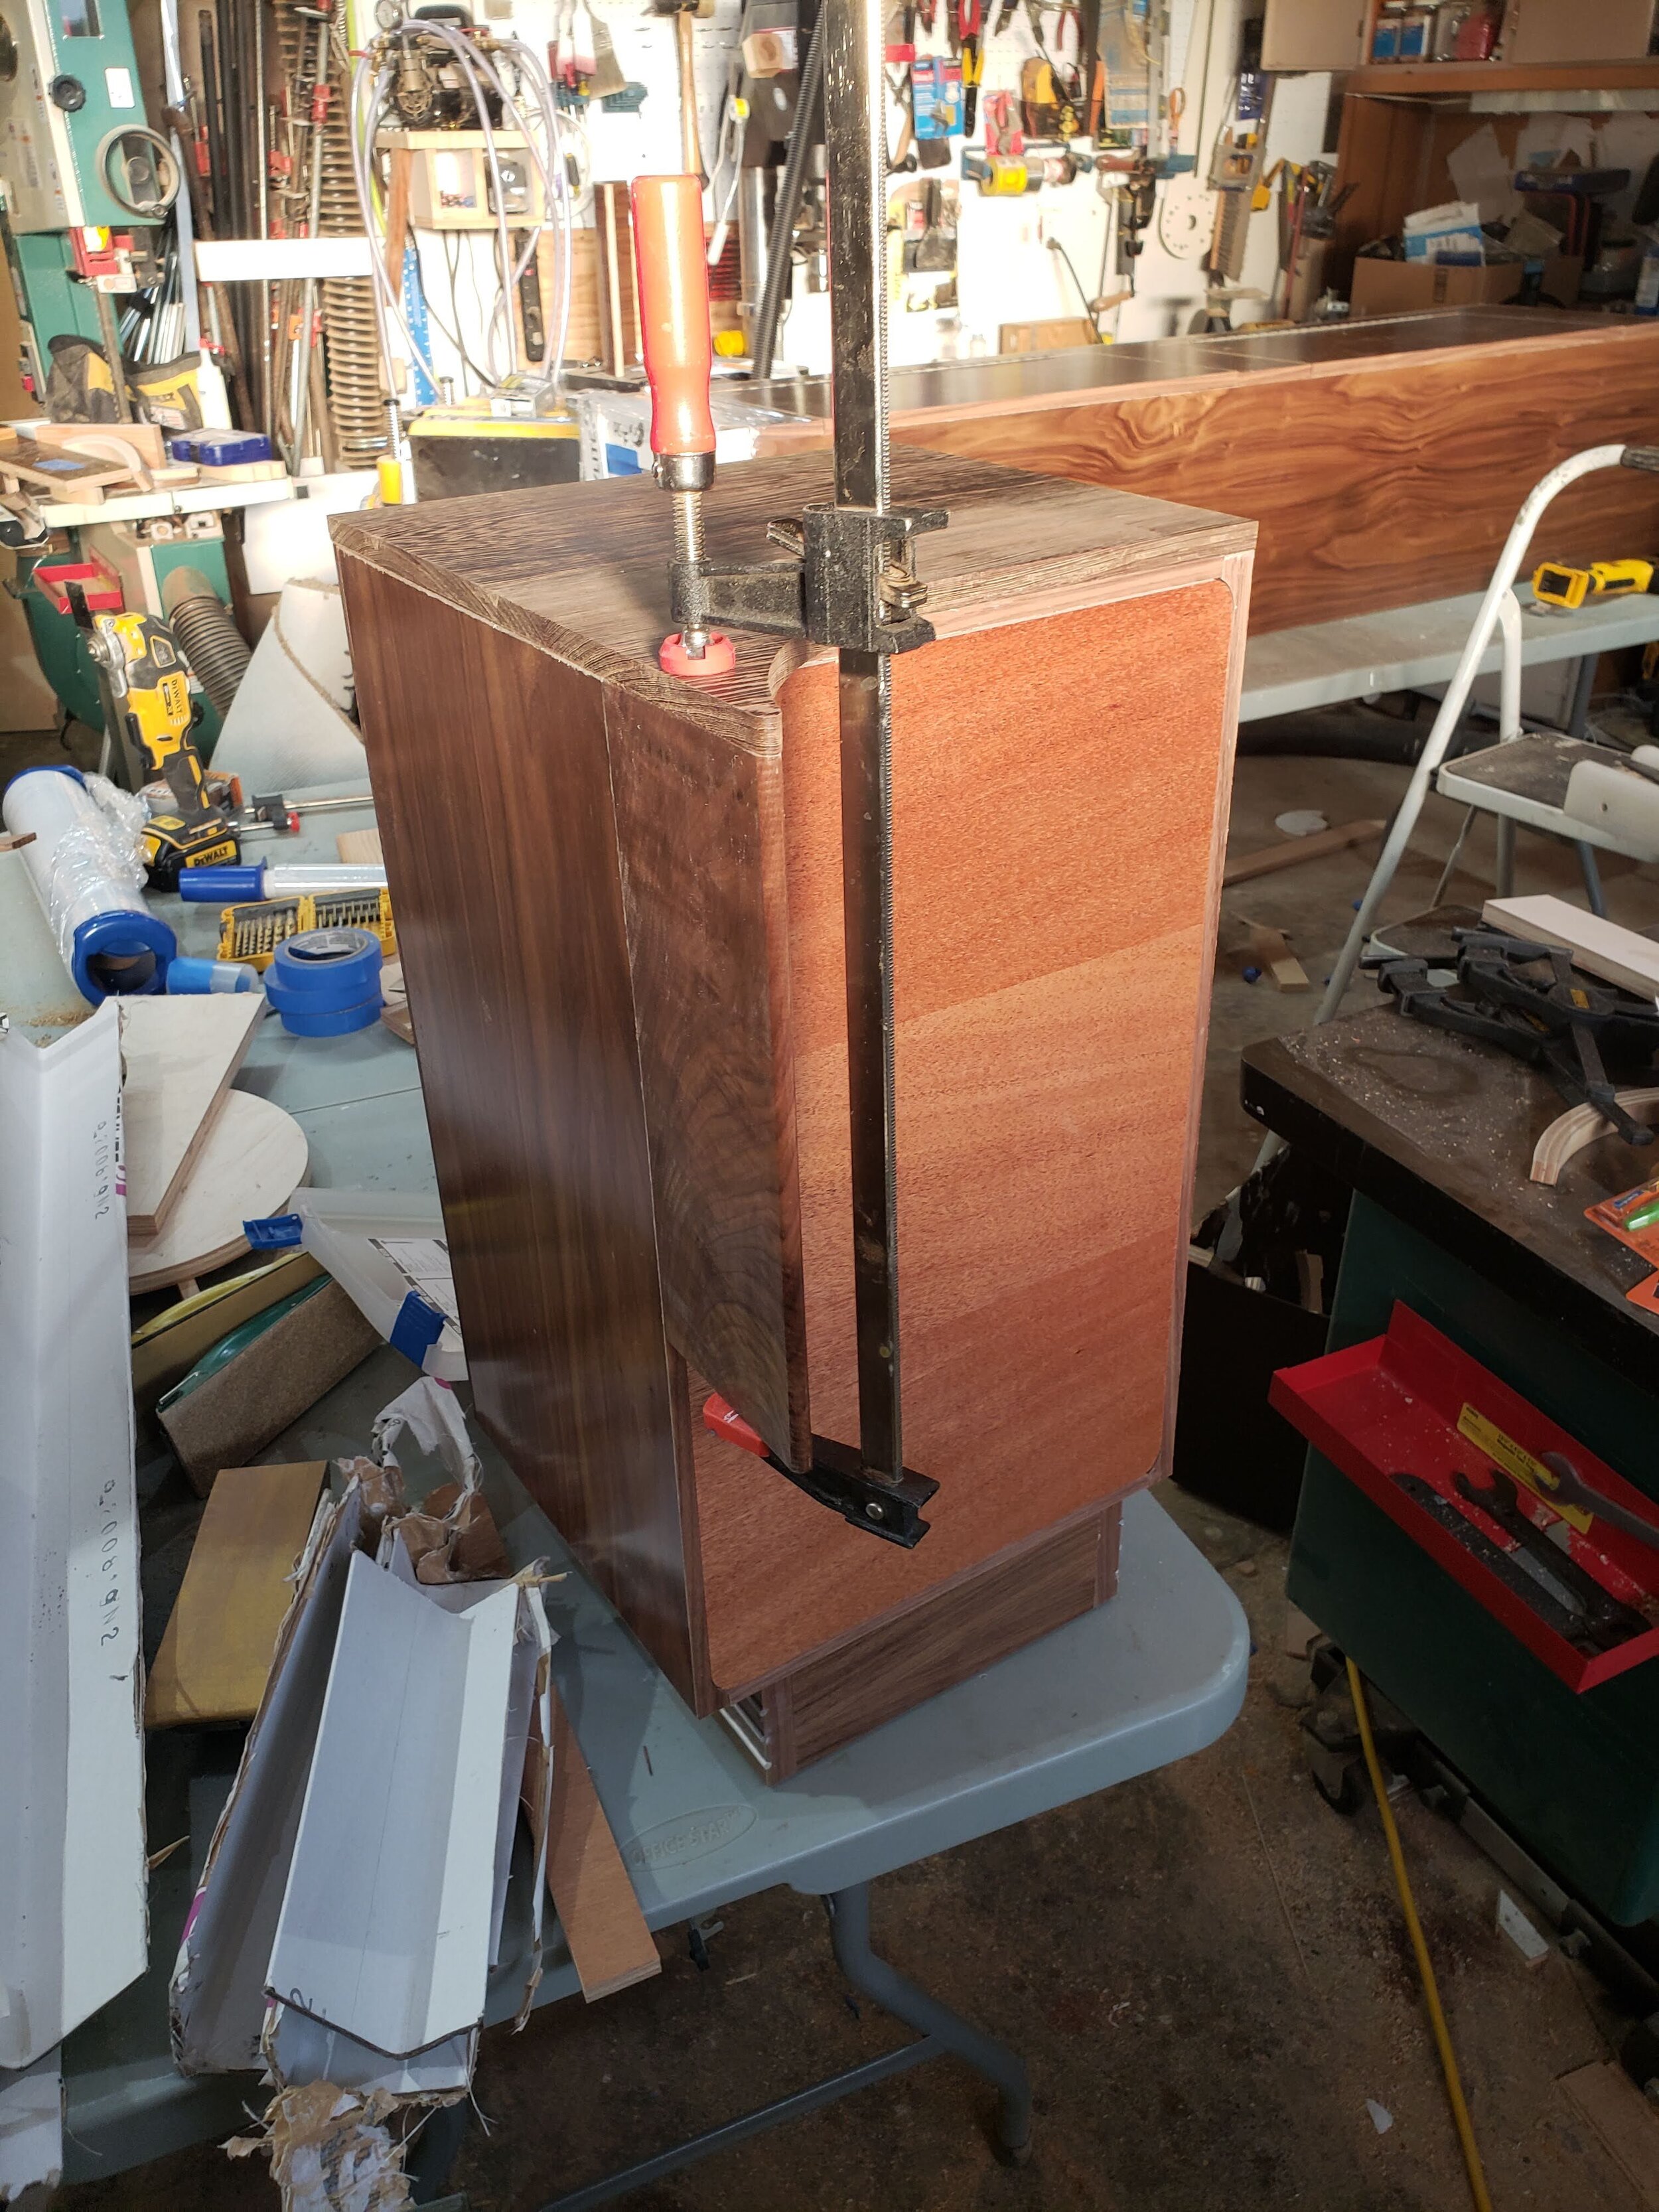
End Table Cap
The wenge “cap” and support wing of the end table is removable if needed to restore the piece to a more rectilinear shape in some future reconfiguration of the pieces.
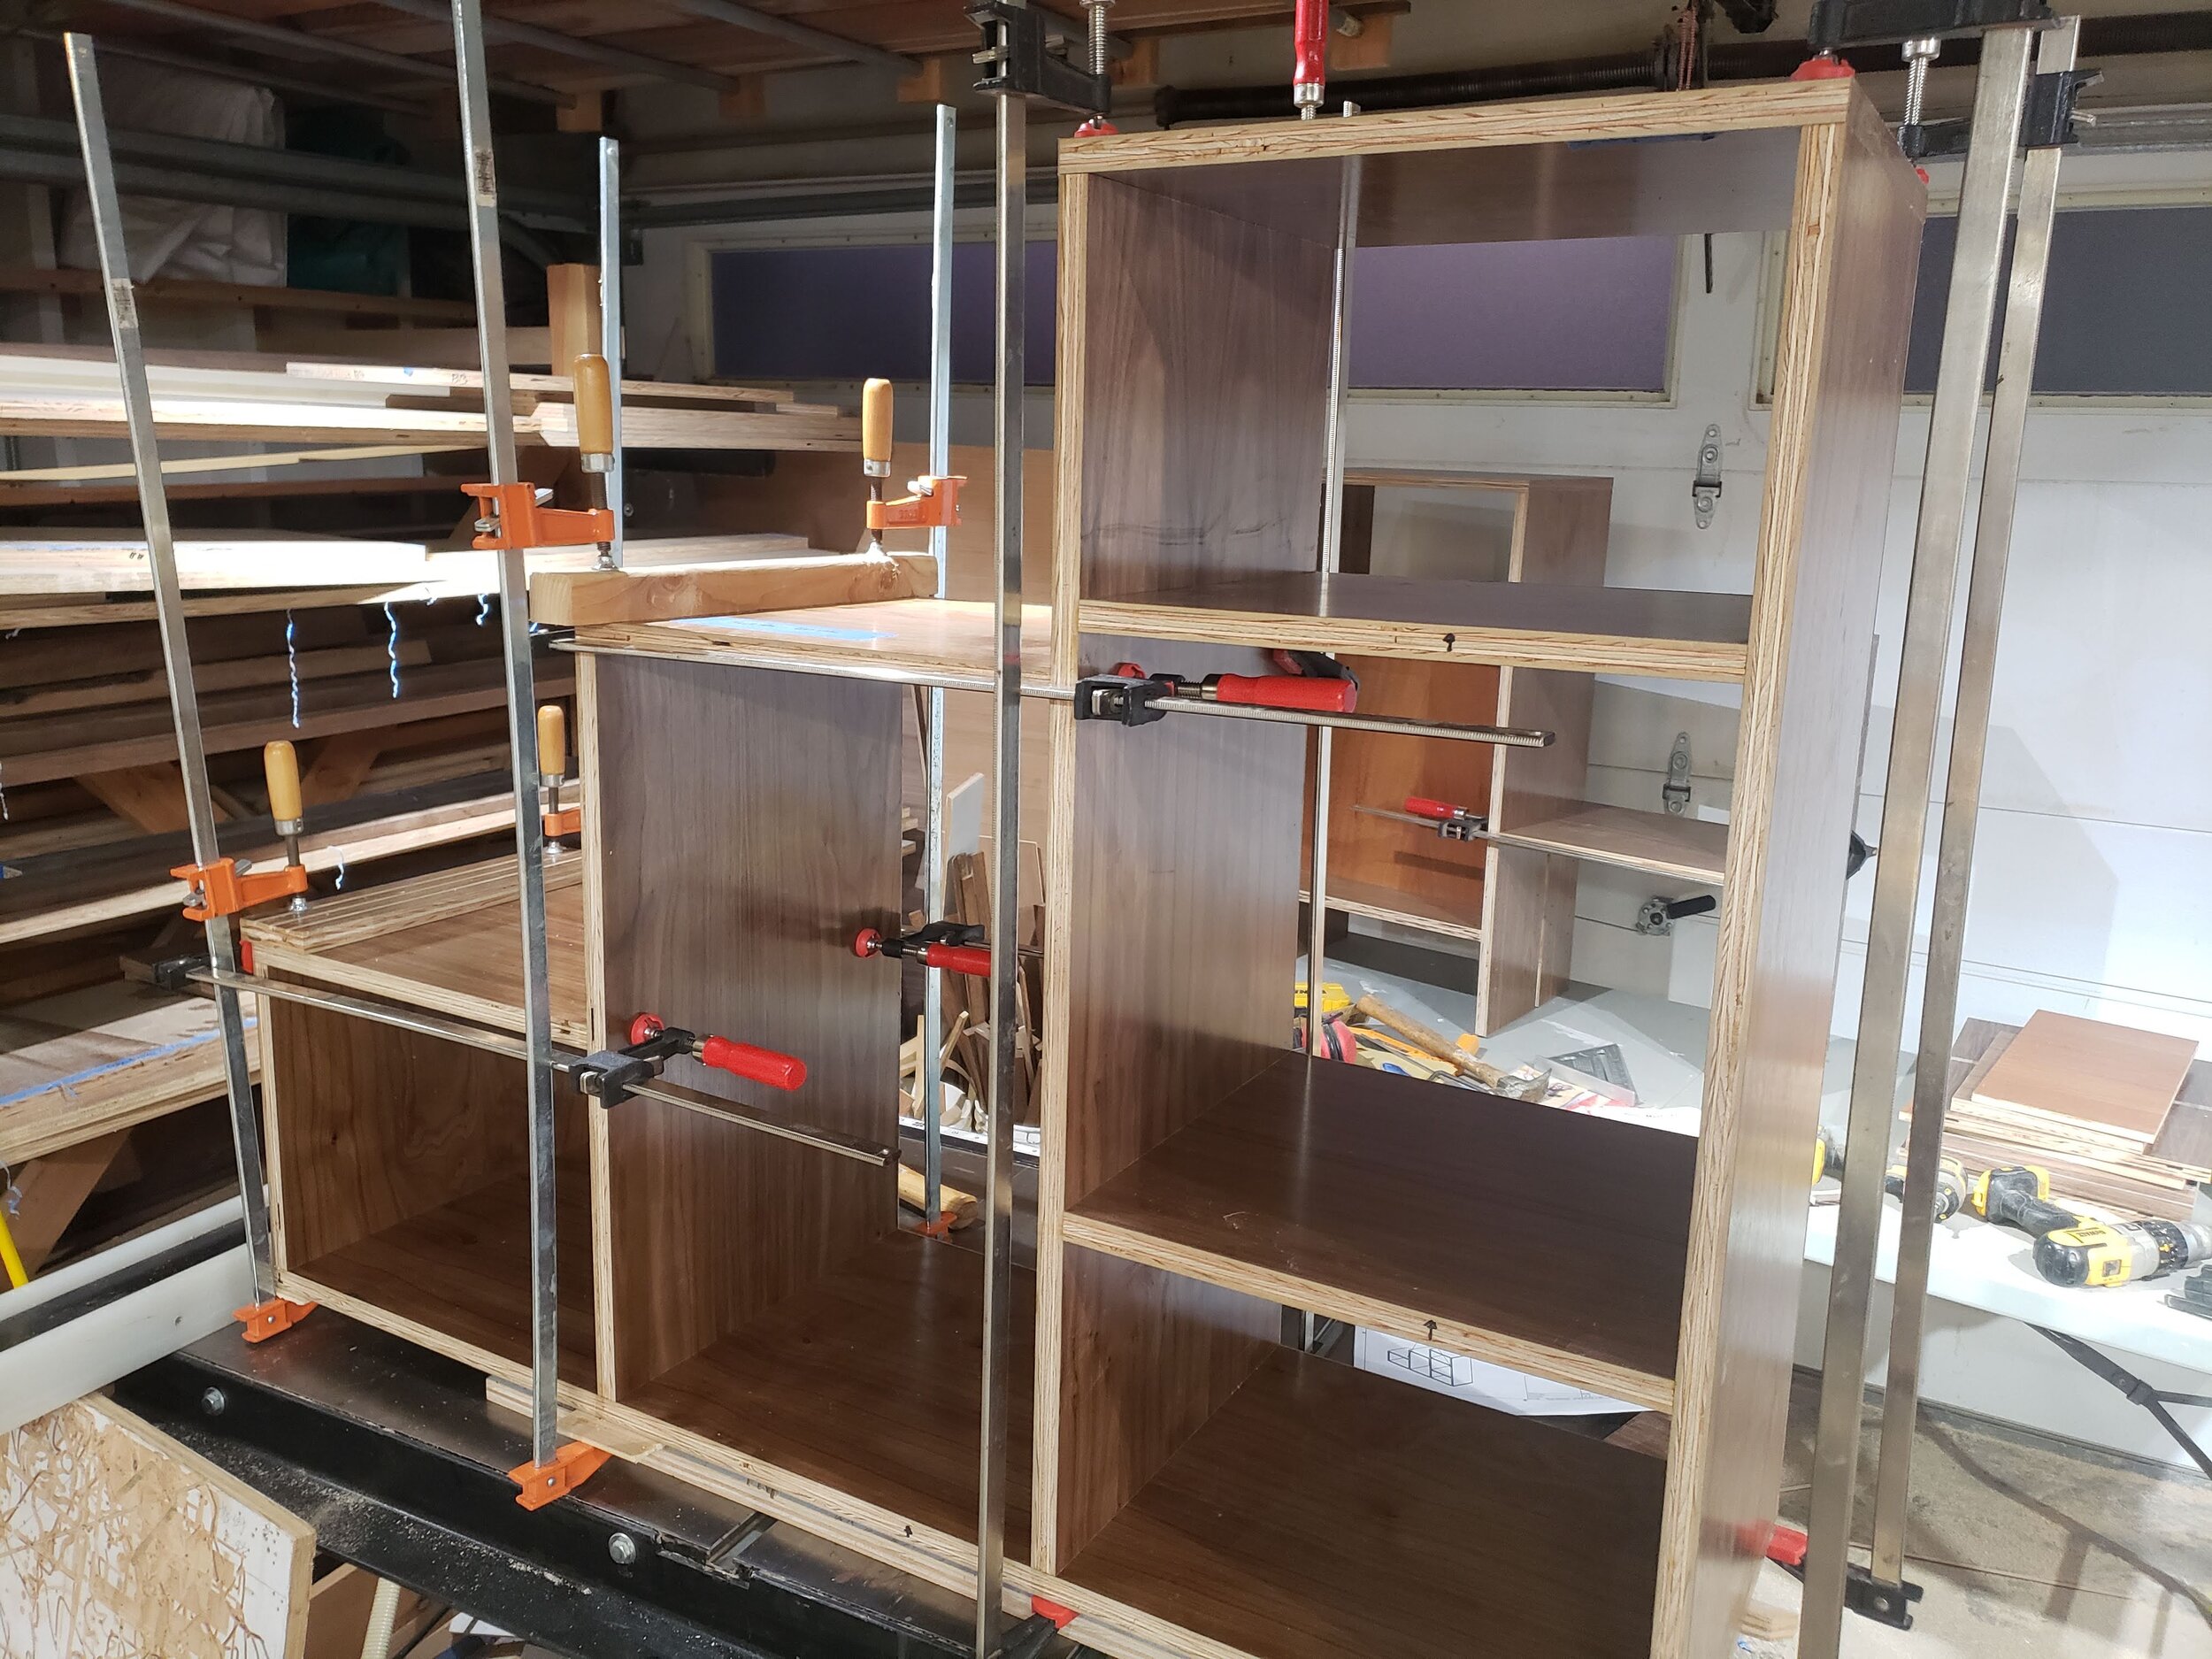
Small Staircase Assembly
The two “staircases” of the design, sitting on each of the two buffets, were not particularly complicated, though they did require a lot of precision due to recessed backs in some openings and adjustable shelves in others.
It took a couple days to draw out and cut all the partial dados, shelf pins, and hidden tenons for assembly, and I still wasn’t completely confident that I got them all correct until the final assembly.
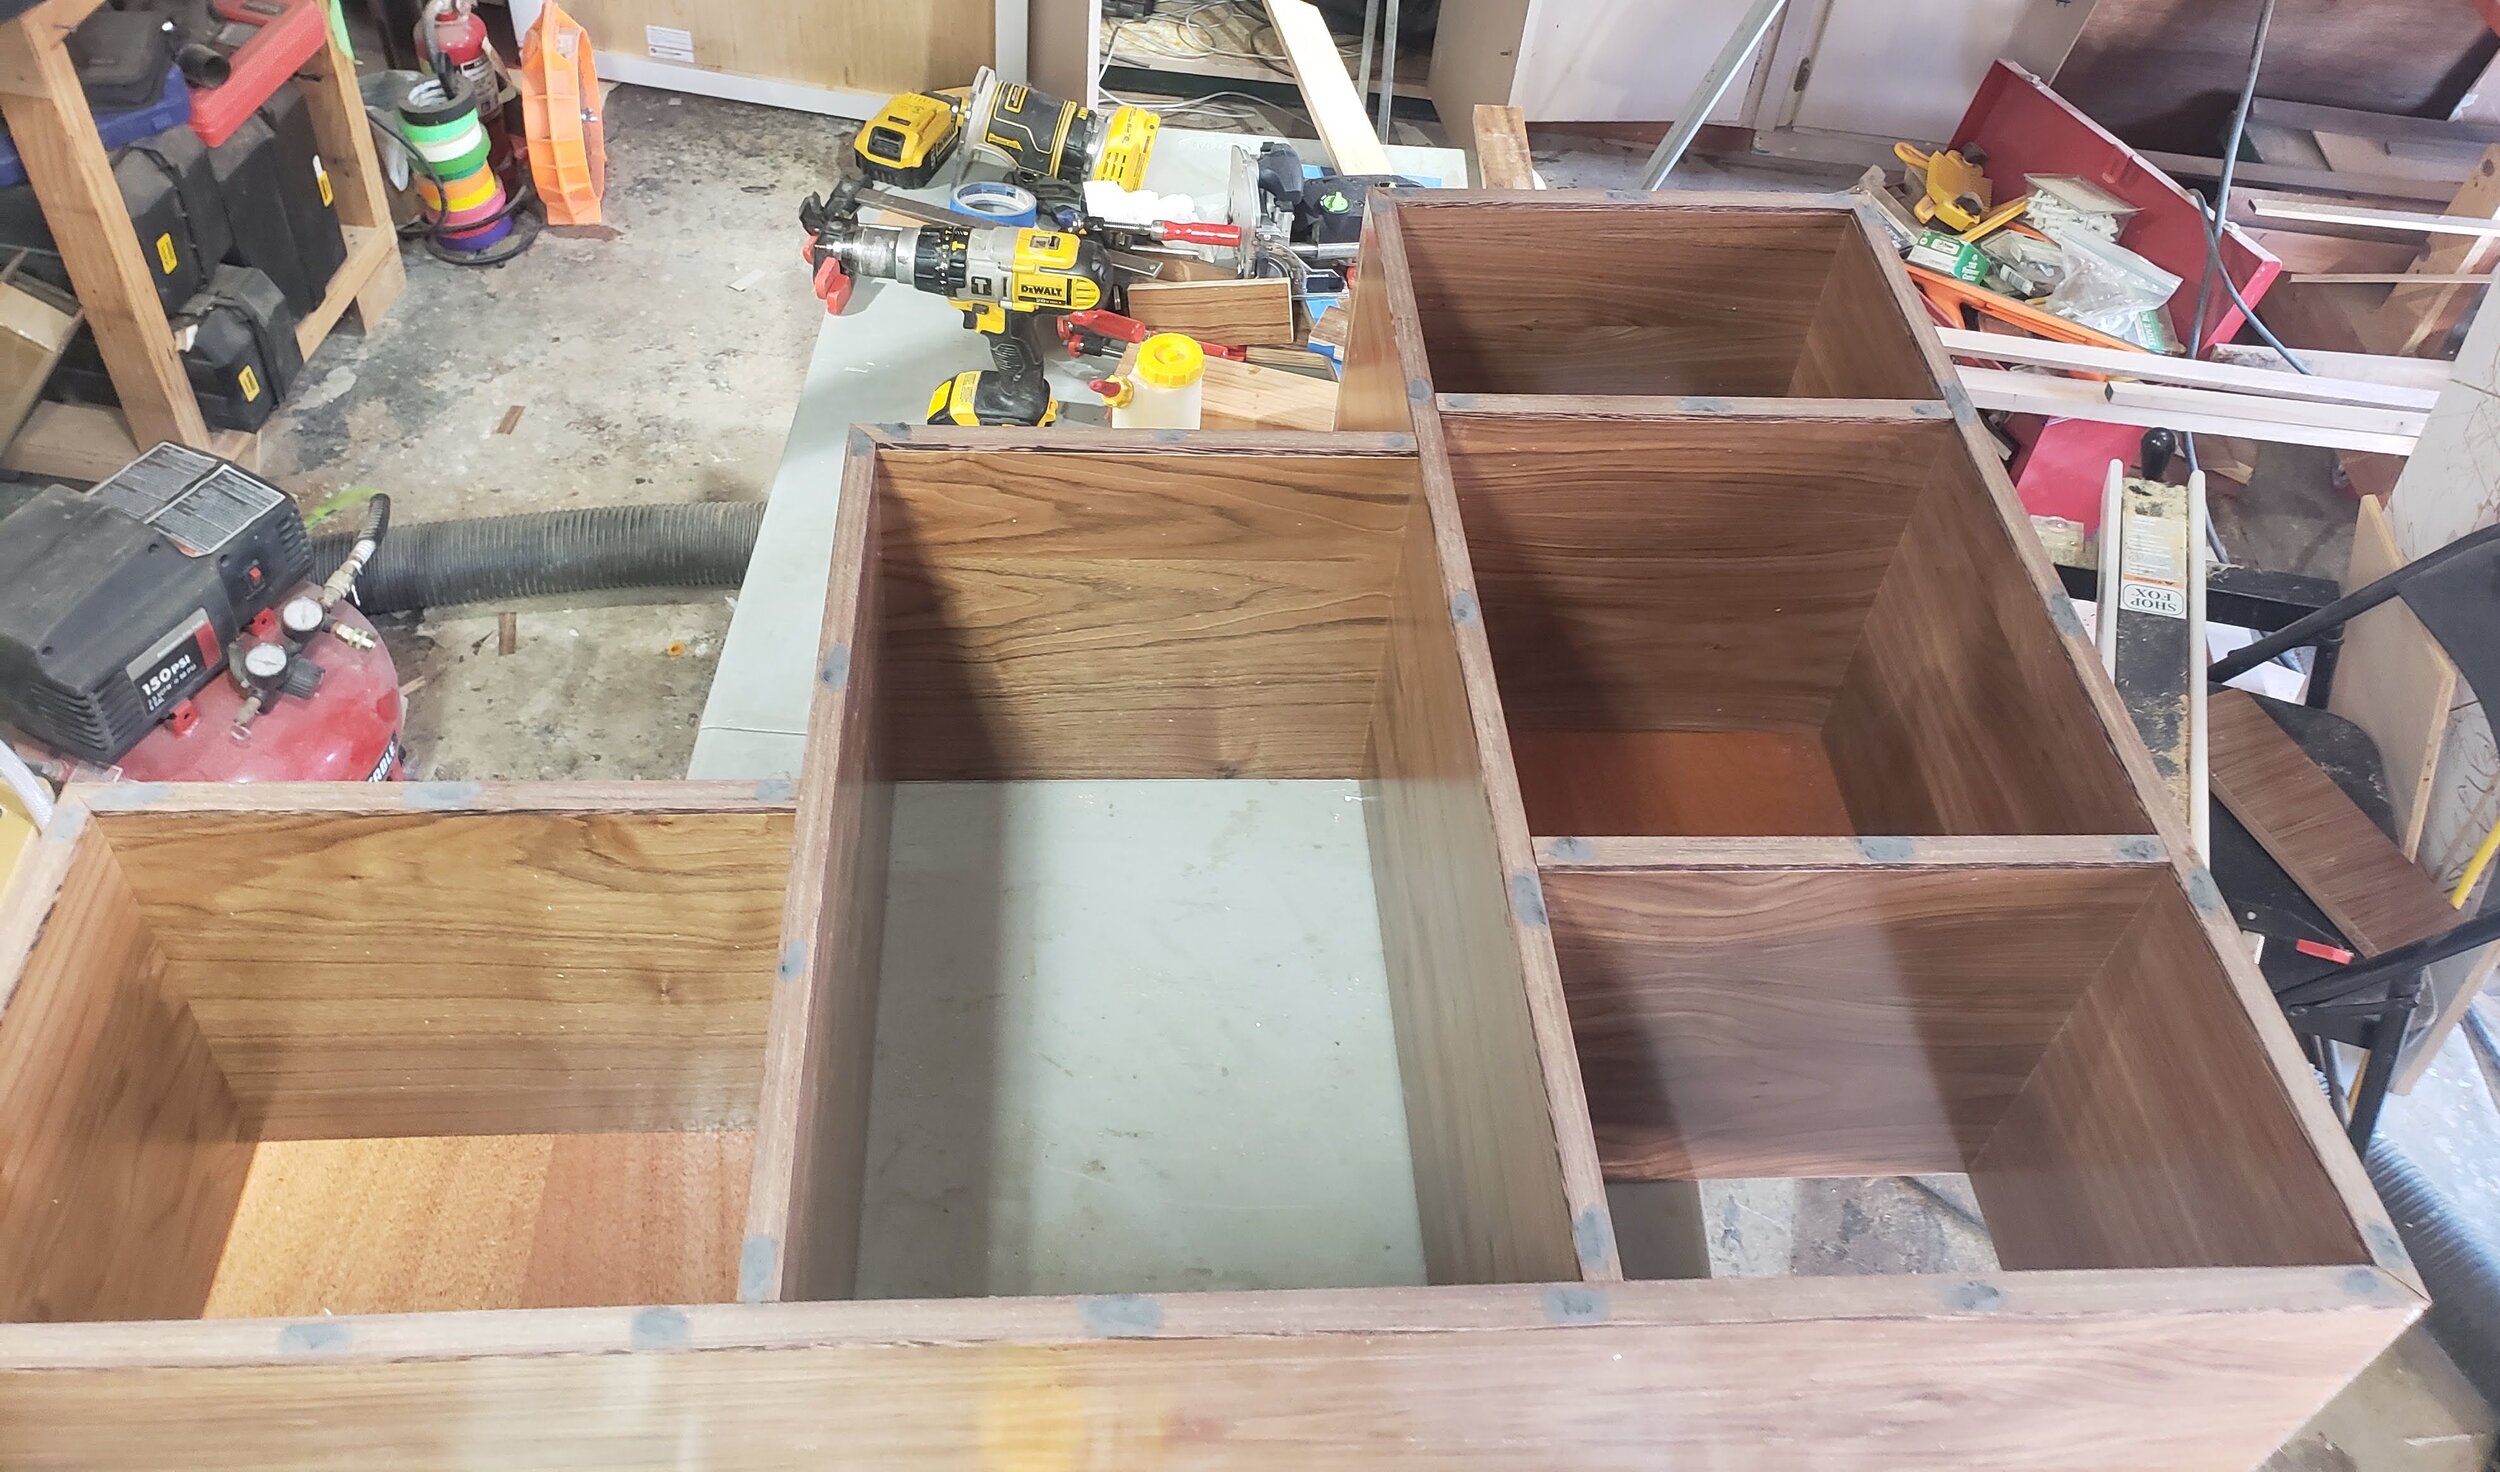
Staircase Edge Trim
I had pre-cut about 160’ of 1/4” thick wenge face trim; though this was used on almost every piece except the back buffet, the detail and all the joints on the staircases used by far the most of this trim.
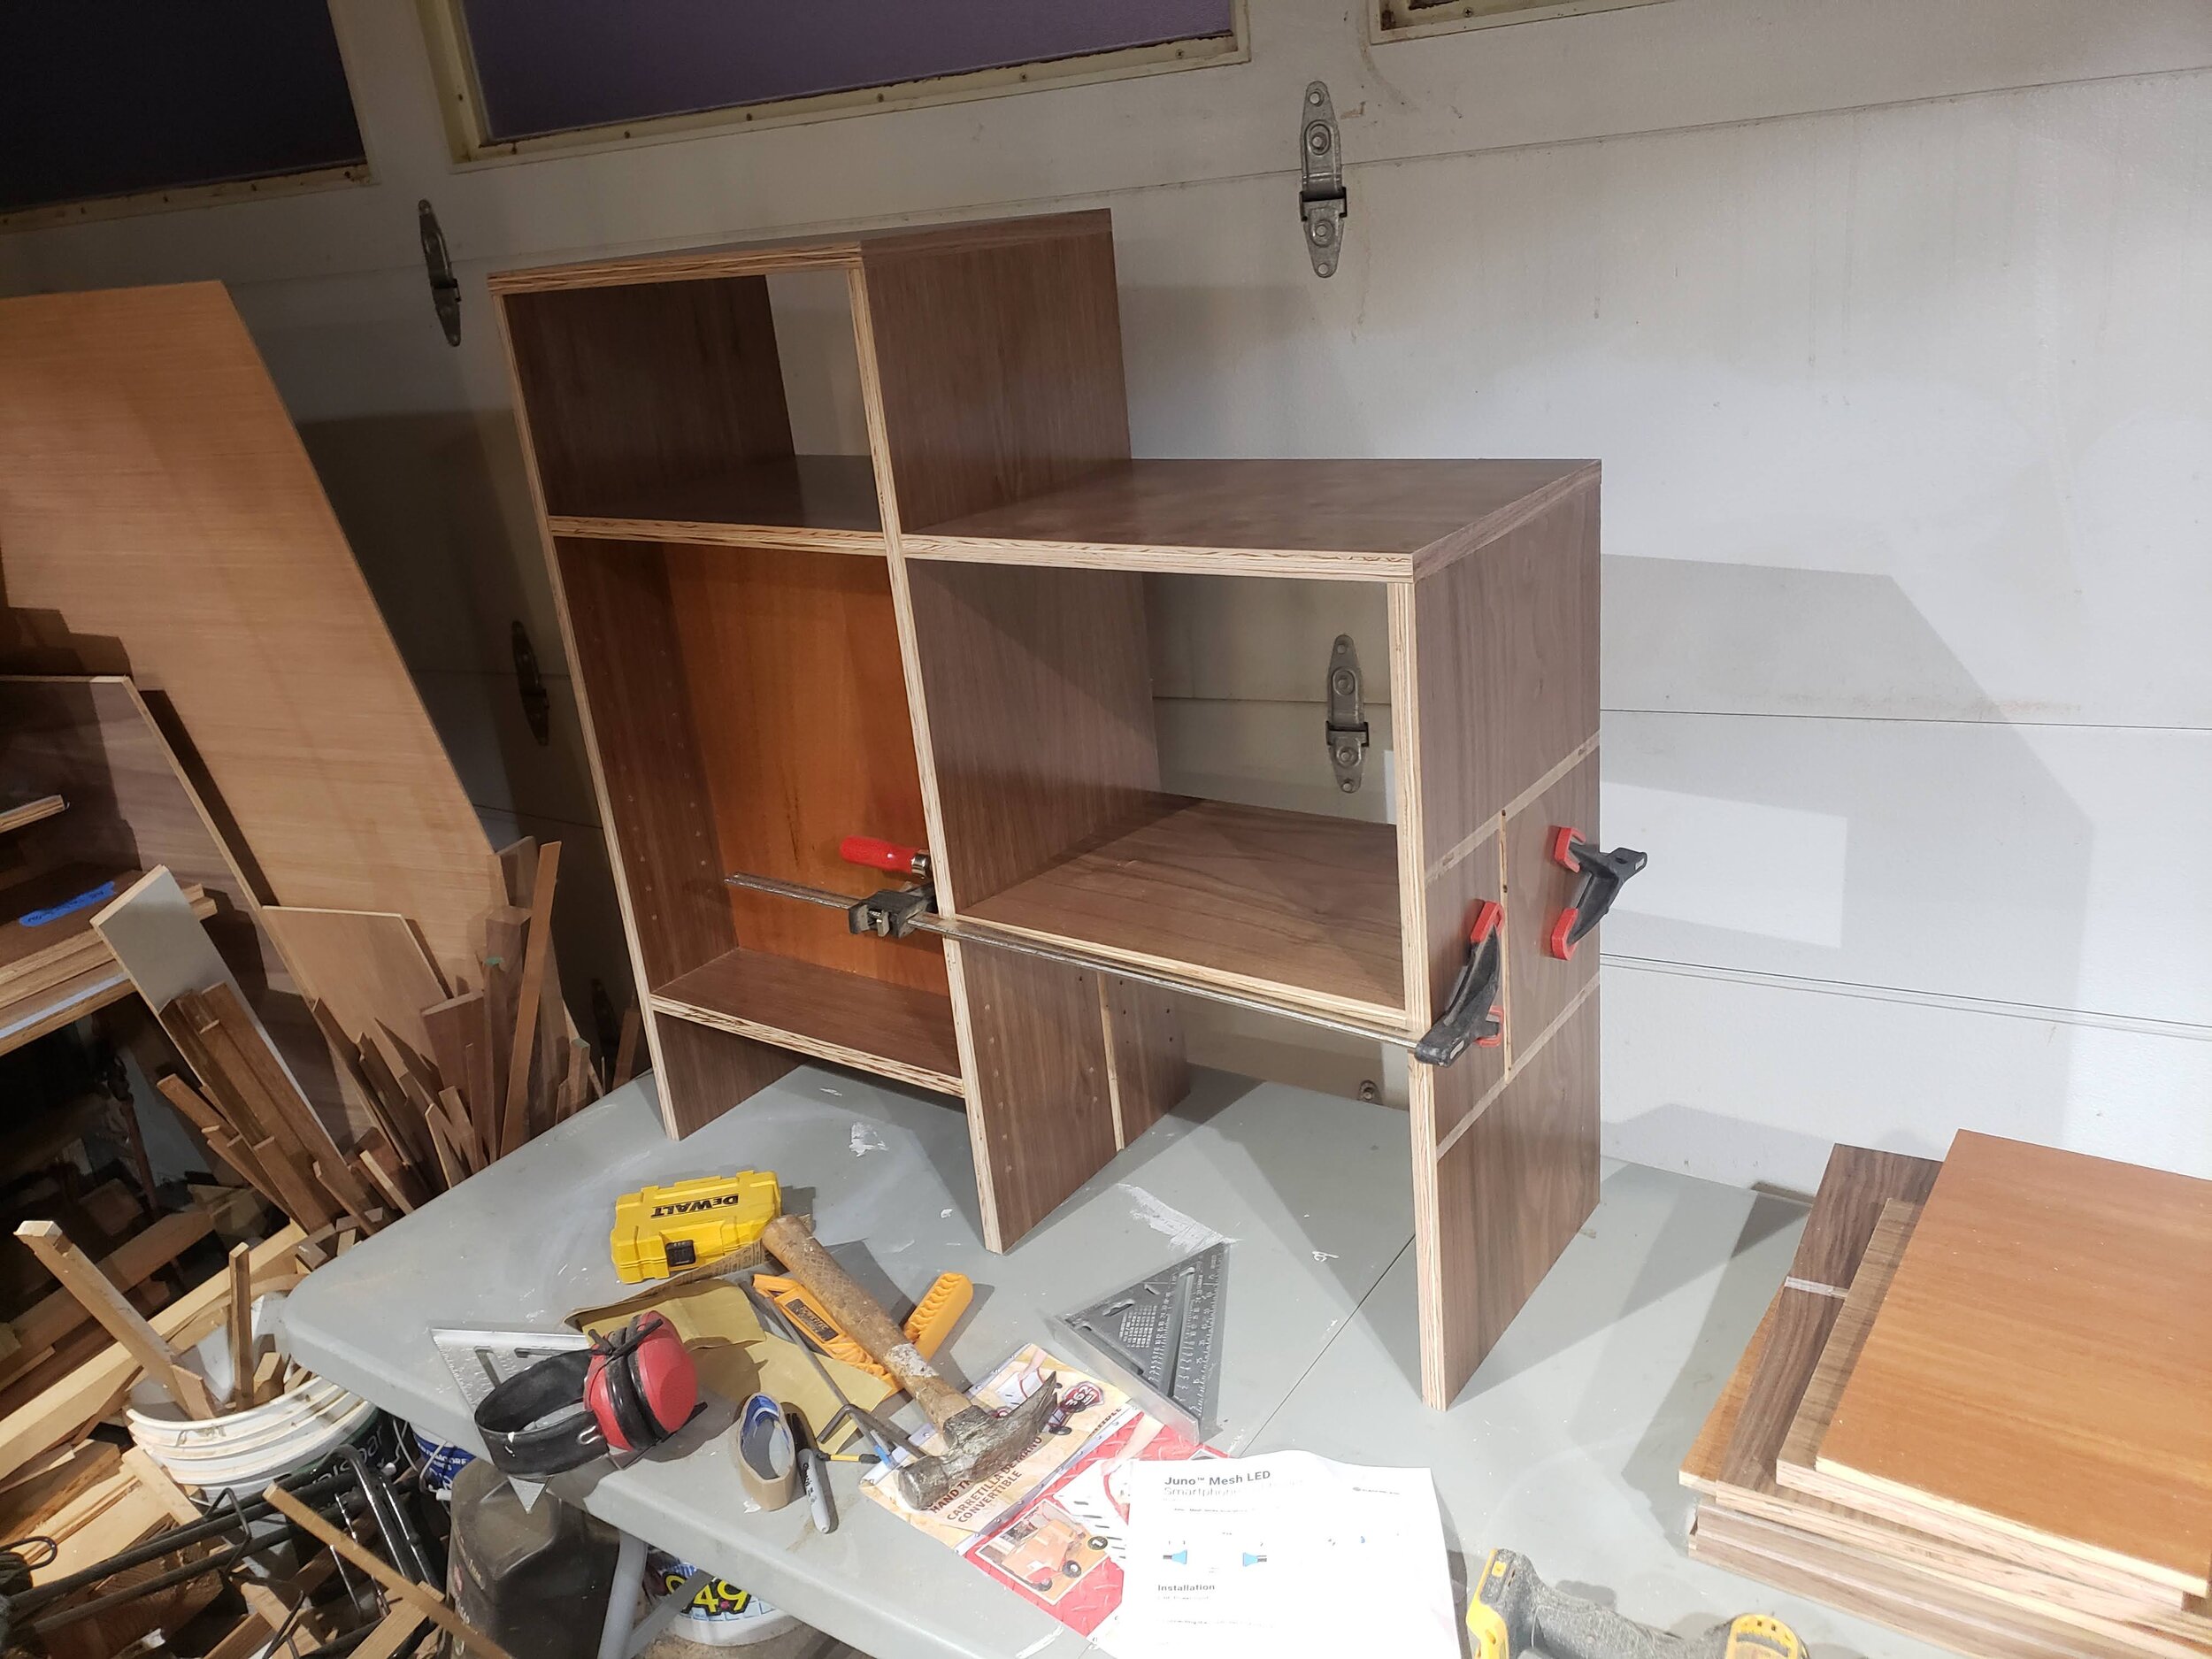
Large Staircase Partial Assembly
I repeated the process for the larger staircase, which had even more levels and details than the small staircase.
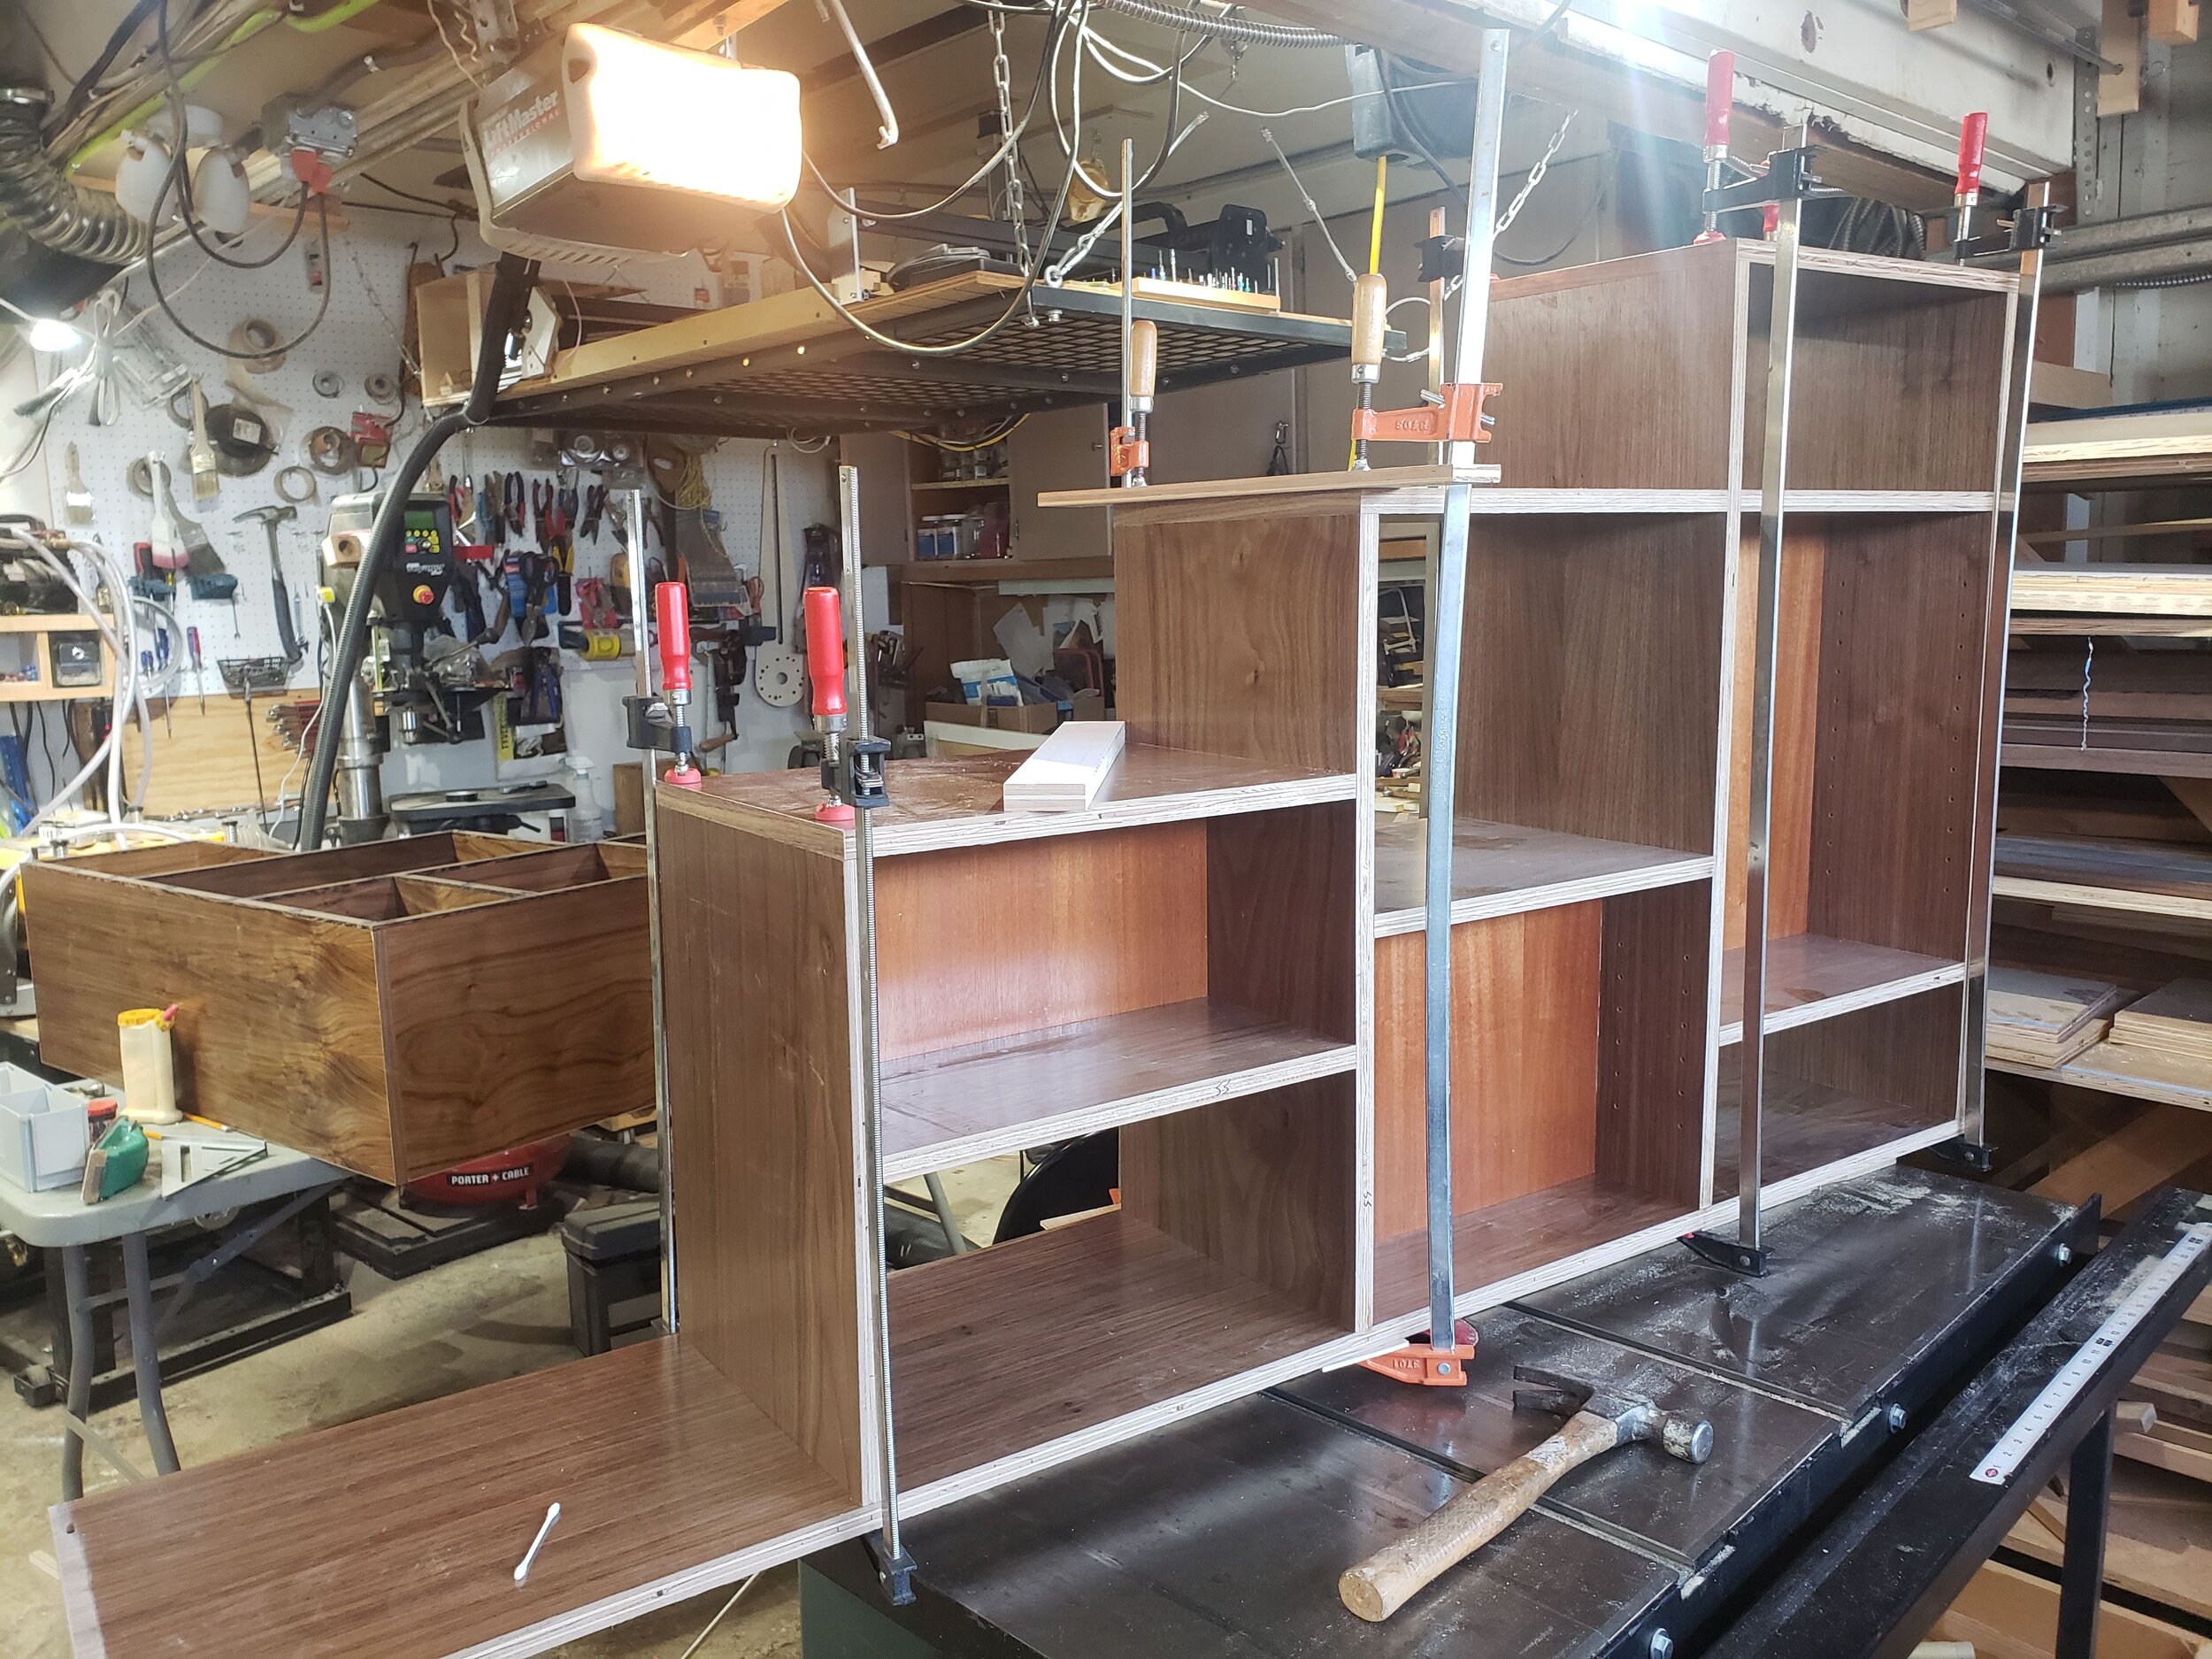
Large Staircase Progress
Sometimes, I look at my collection of bar clamps and wonder why I have so many. This project reminded me that they are all useful.
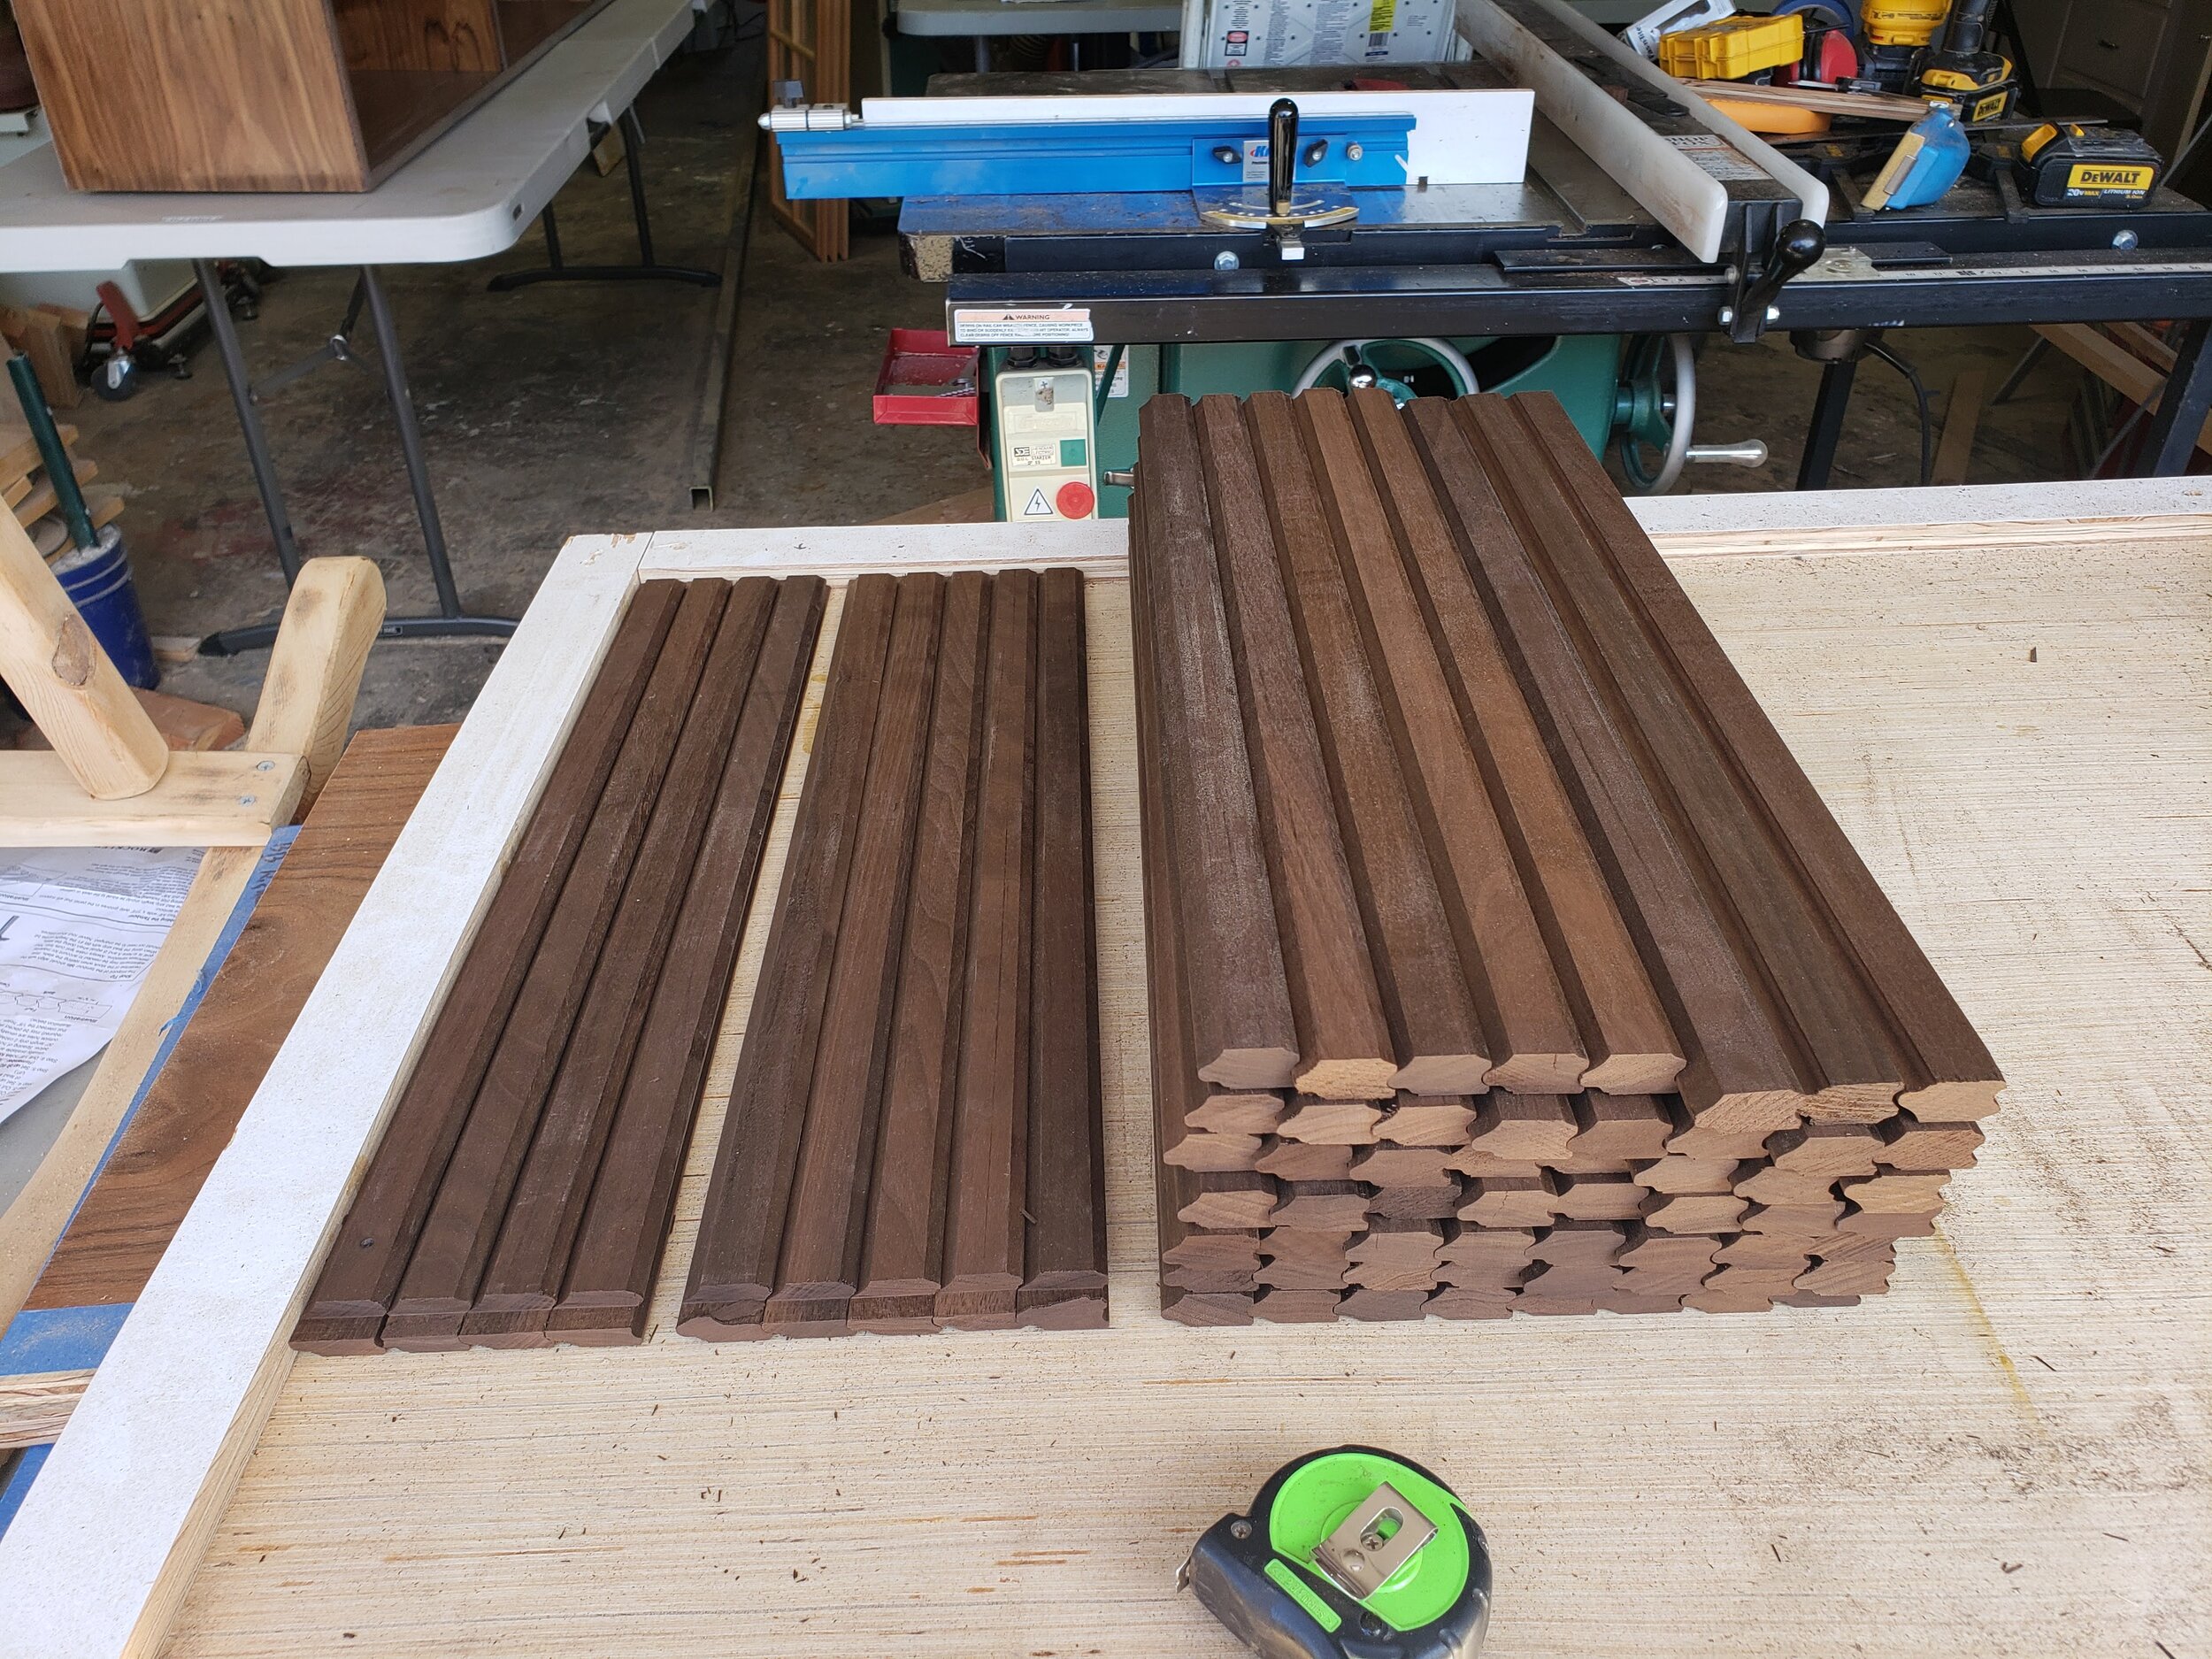
Tambour Door Slats
With the staircases done, I transitioned to building the last two pieces, the buffets. One of the key features of the back buffet is a pair of tambour doors - you can read a lot more about that process here. One of the first steps is here, where we see the roughly sixty cut & shaped slats.
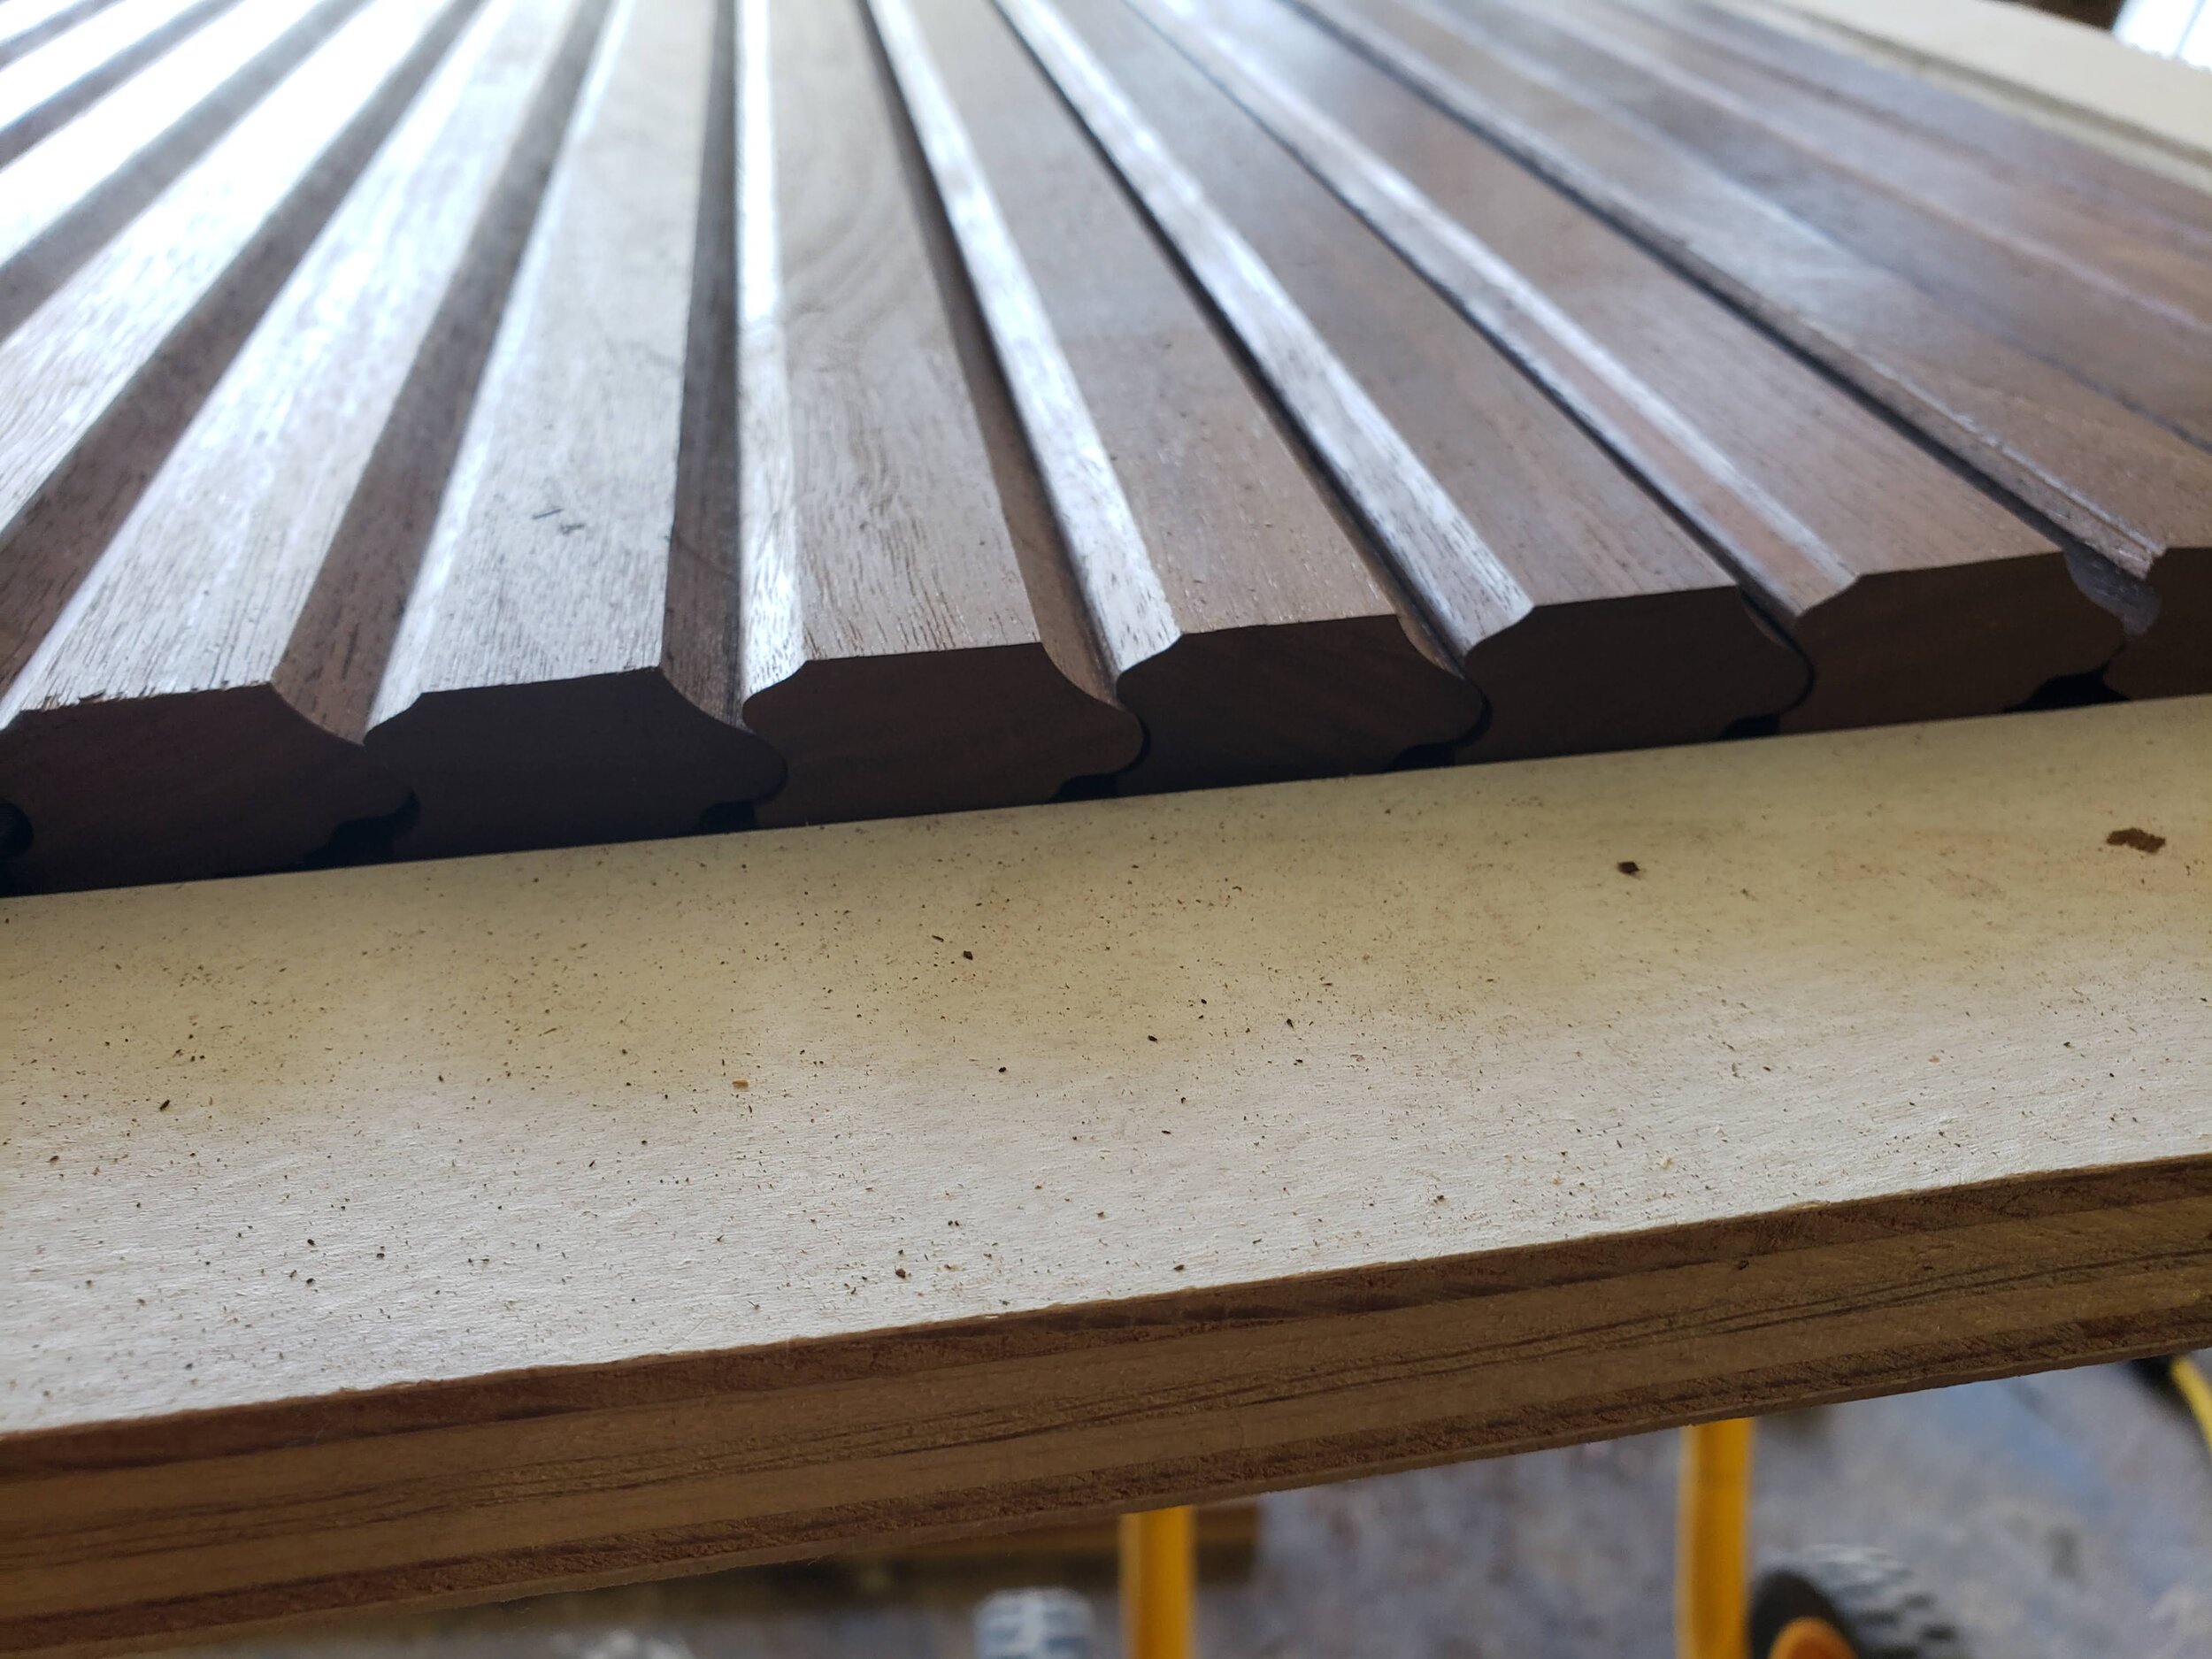
Tambour Slats Side-by-Side
Though I haven’t yet cut the dados in the tambours, you can see how the slats fit together to form a door here.
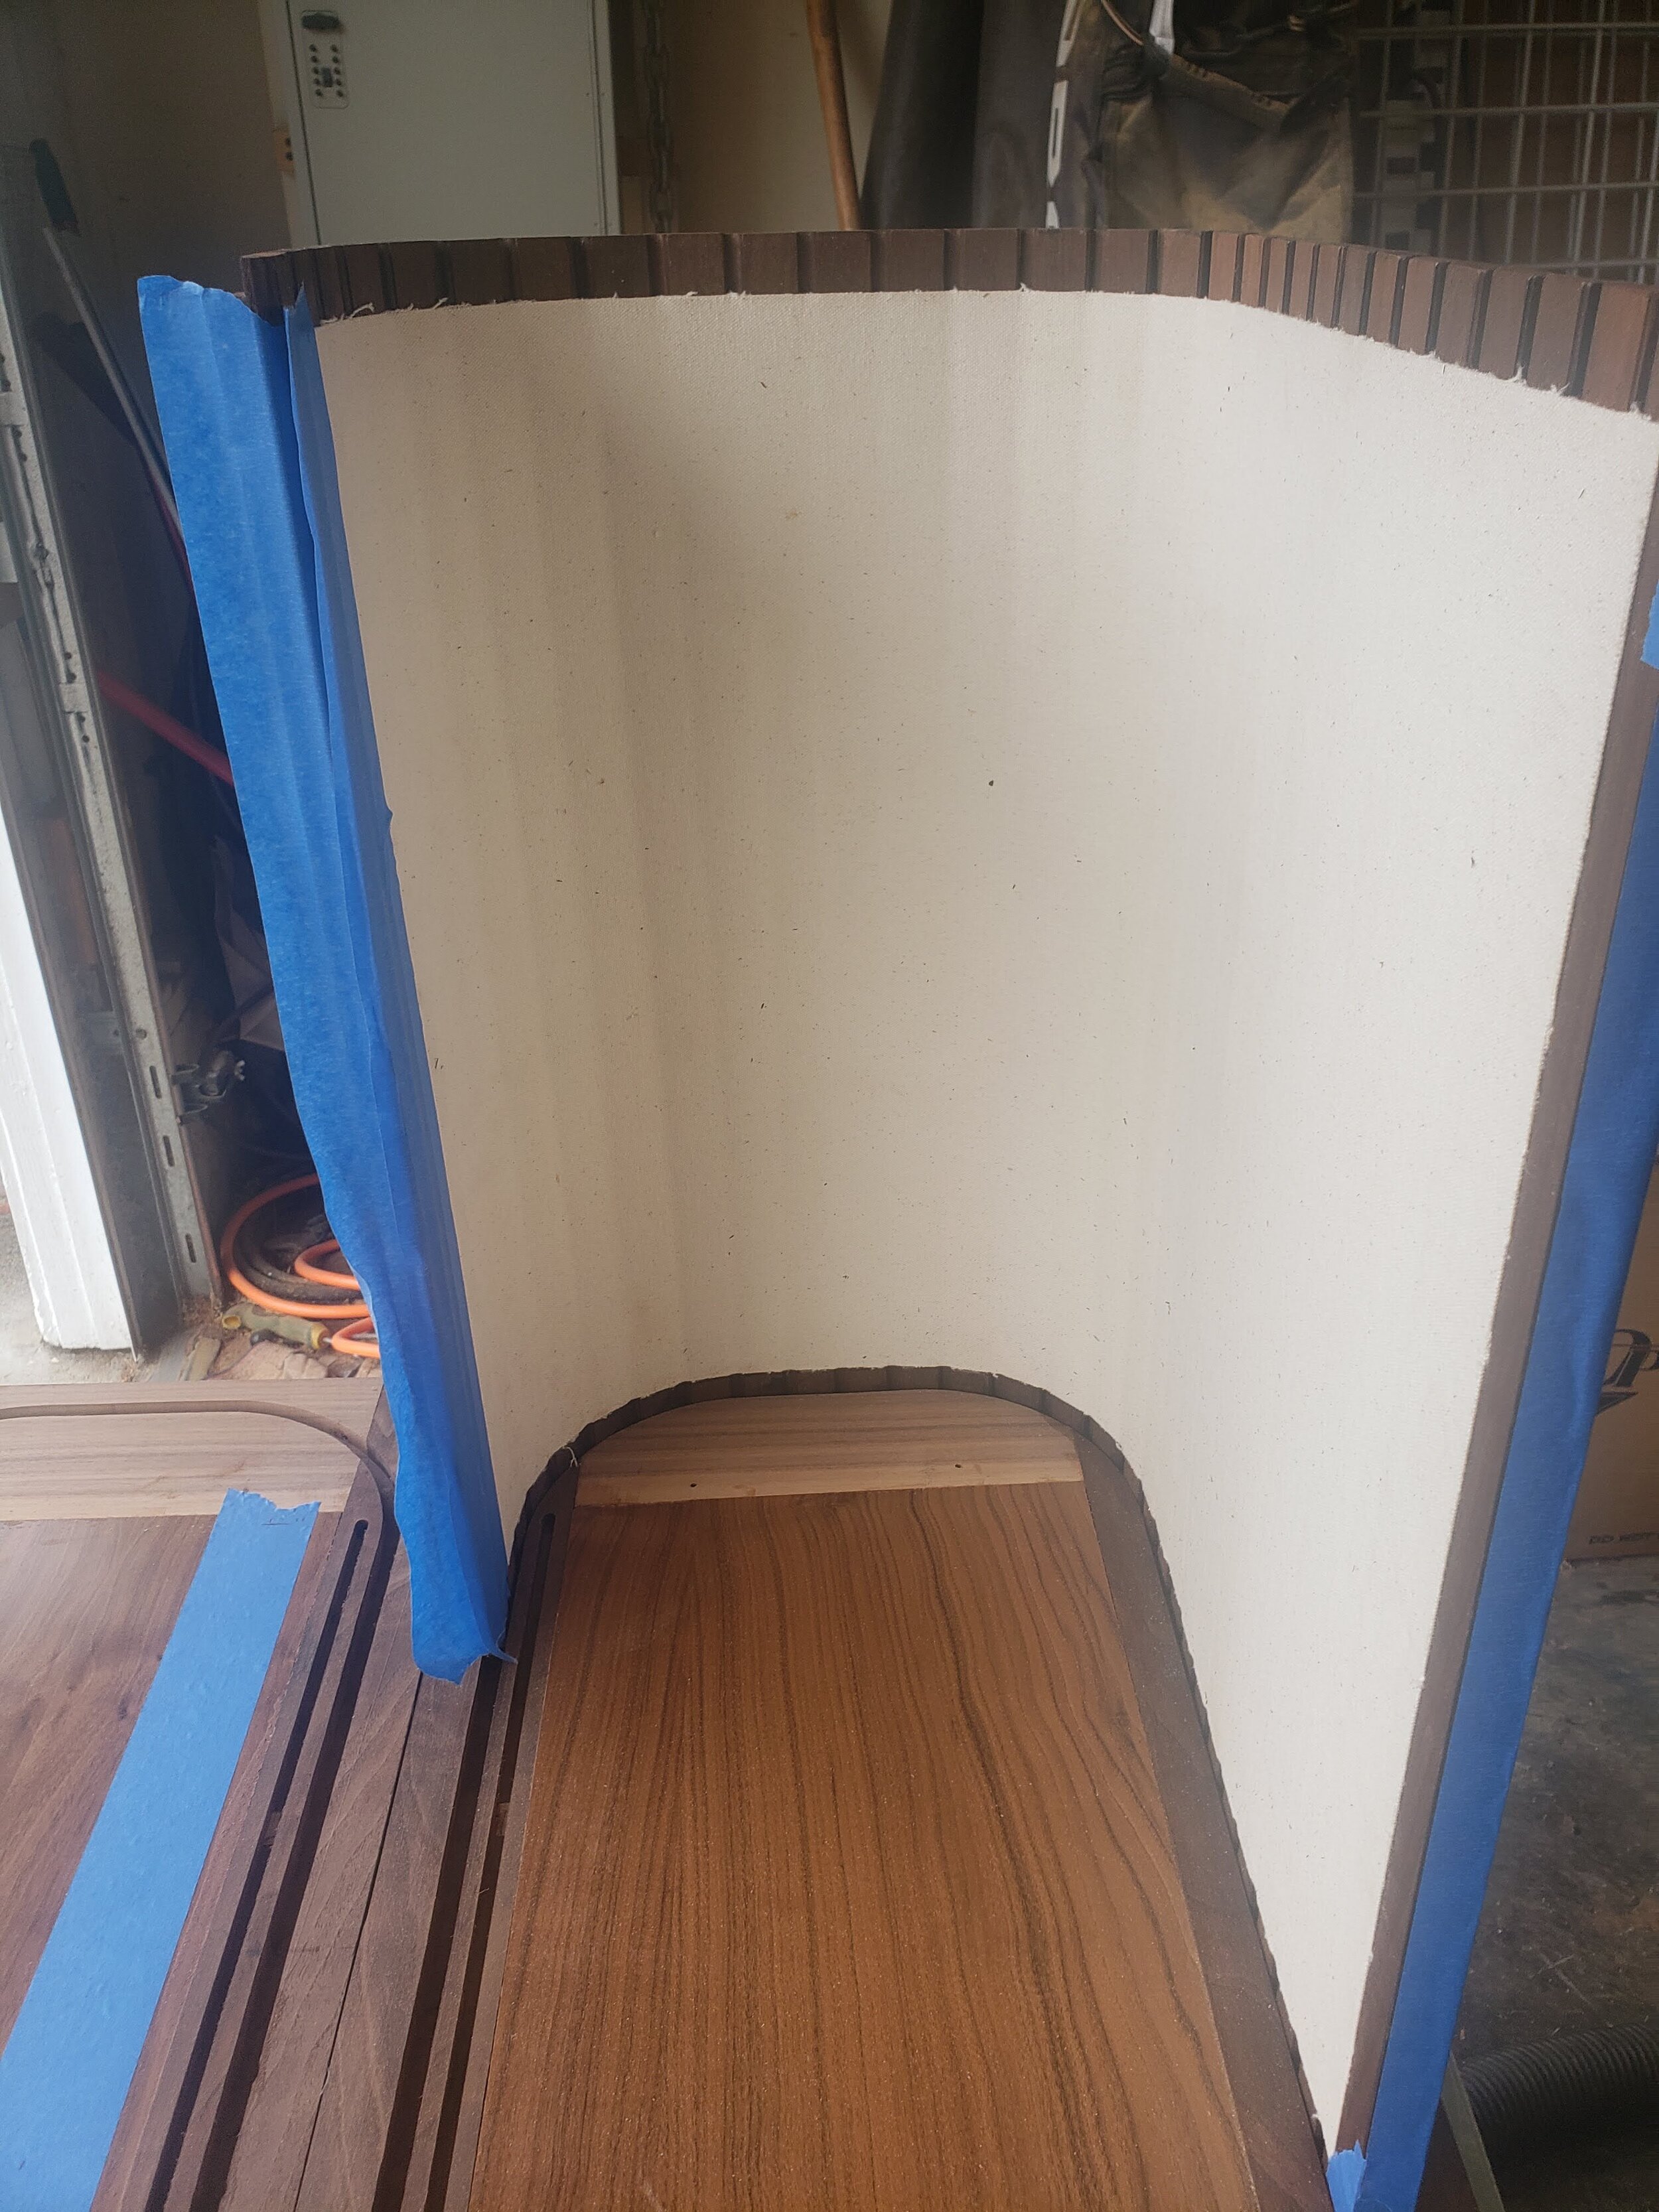
Tambour Door Test Fit
The assembled tambour door - complete with canvas backing attached via hide-glue - is test fit in the track. You can see the mirror image of the track cut in the top piece, as well as the dado for the internal backing that hides the tambour doors.
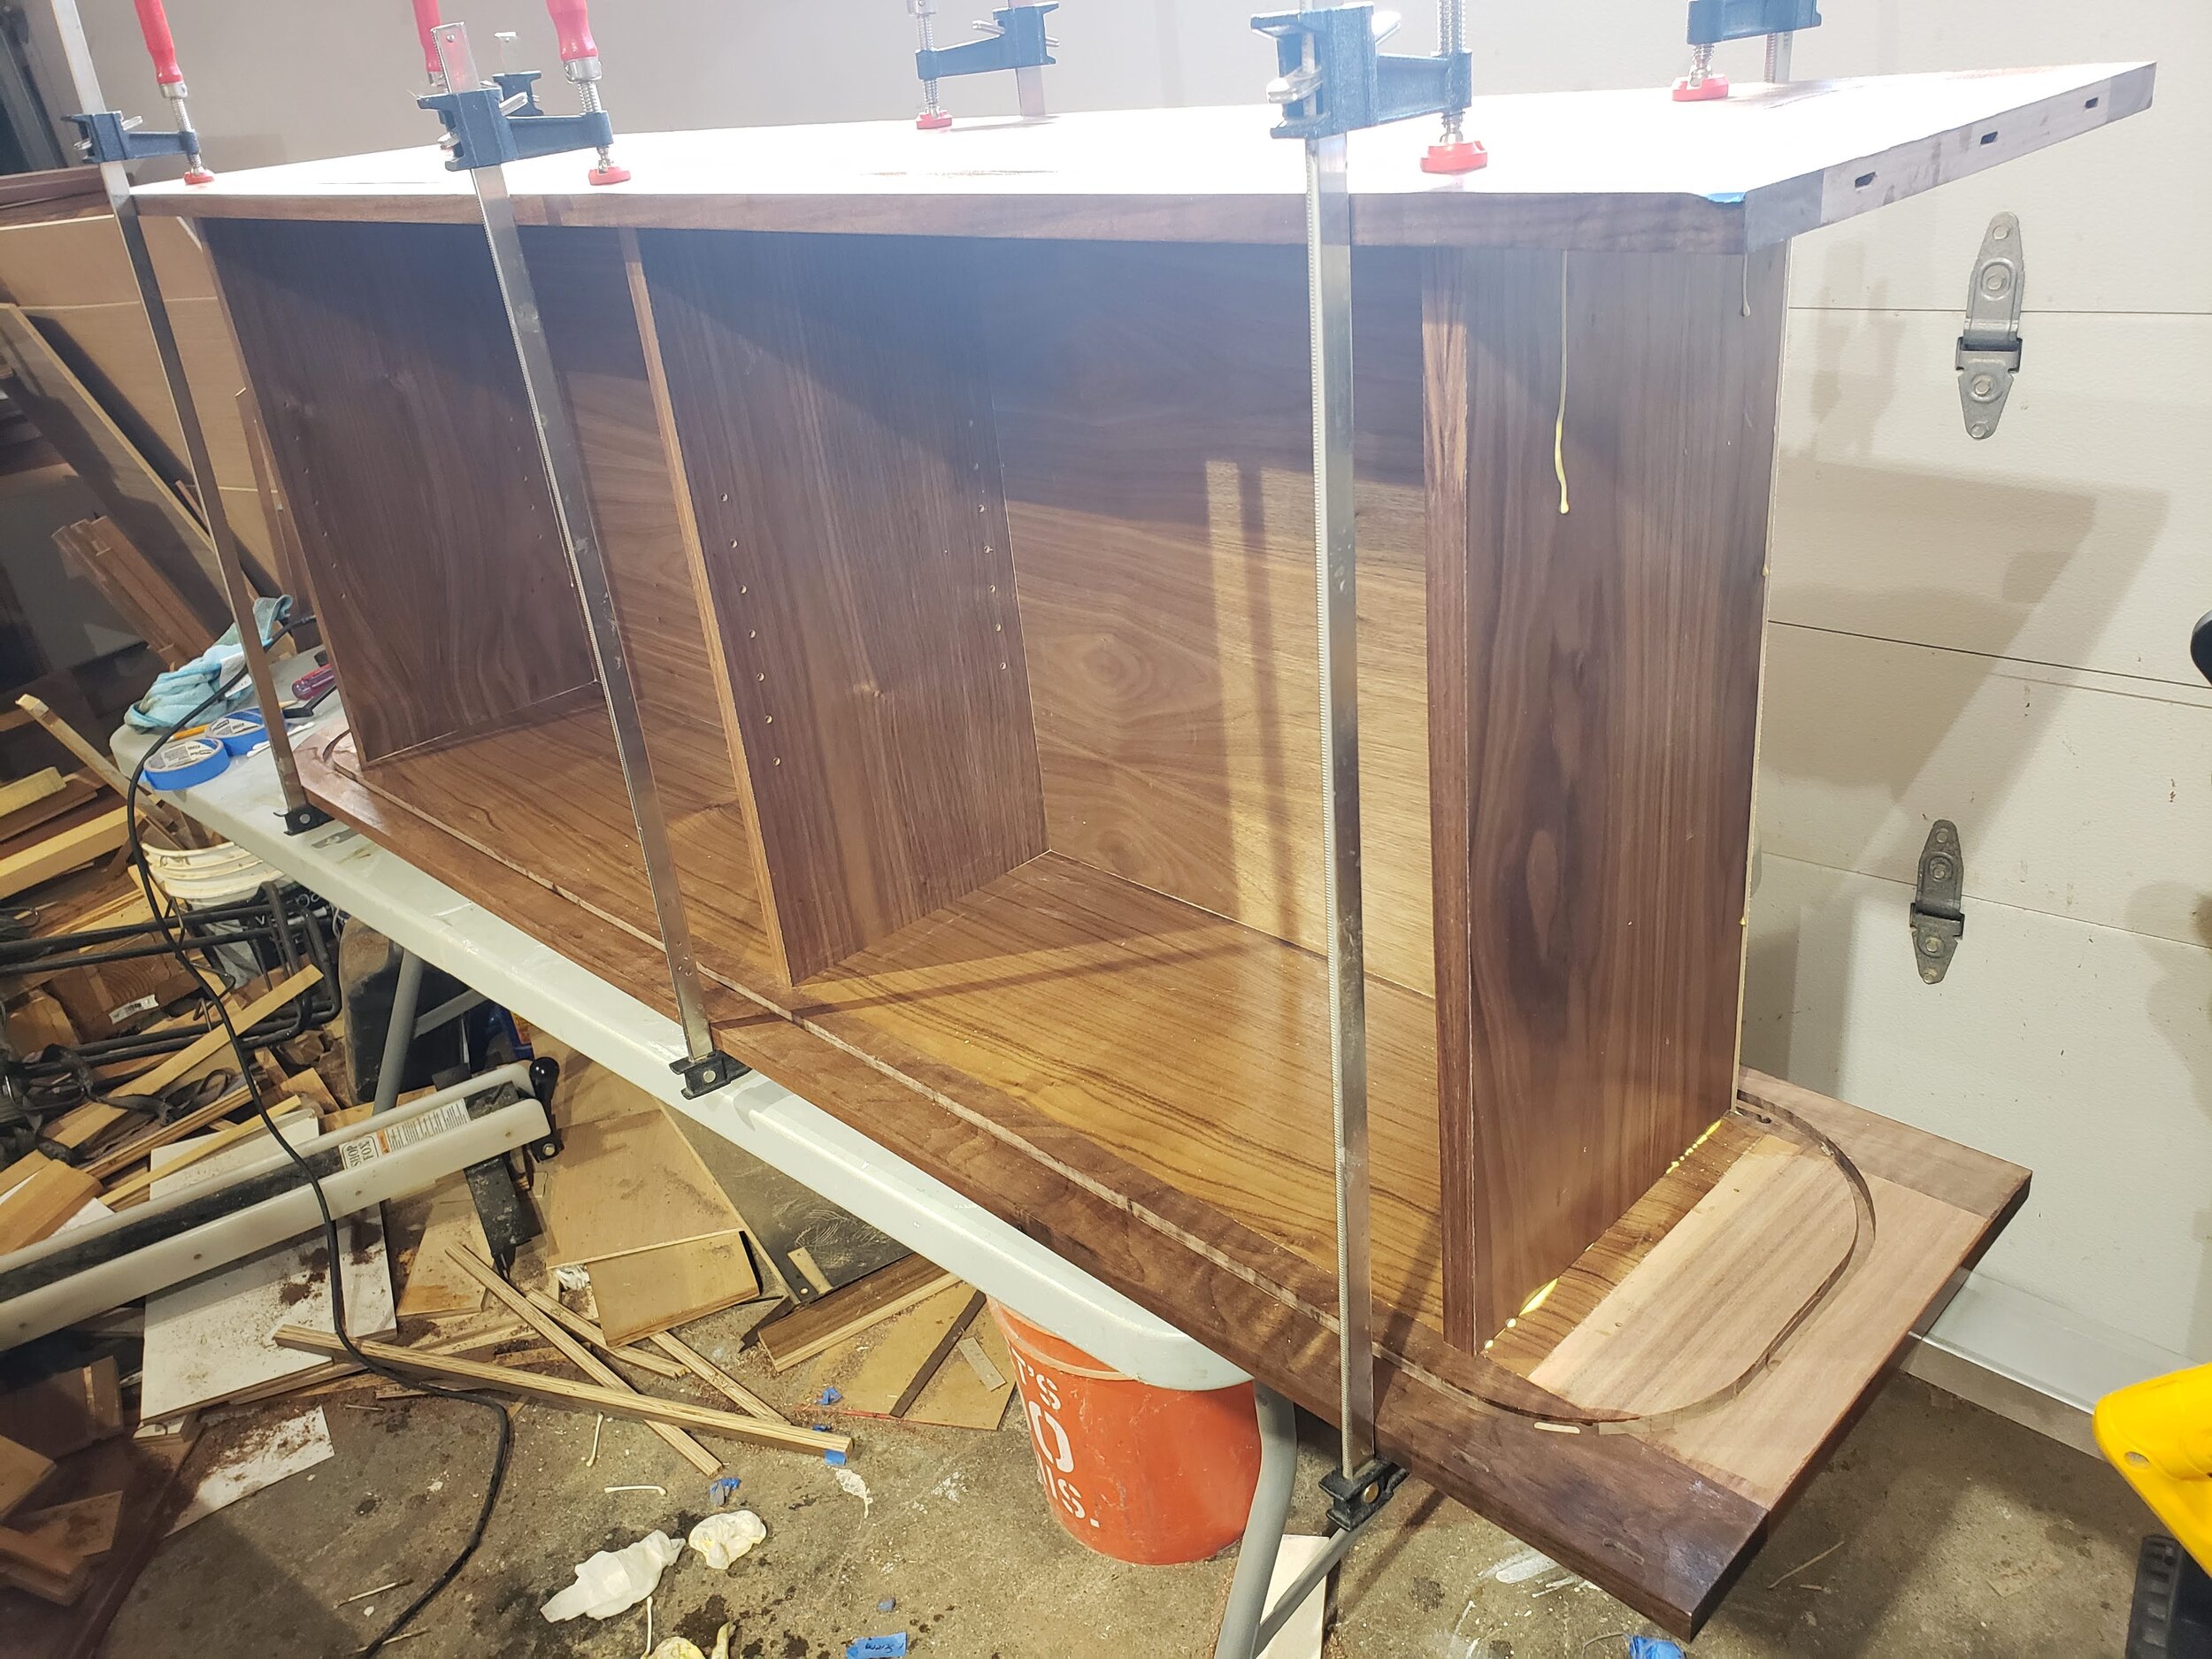
Tambour Shelving Assembly
Though it was not the largest piece, the buffet with the tambour doors was by far the heaviest piece, due to all the internal structure and hidden backs.
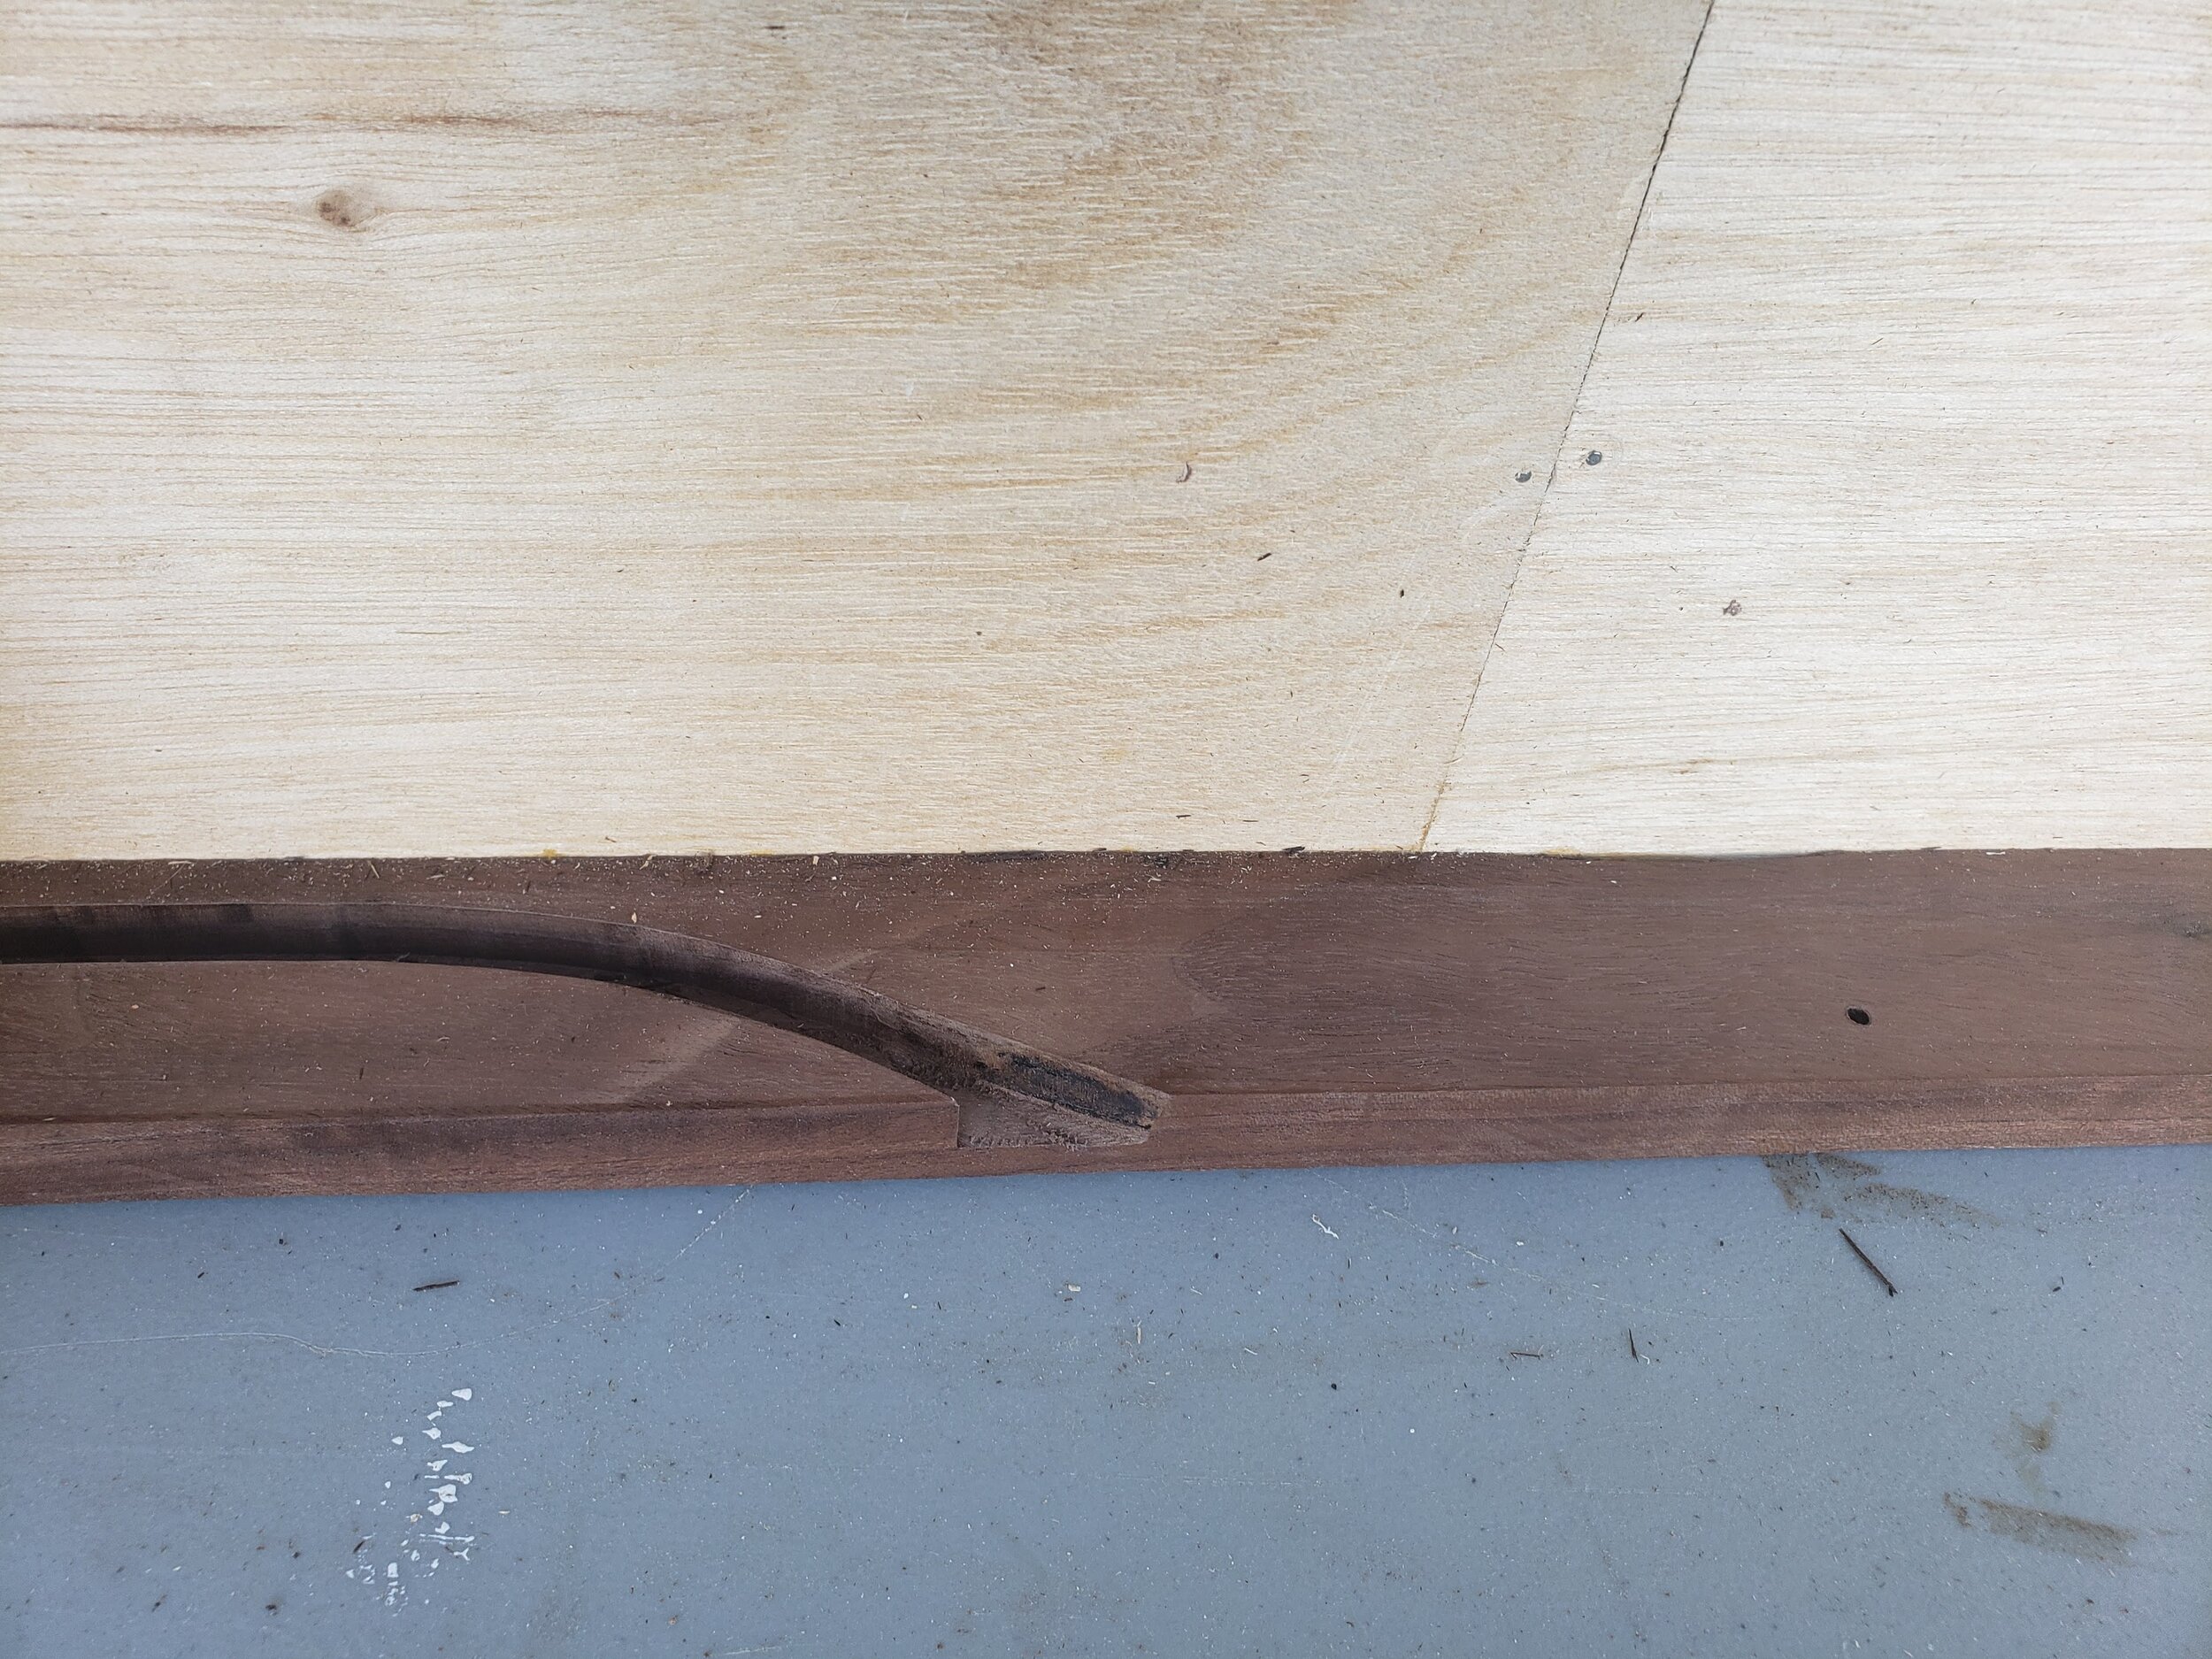
Track Exit
Before the doors would slide into the track easily, I needed to widen the entry tracks to make up for my too-small radius; you can read more about this error and recovery here.
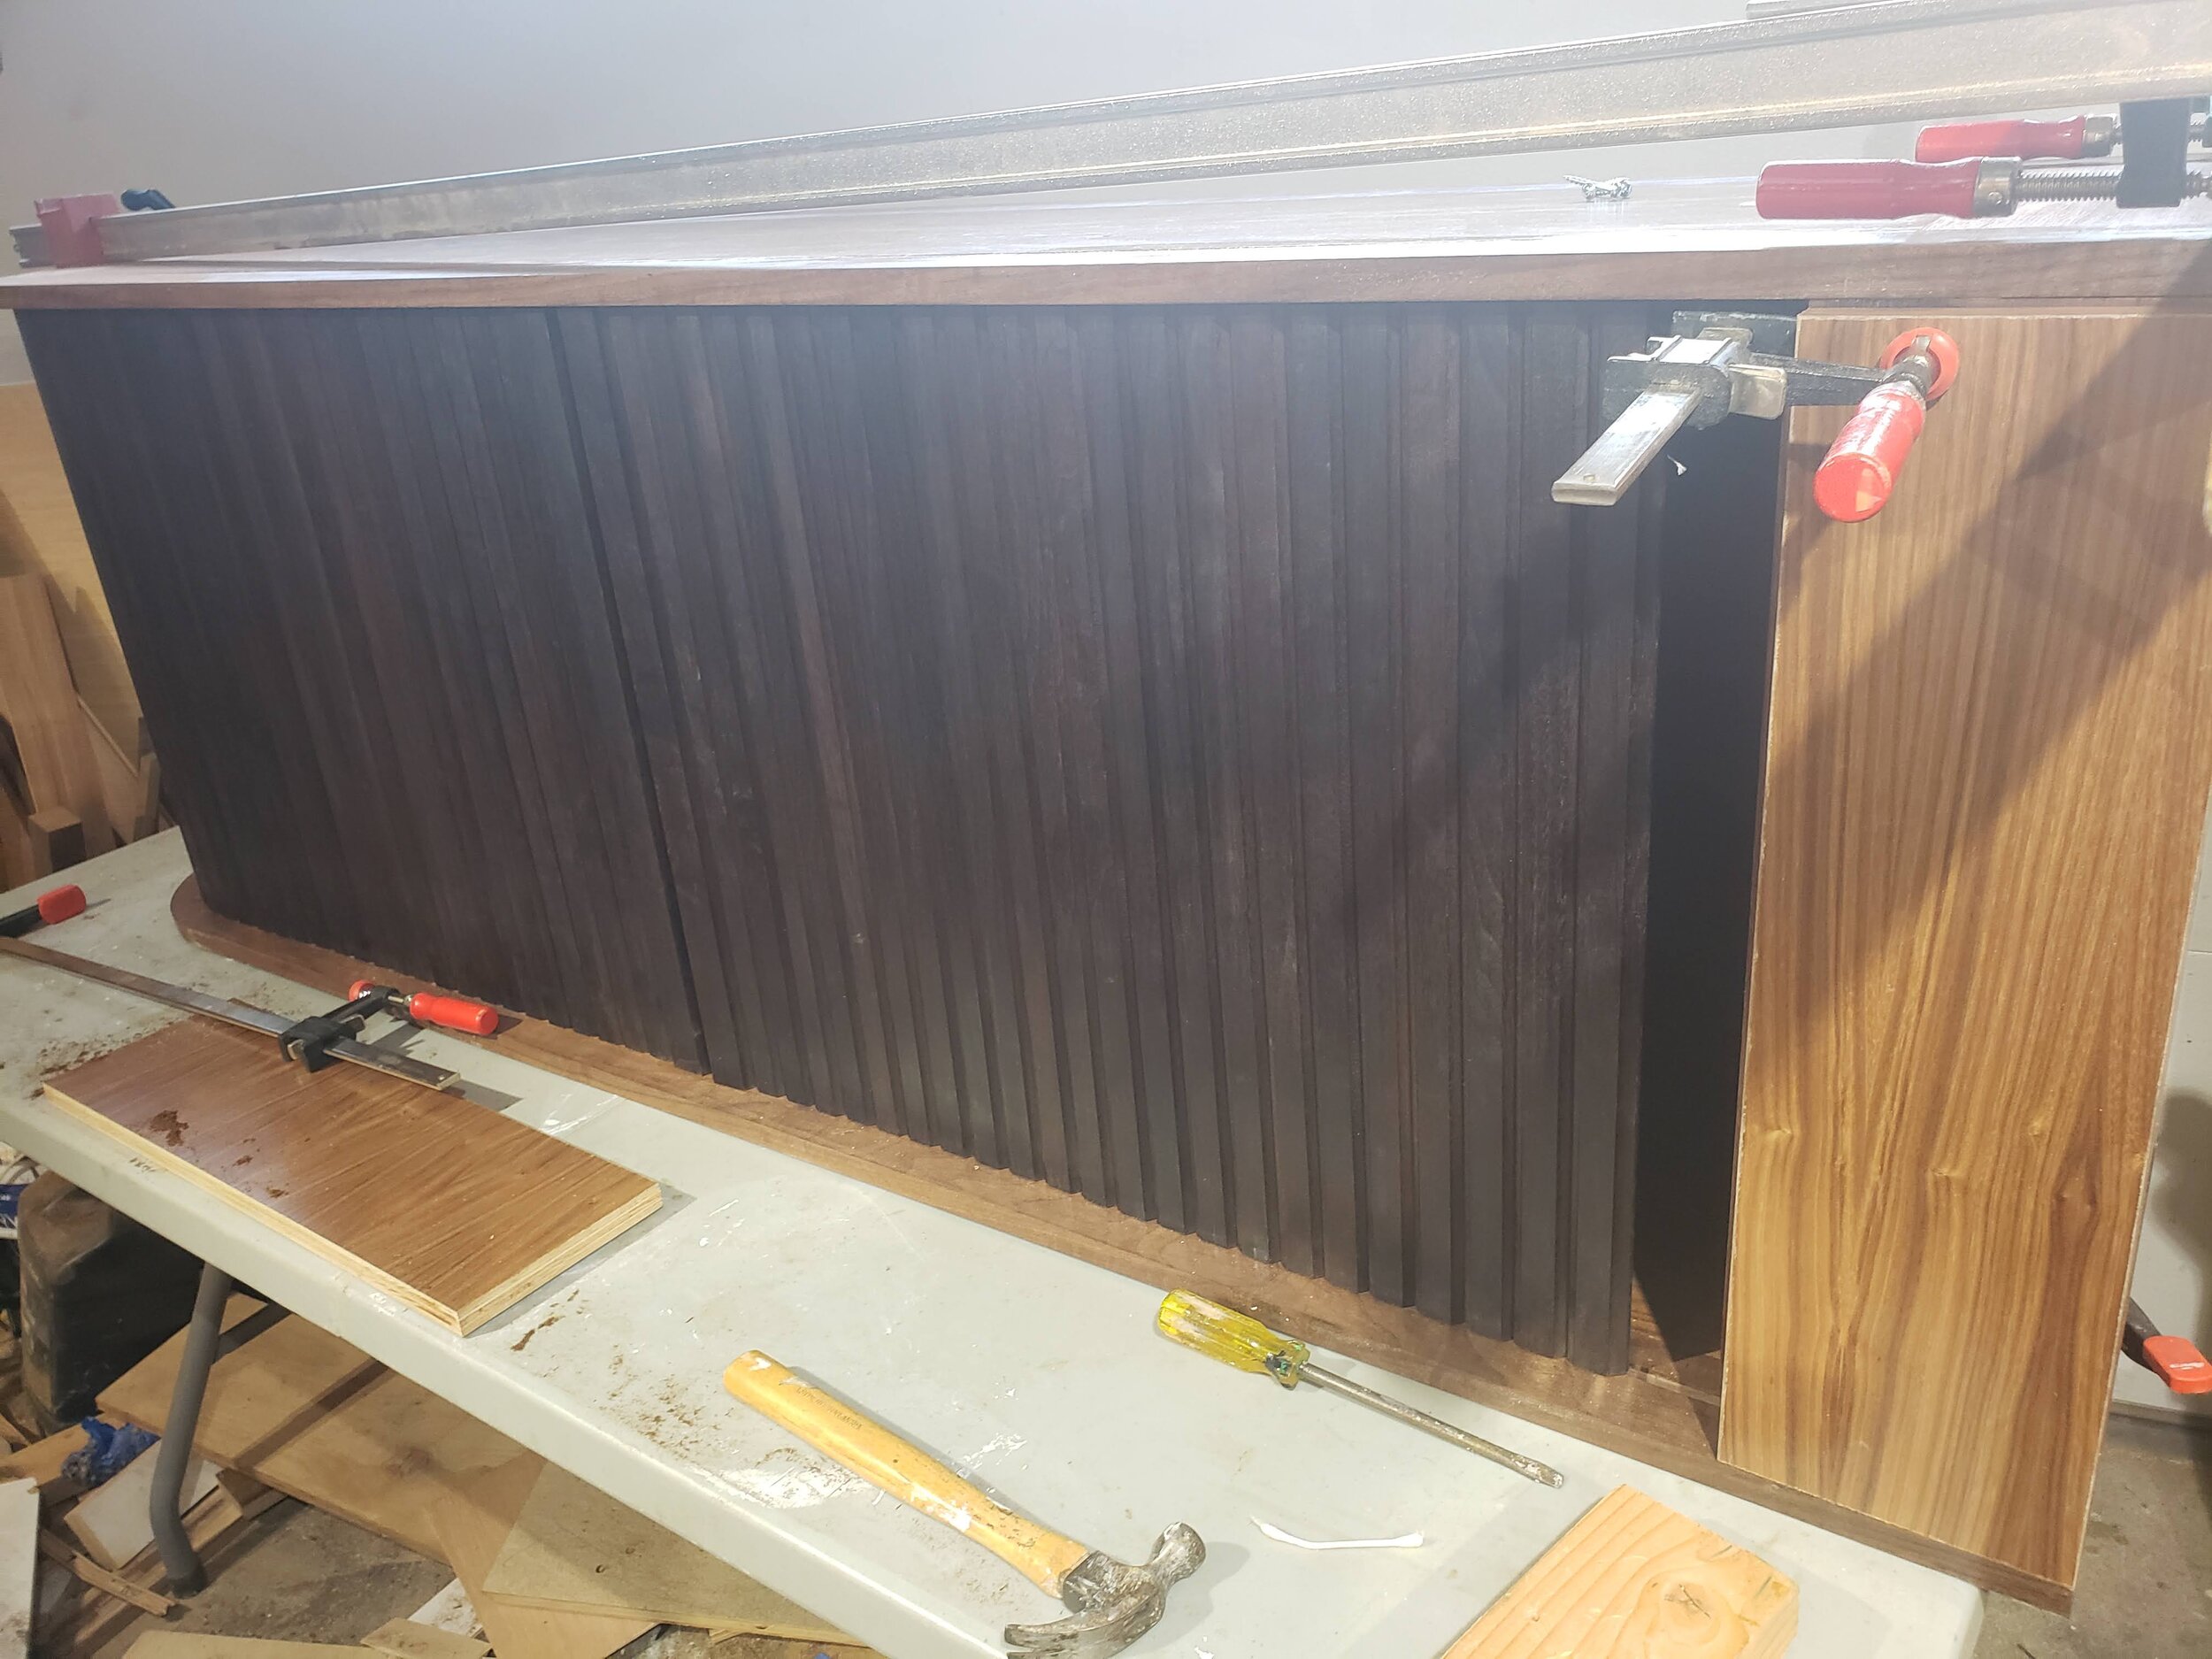
Tambour Unit Complete
With the tambour portion done, I can now focus in on the rest of the buffet.
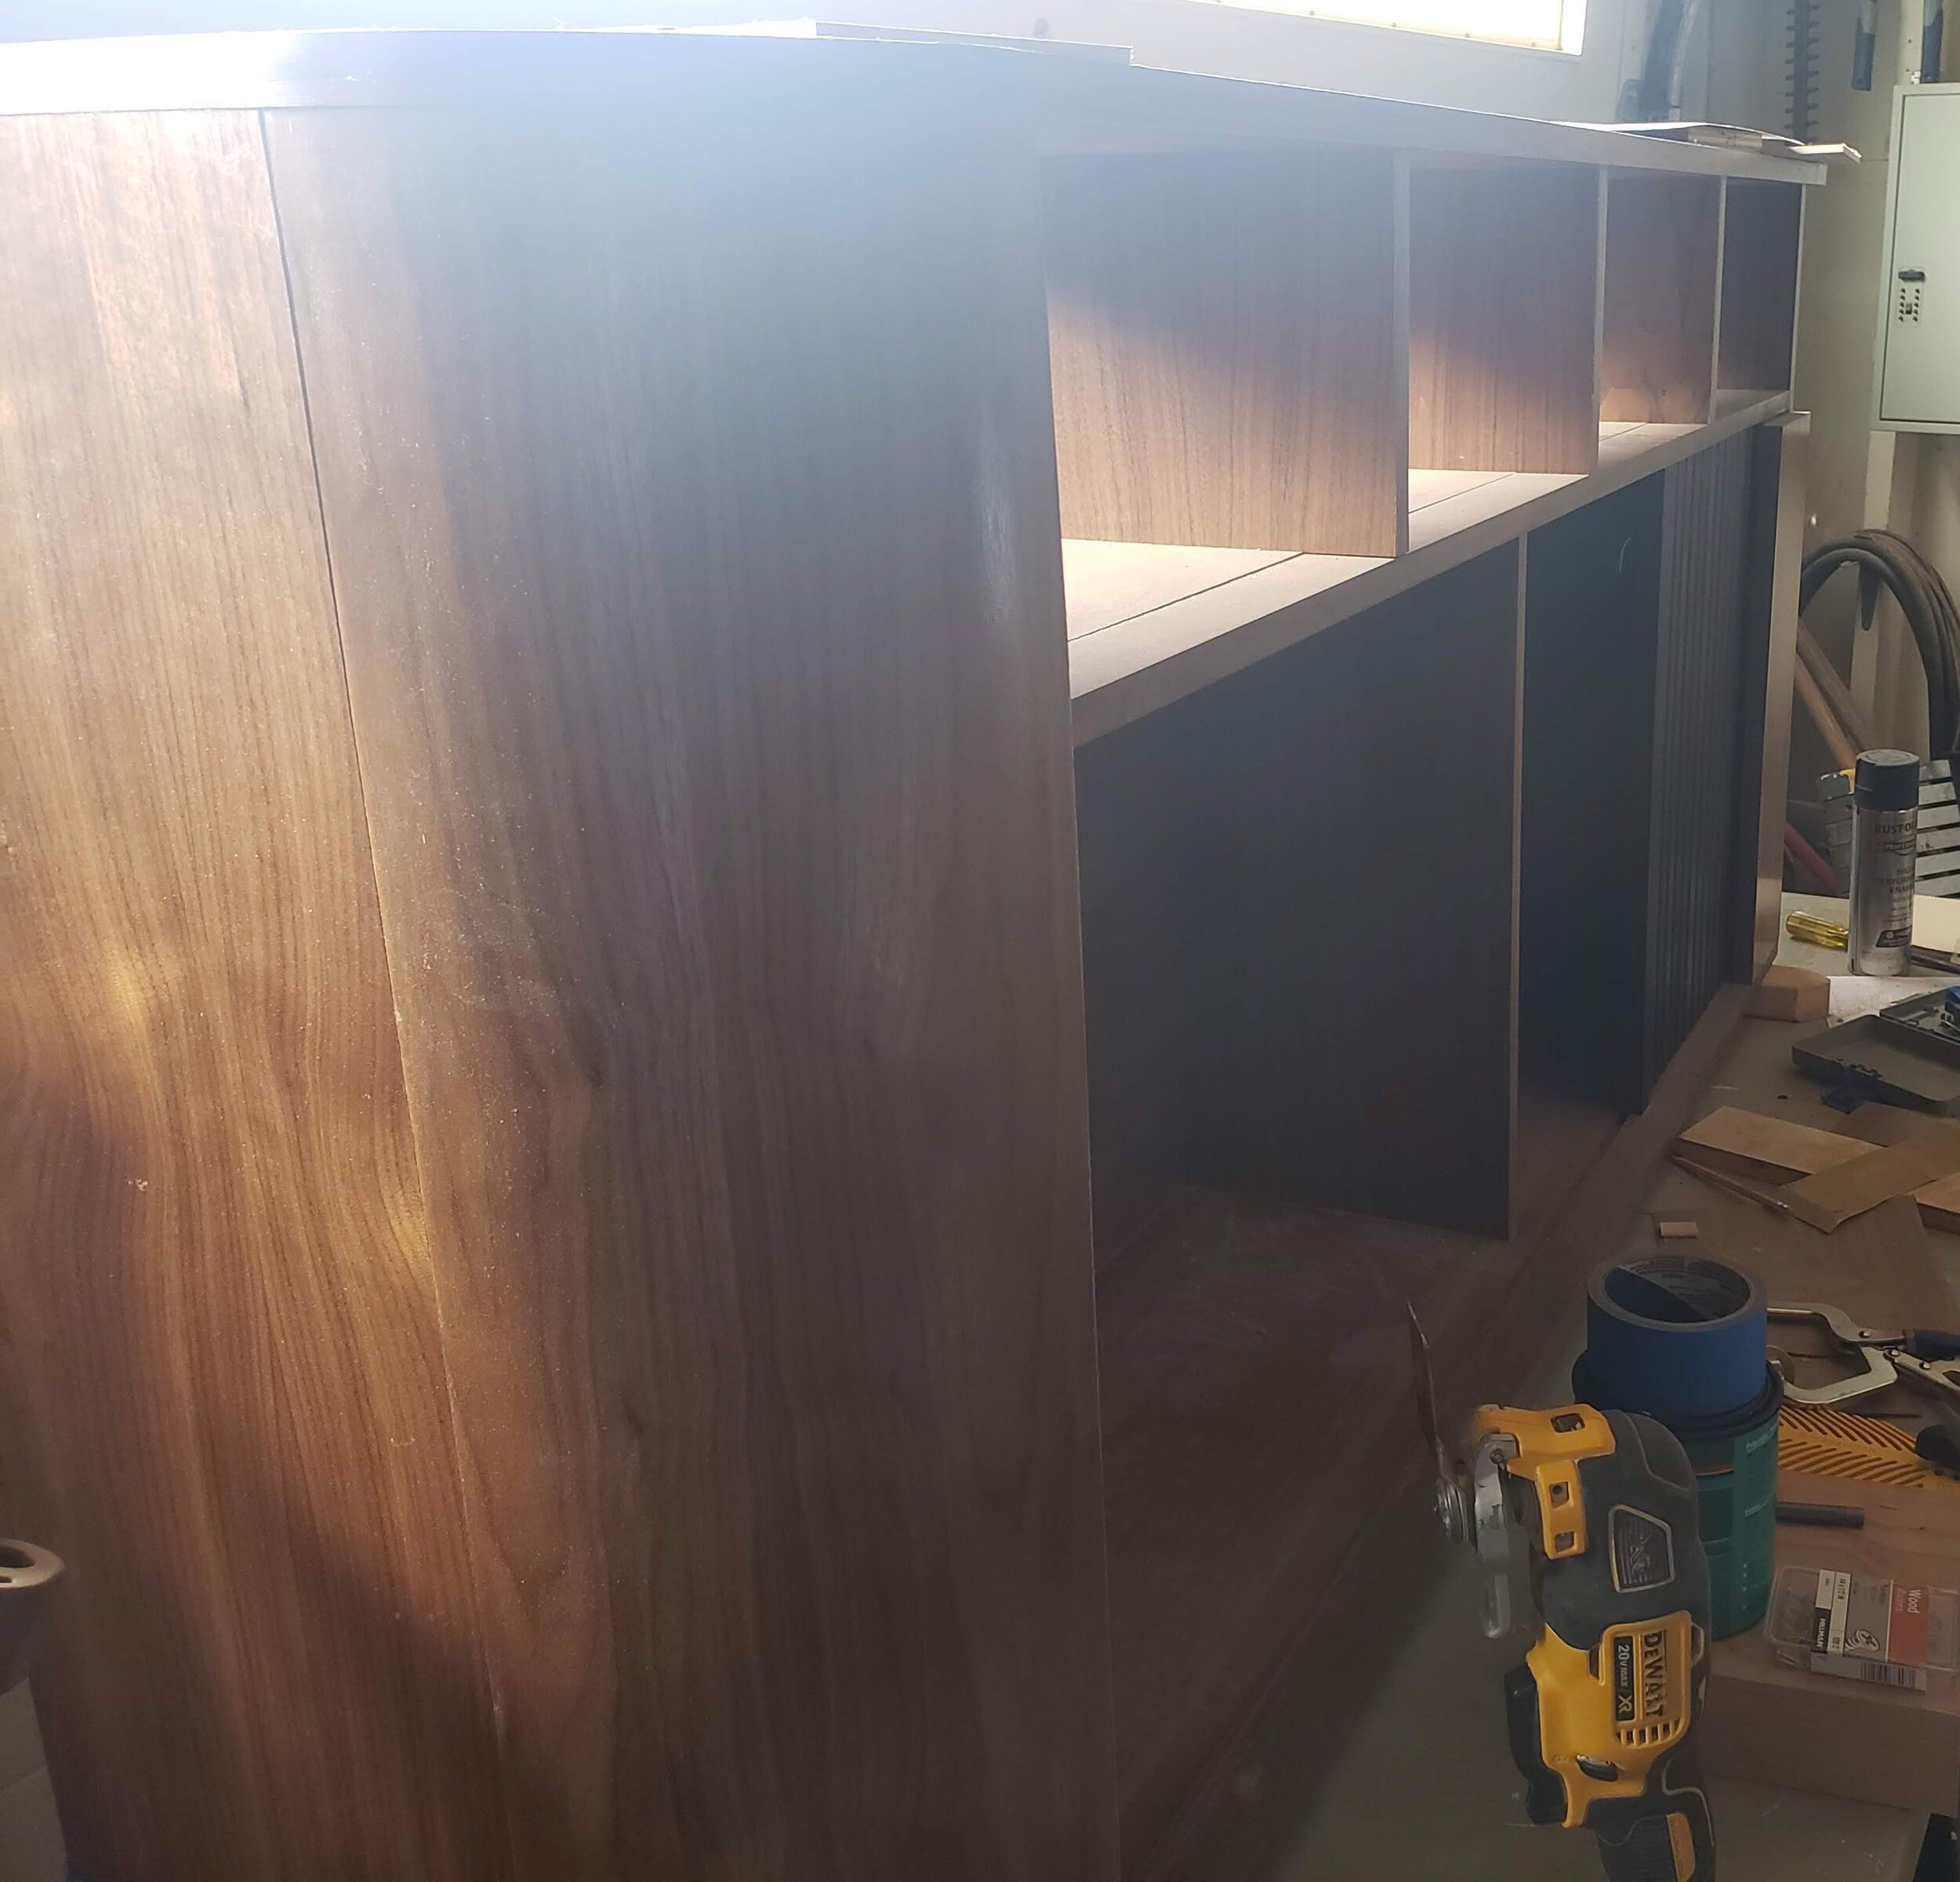
Buffet Frame Fully Assembled
With all the sides and top now attached - mostly with hidden tenons, albeit also with some pocket screws for the hidden sections inside the tambour area - I can now move on to the next piece, leaving the veneer detail of the drawer boxes to the end.
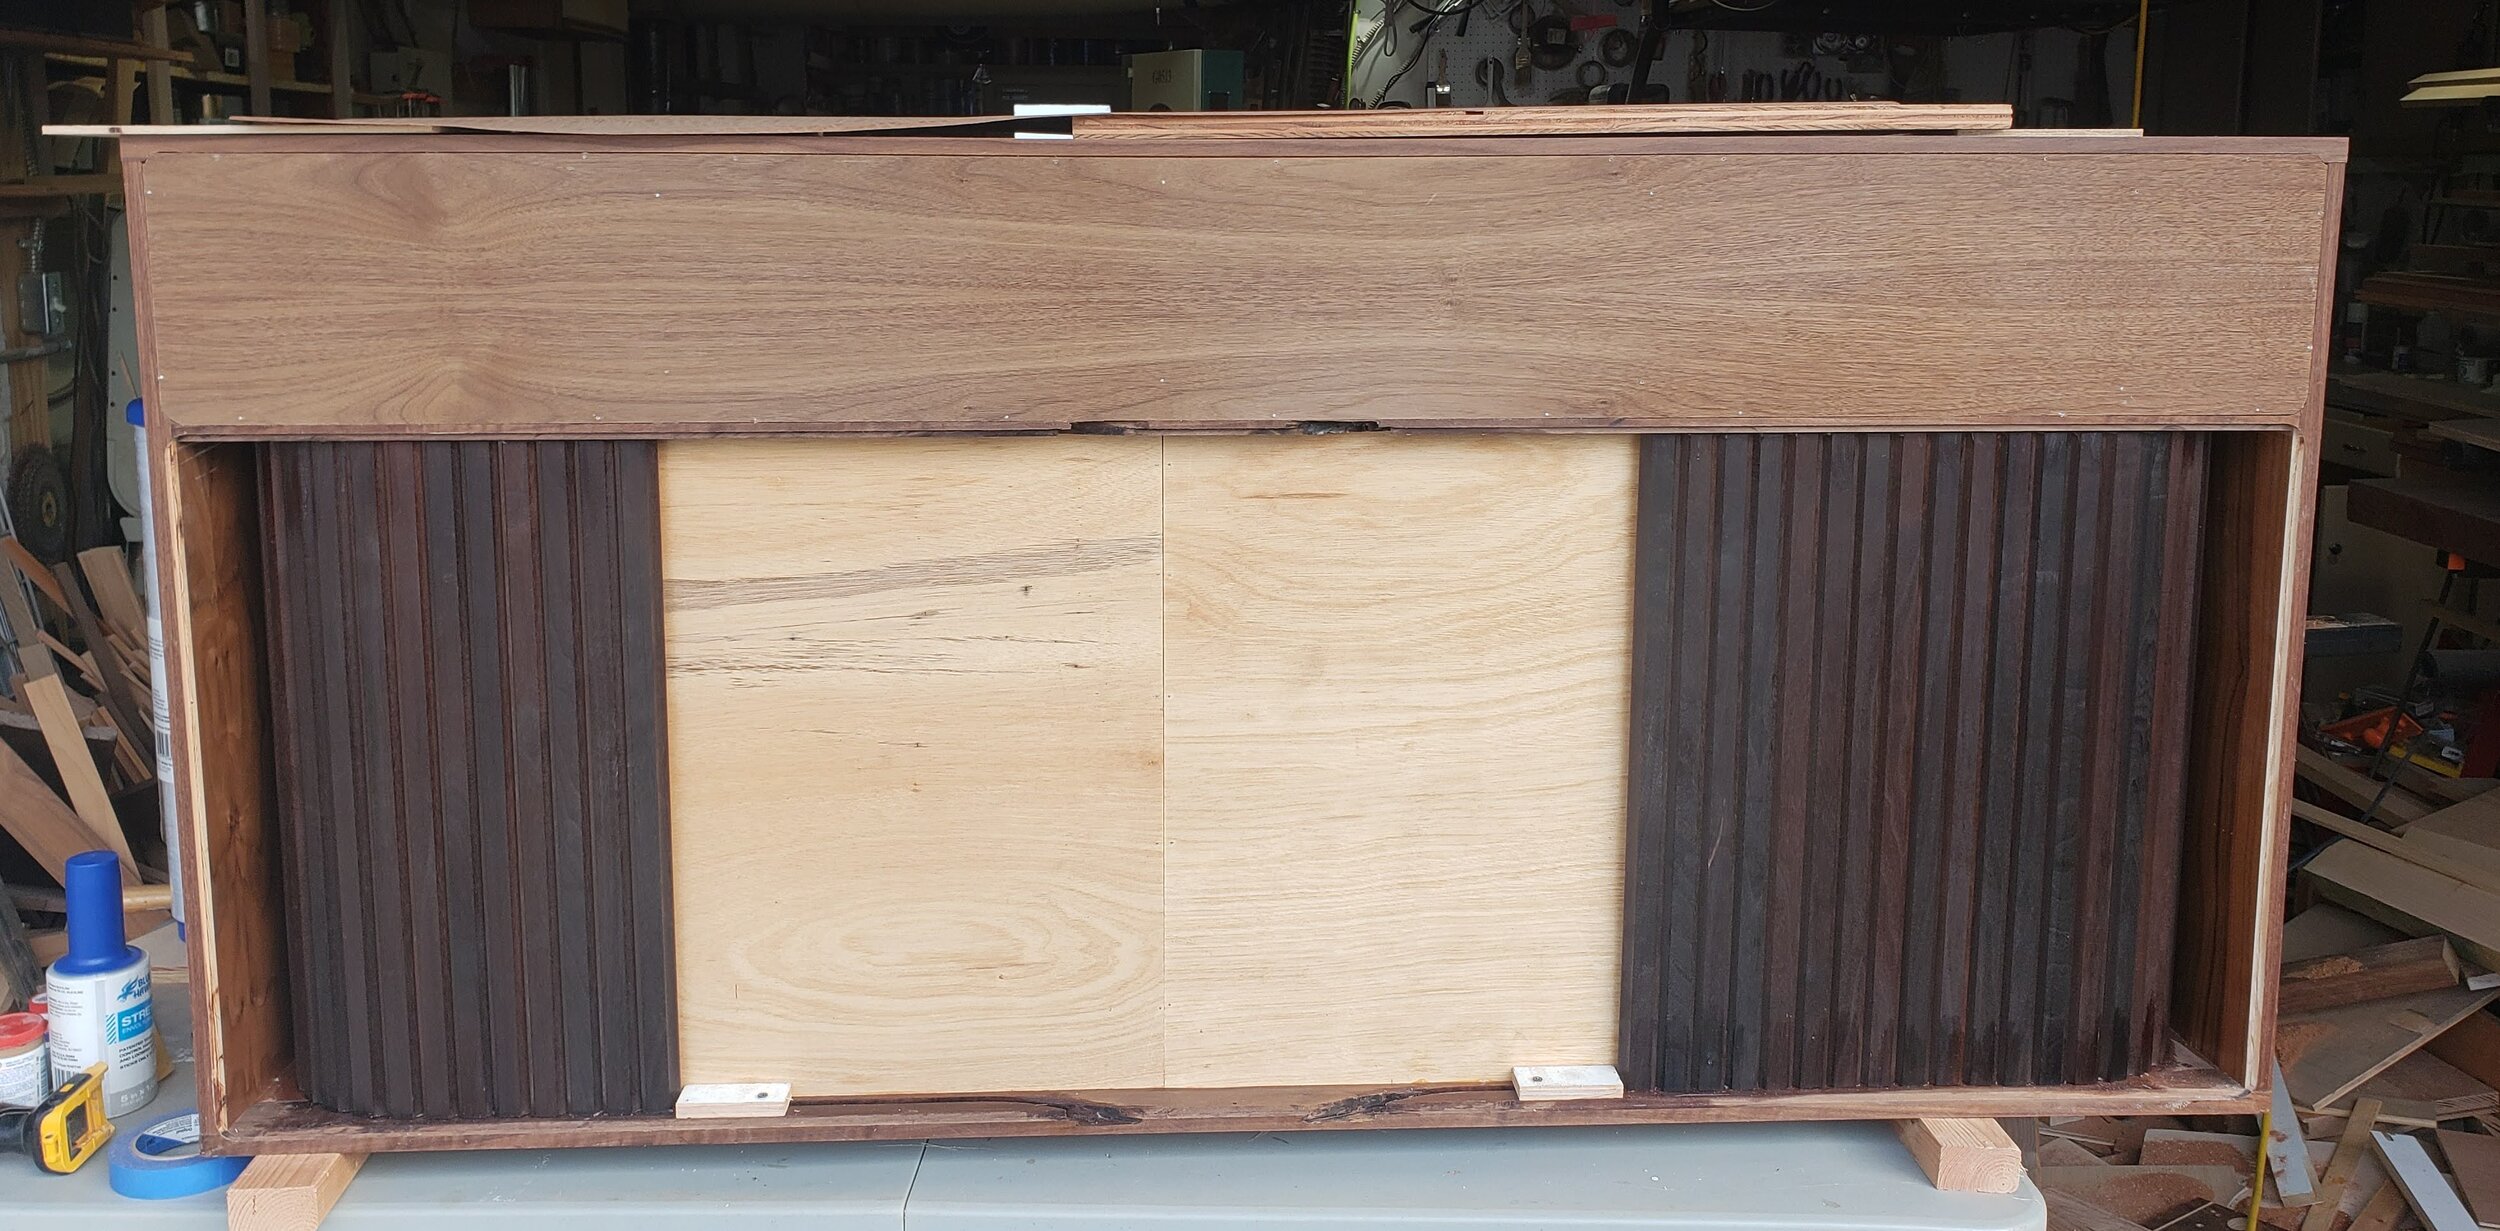
Tambour Door Stops
As a last minute addition, I decided to add two (removable for service) door “stops” to the tambour track so that an overeager child (or adult) can’t slide the door past the point where it cannot be easily retrieved!
I also made an adjustment from the original design to split the back into two pieces. The top back is permanently affixed with glue and brads to give rigidity, as any service to the drawer region can be done from the front of the drawer boxes. However, the bottom back is affixed only with nails (sans glue) so that it can be removed more easily, if needed, for door service.
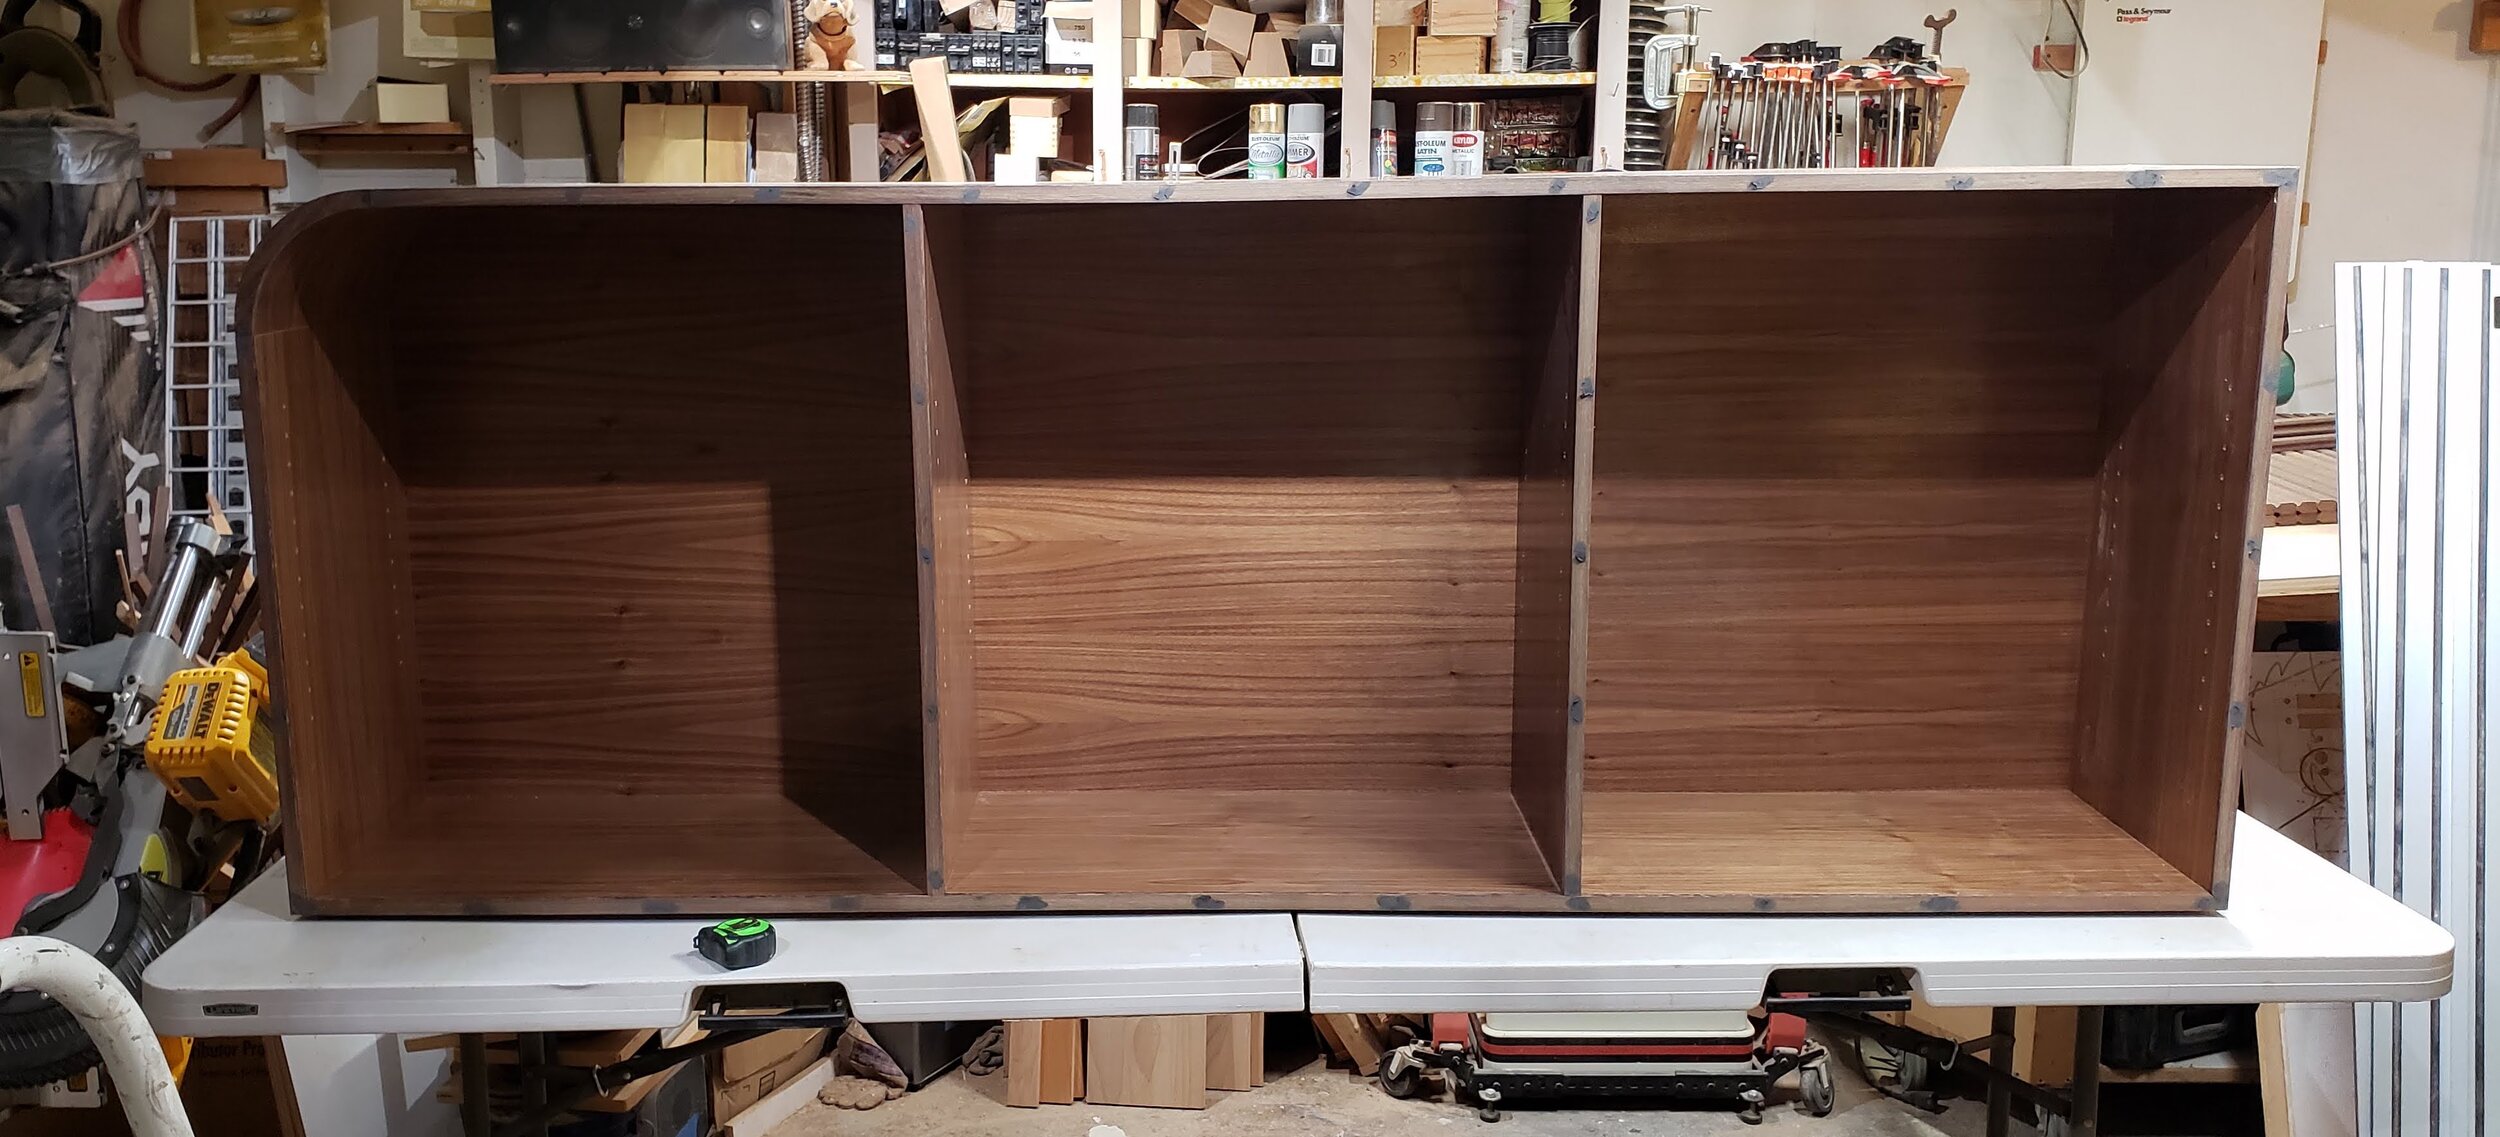
Side Buffet Case Frame
The frame here is fairly simple (though large); this is the piece where the assembly was thrown off due to some of the gotchas described elsewhere in this post, with respect to a flat assembly surface and a plywood quarter round that deviated from spec.
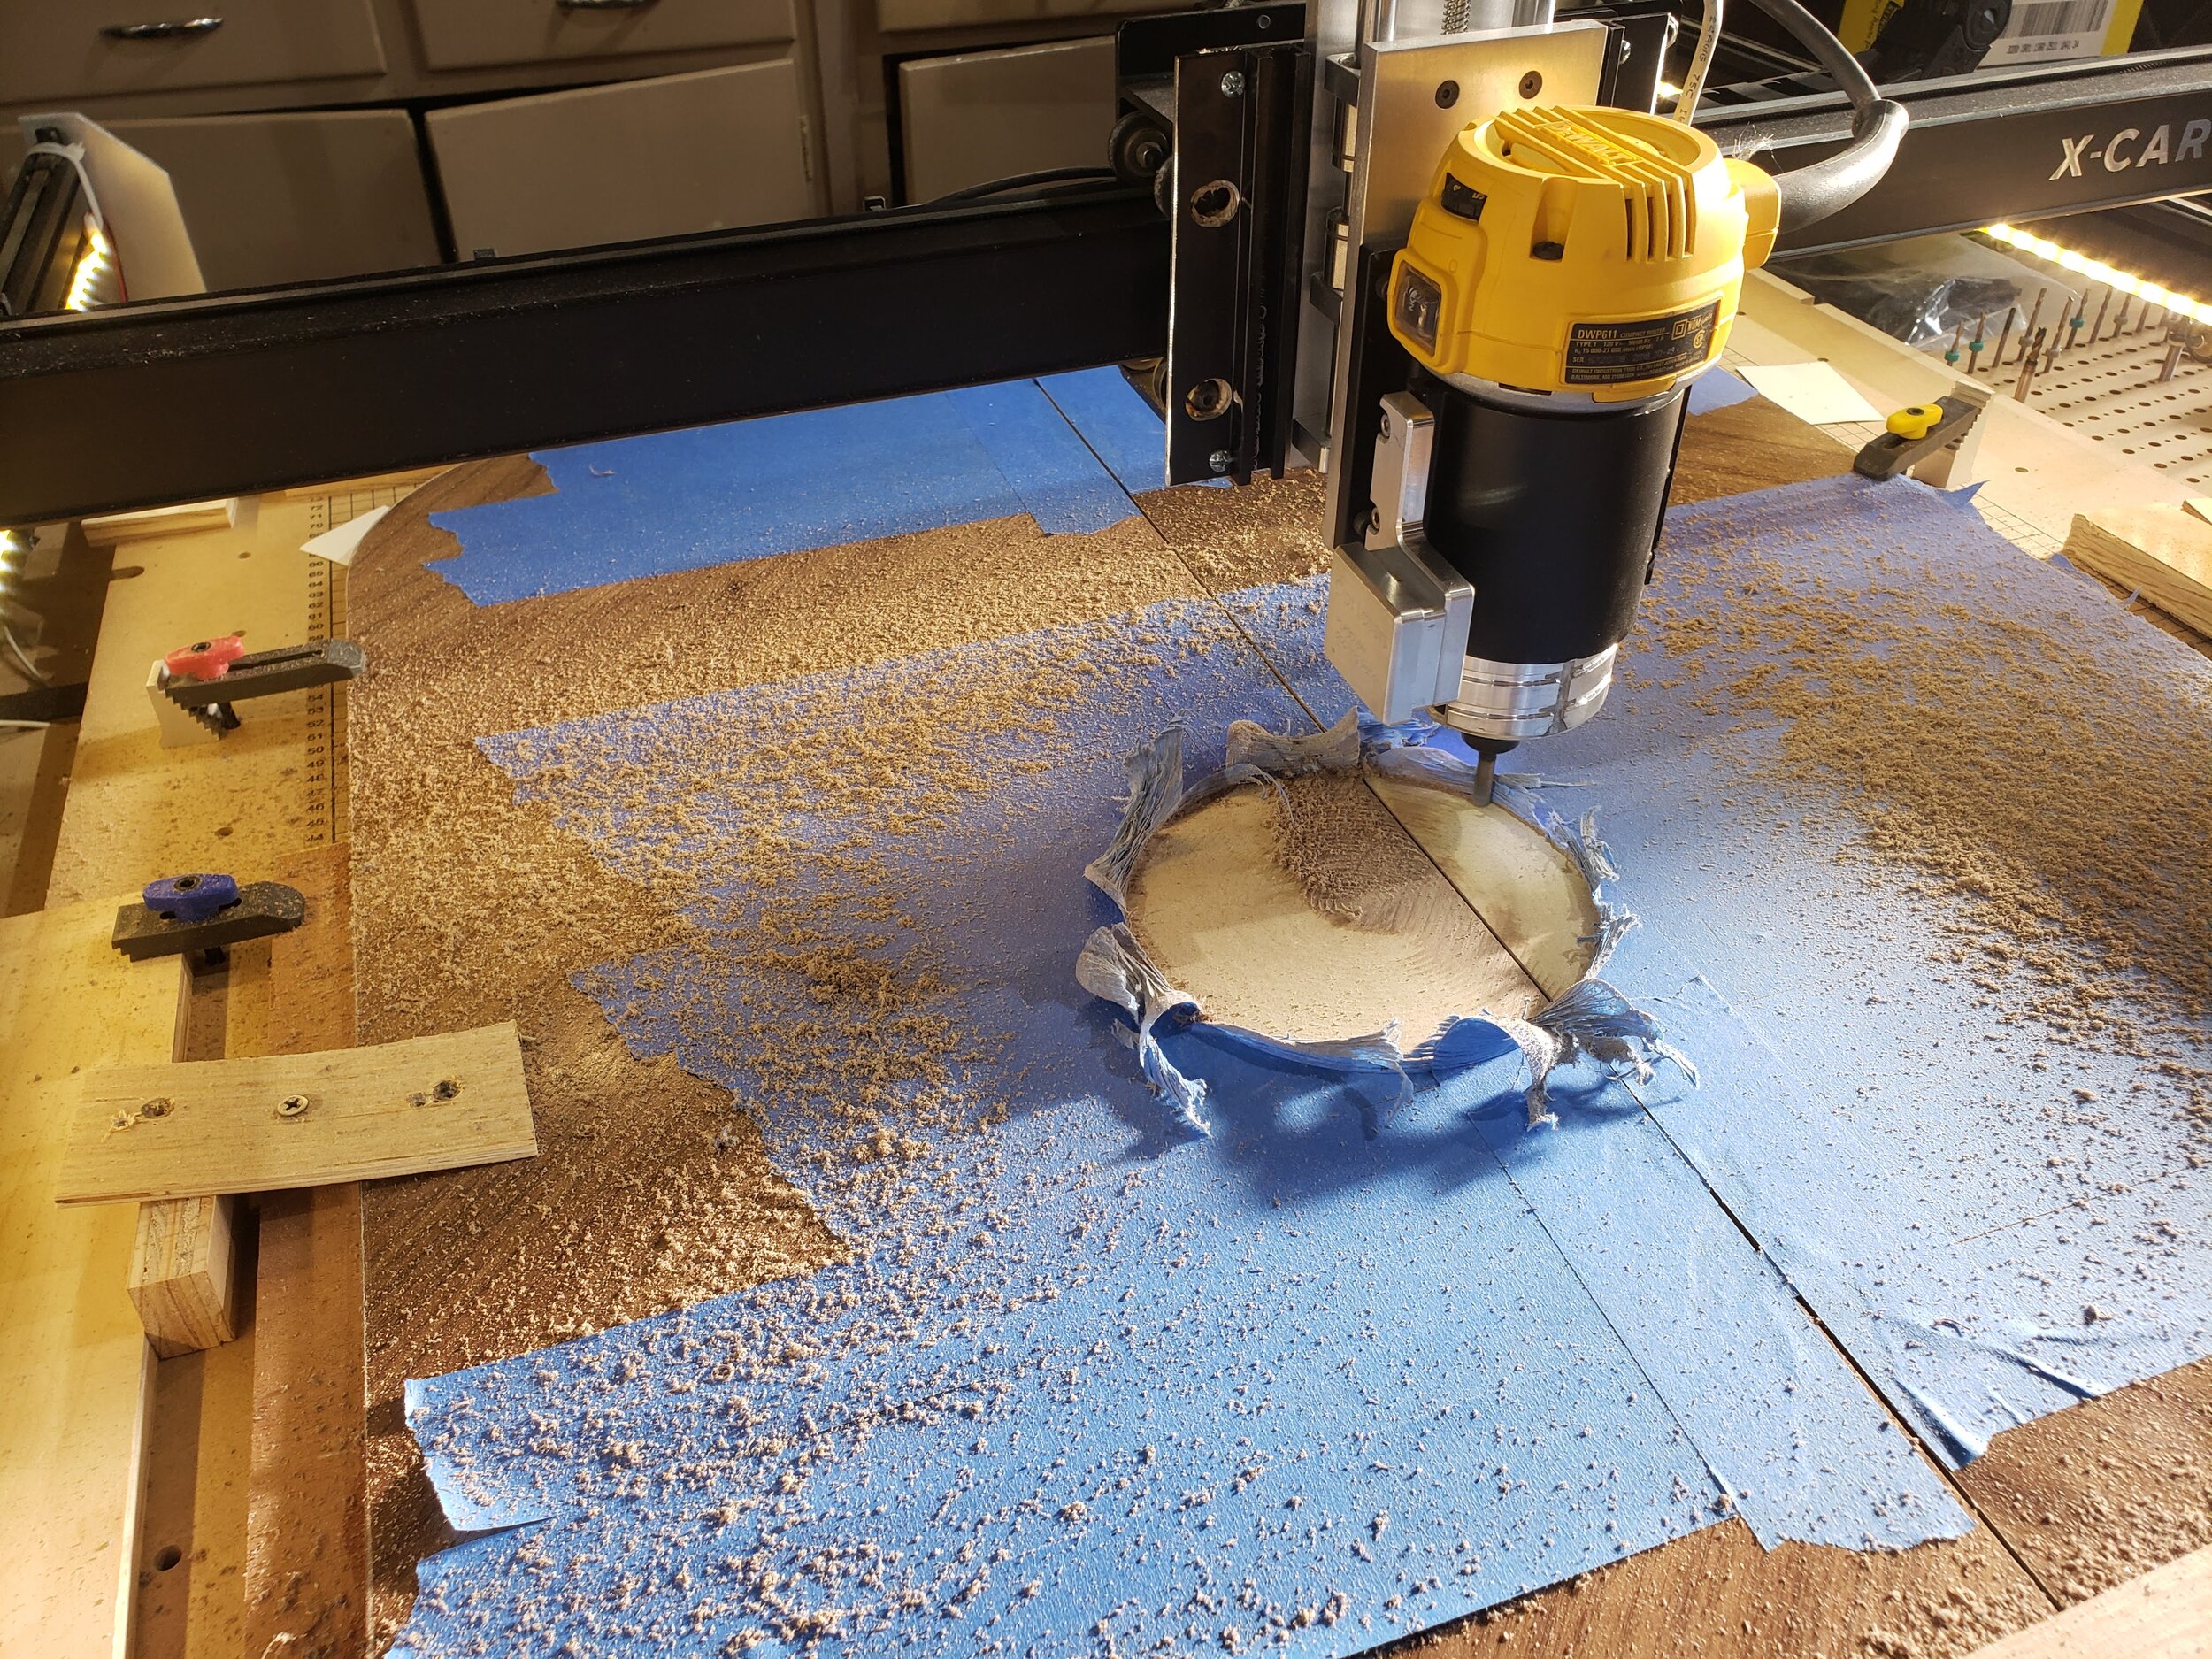
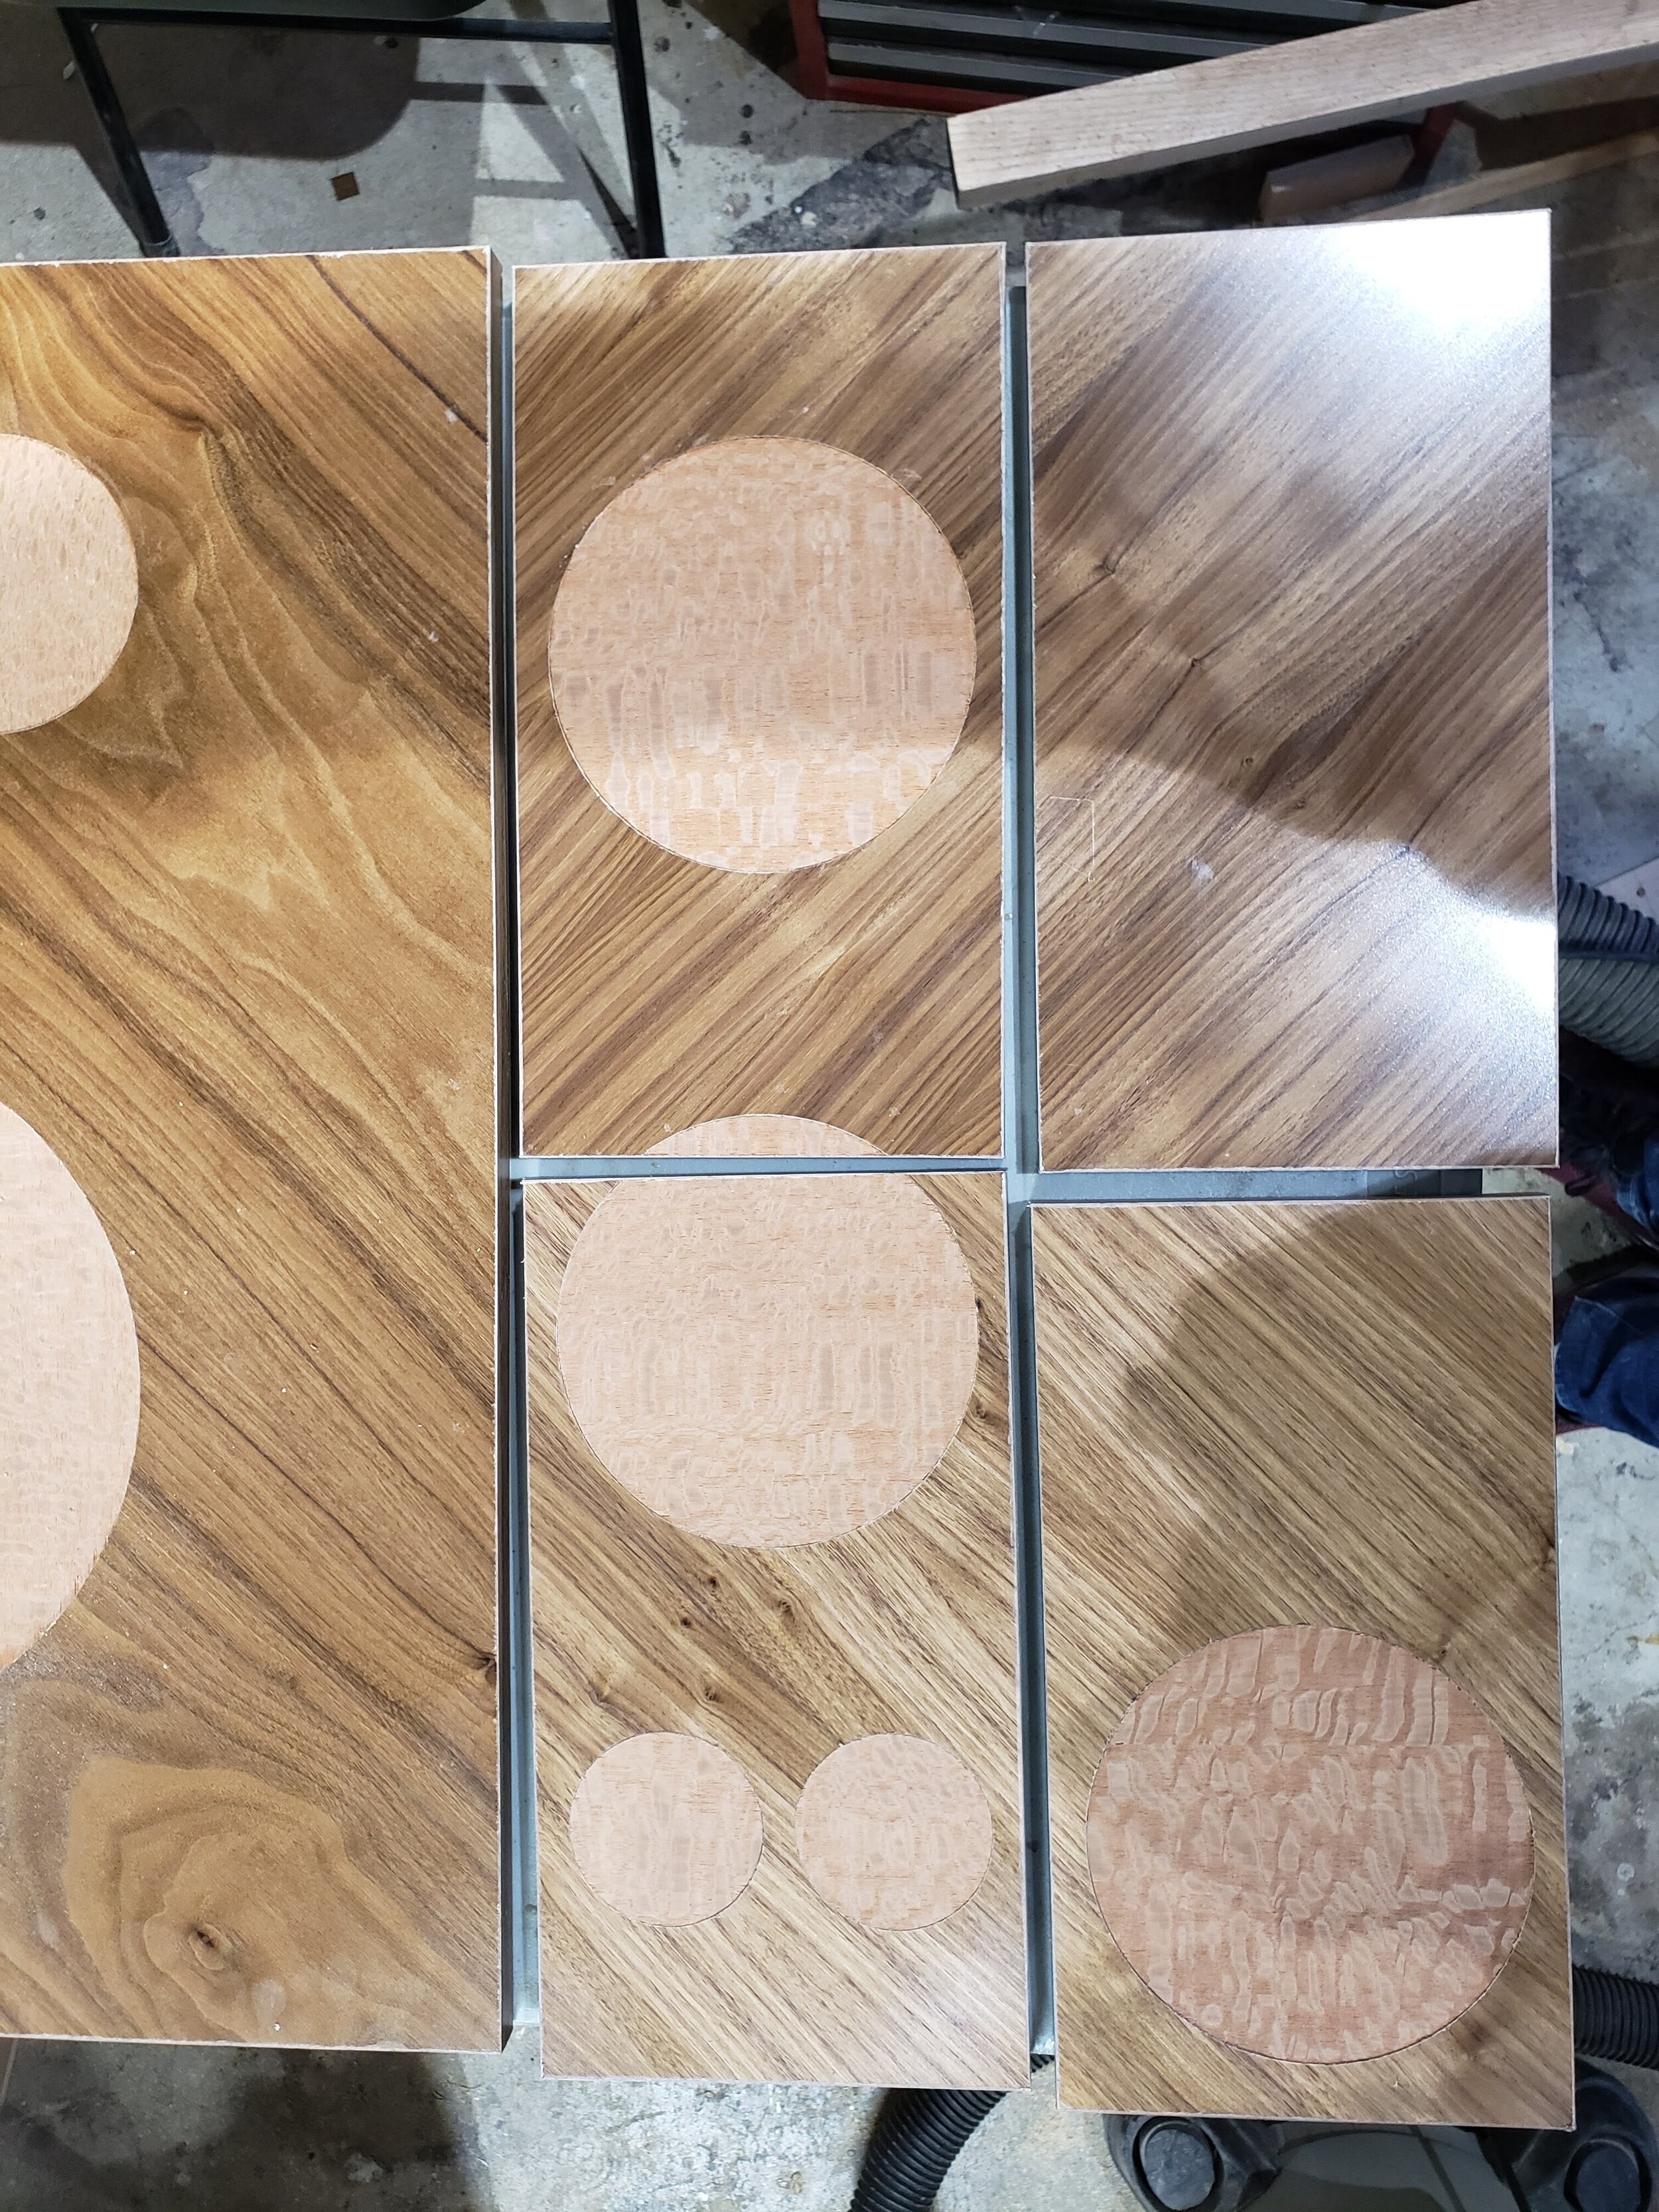
Veneer Recess
The final set of operations was the lacewood veneer circles in the door and drawer faces. Here, the CNC is cutting the recesses into the doors. I applied painters tape to the area around the cut primarily to minimize any “tear out” or damage to the existing walnut veneer.
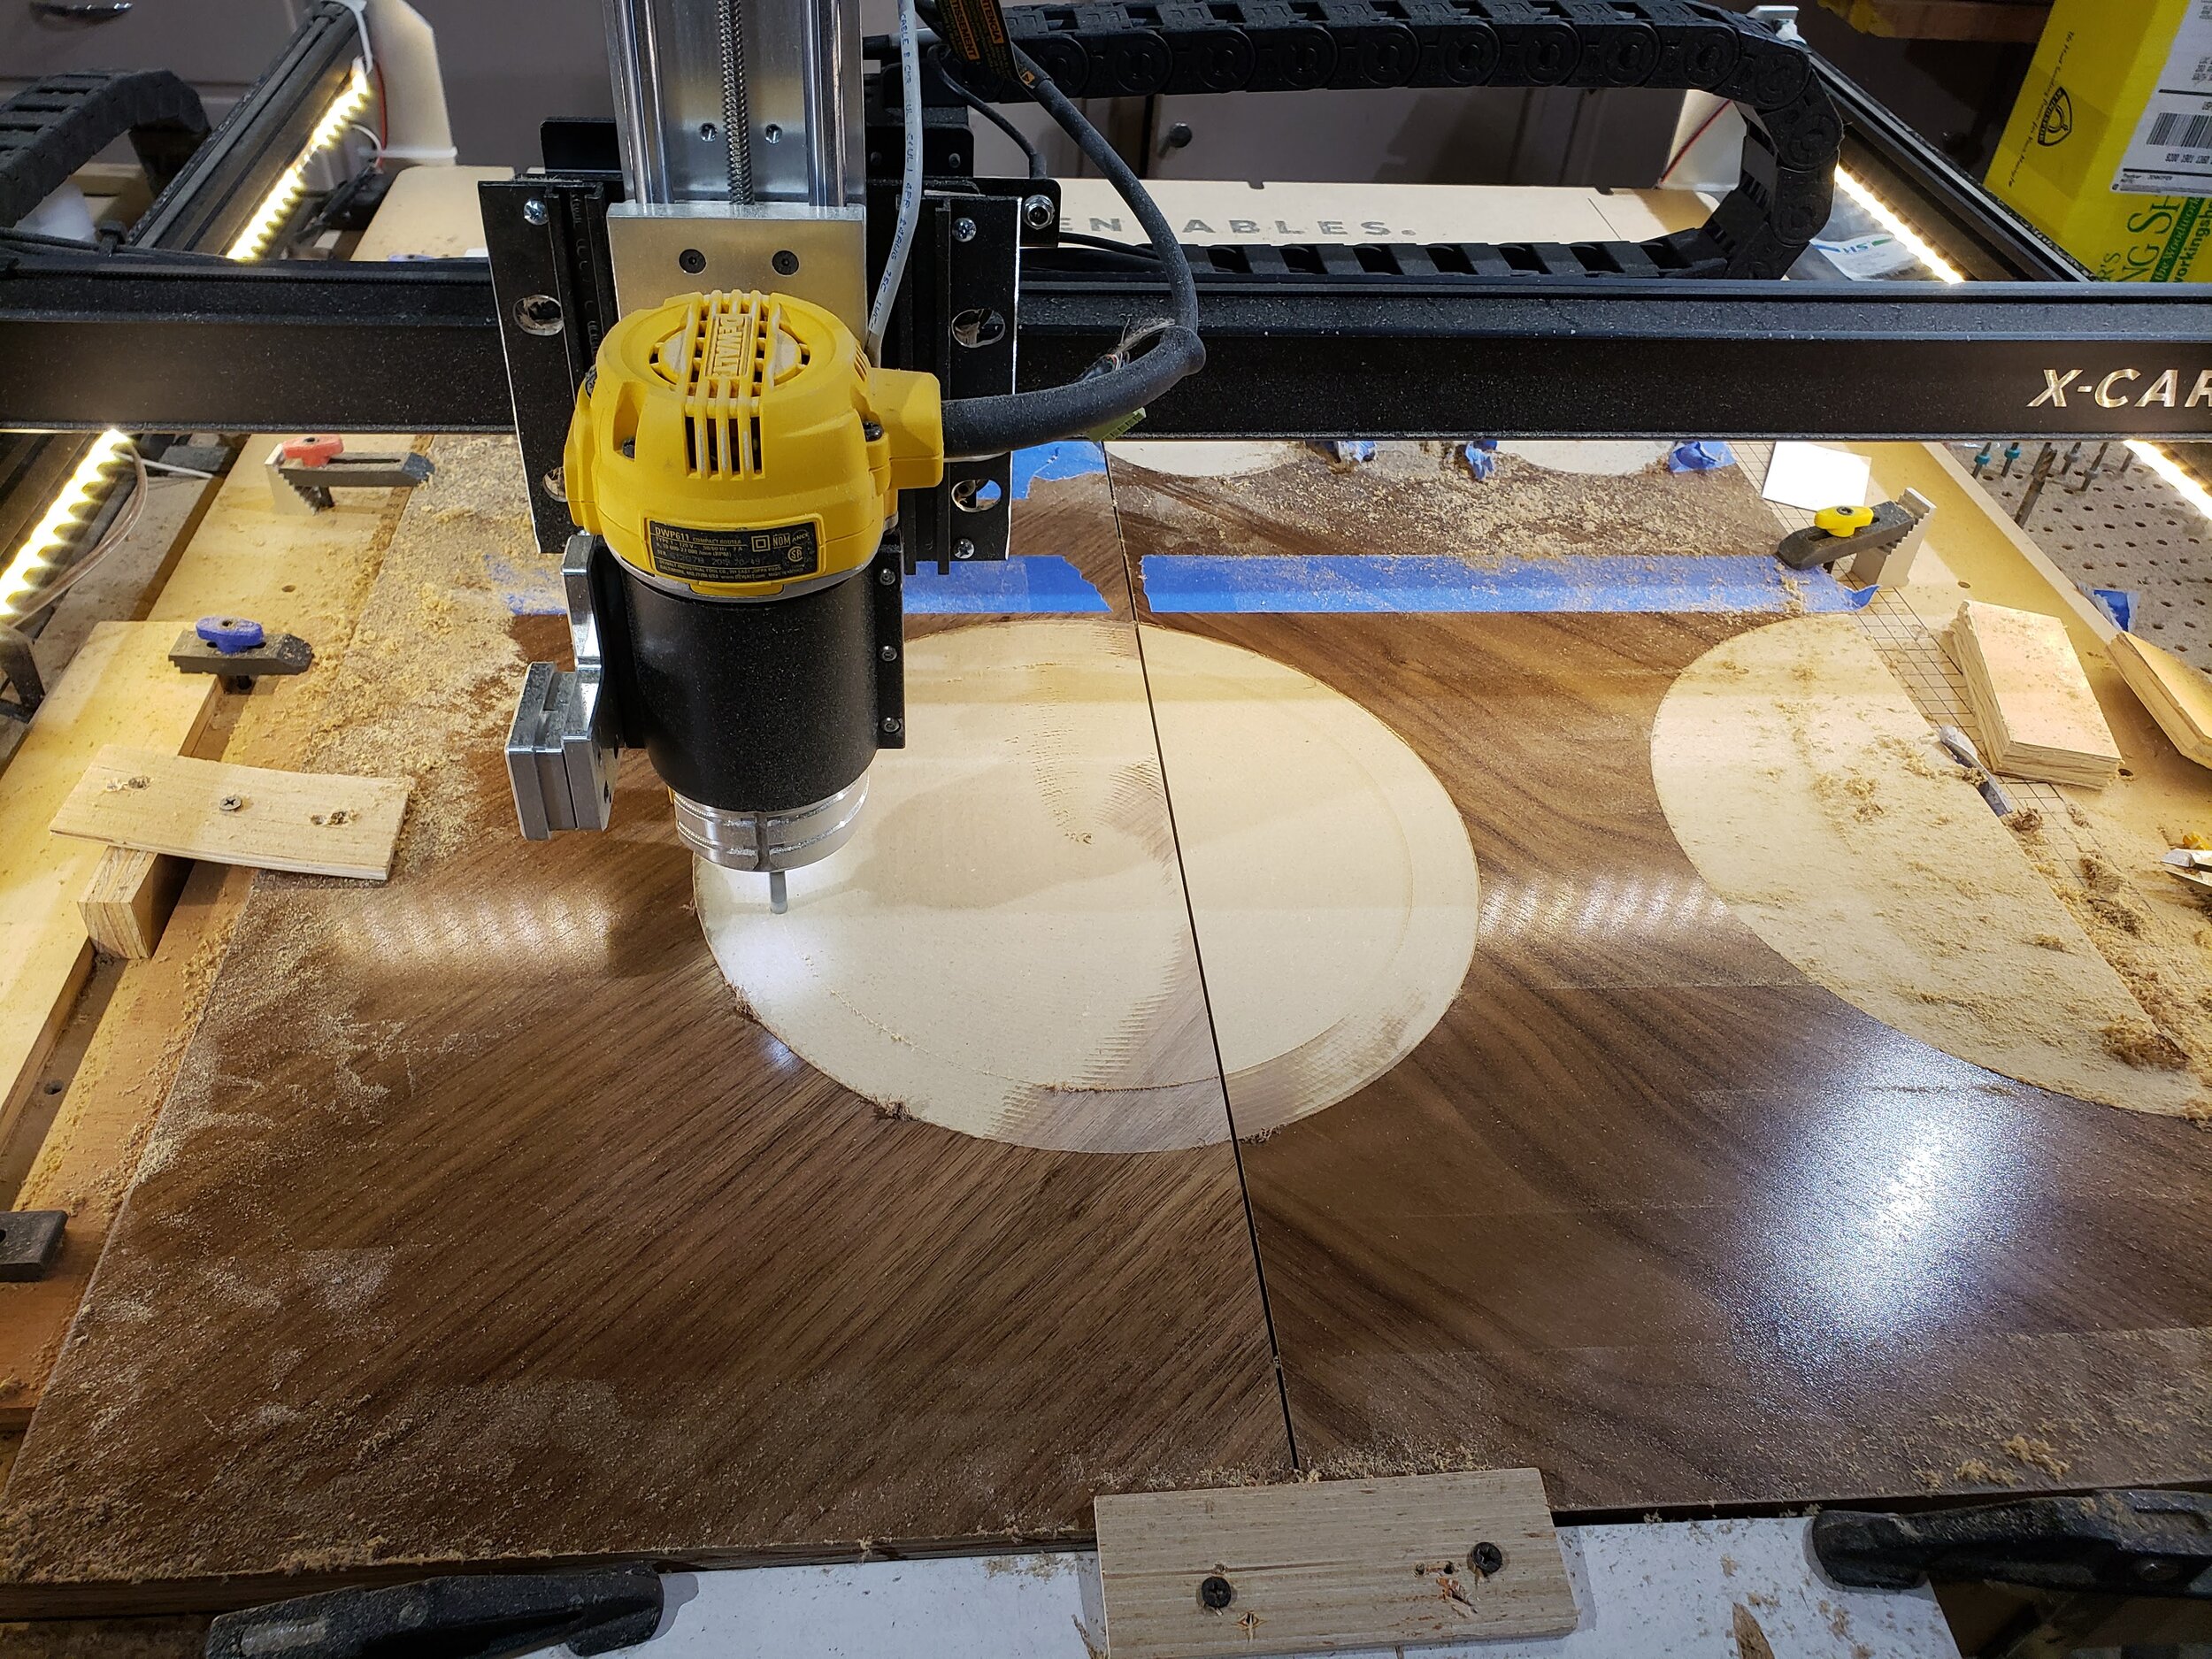
Door Veneer Recesses Cut in Pairs
Because the doors had several circles that spanned a pair of doors where the circle was interrupted only by a 1/16” gap between the door edges, it was best to cut each pair together rather than to rely on independent positioning / calibration operations.
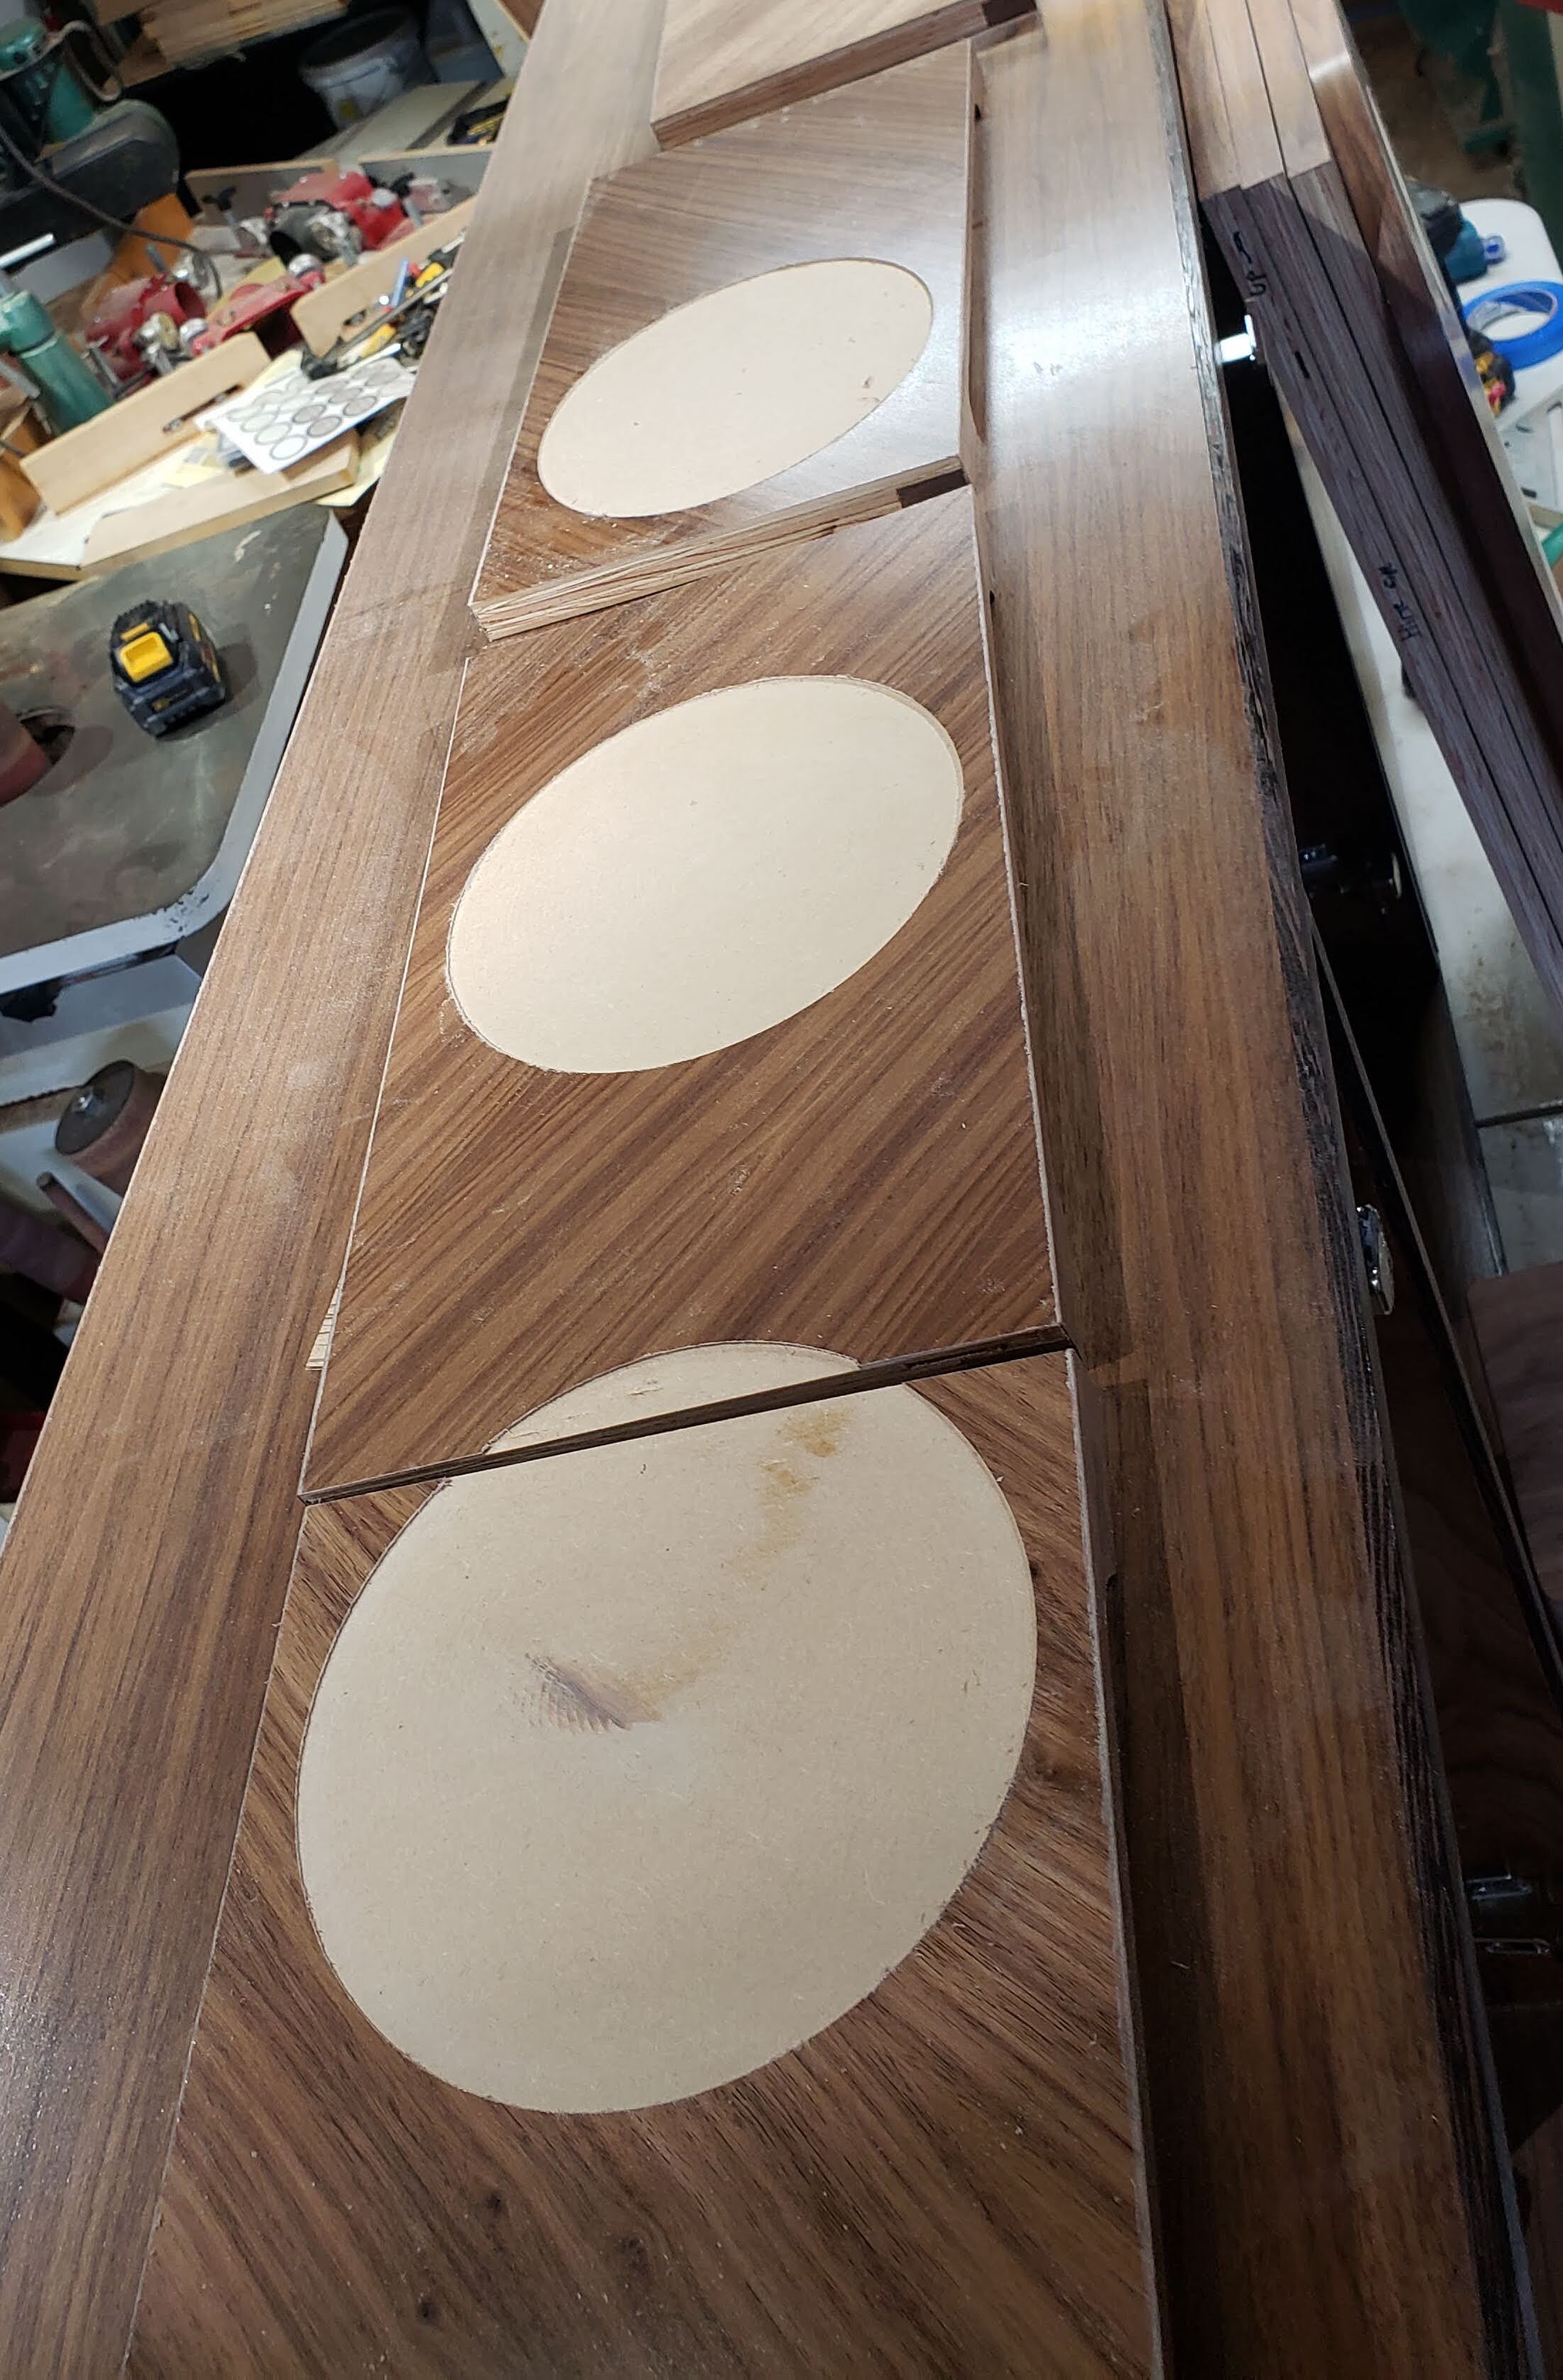
Drawer Veneer Recesses
The drawer faces require similar recesses, all completed here.
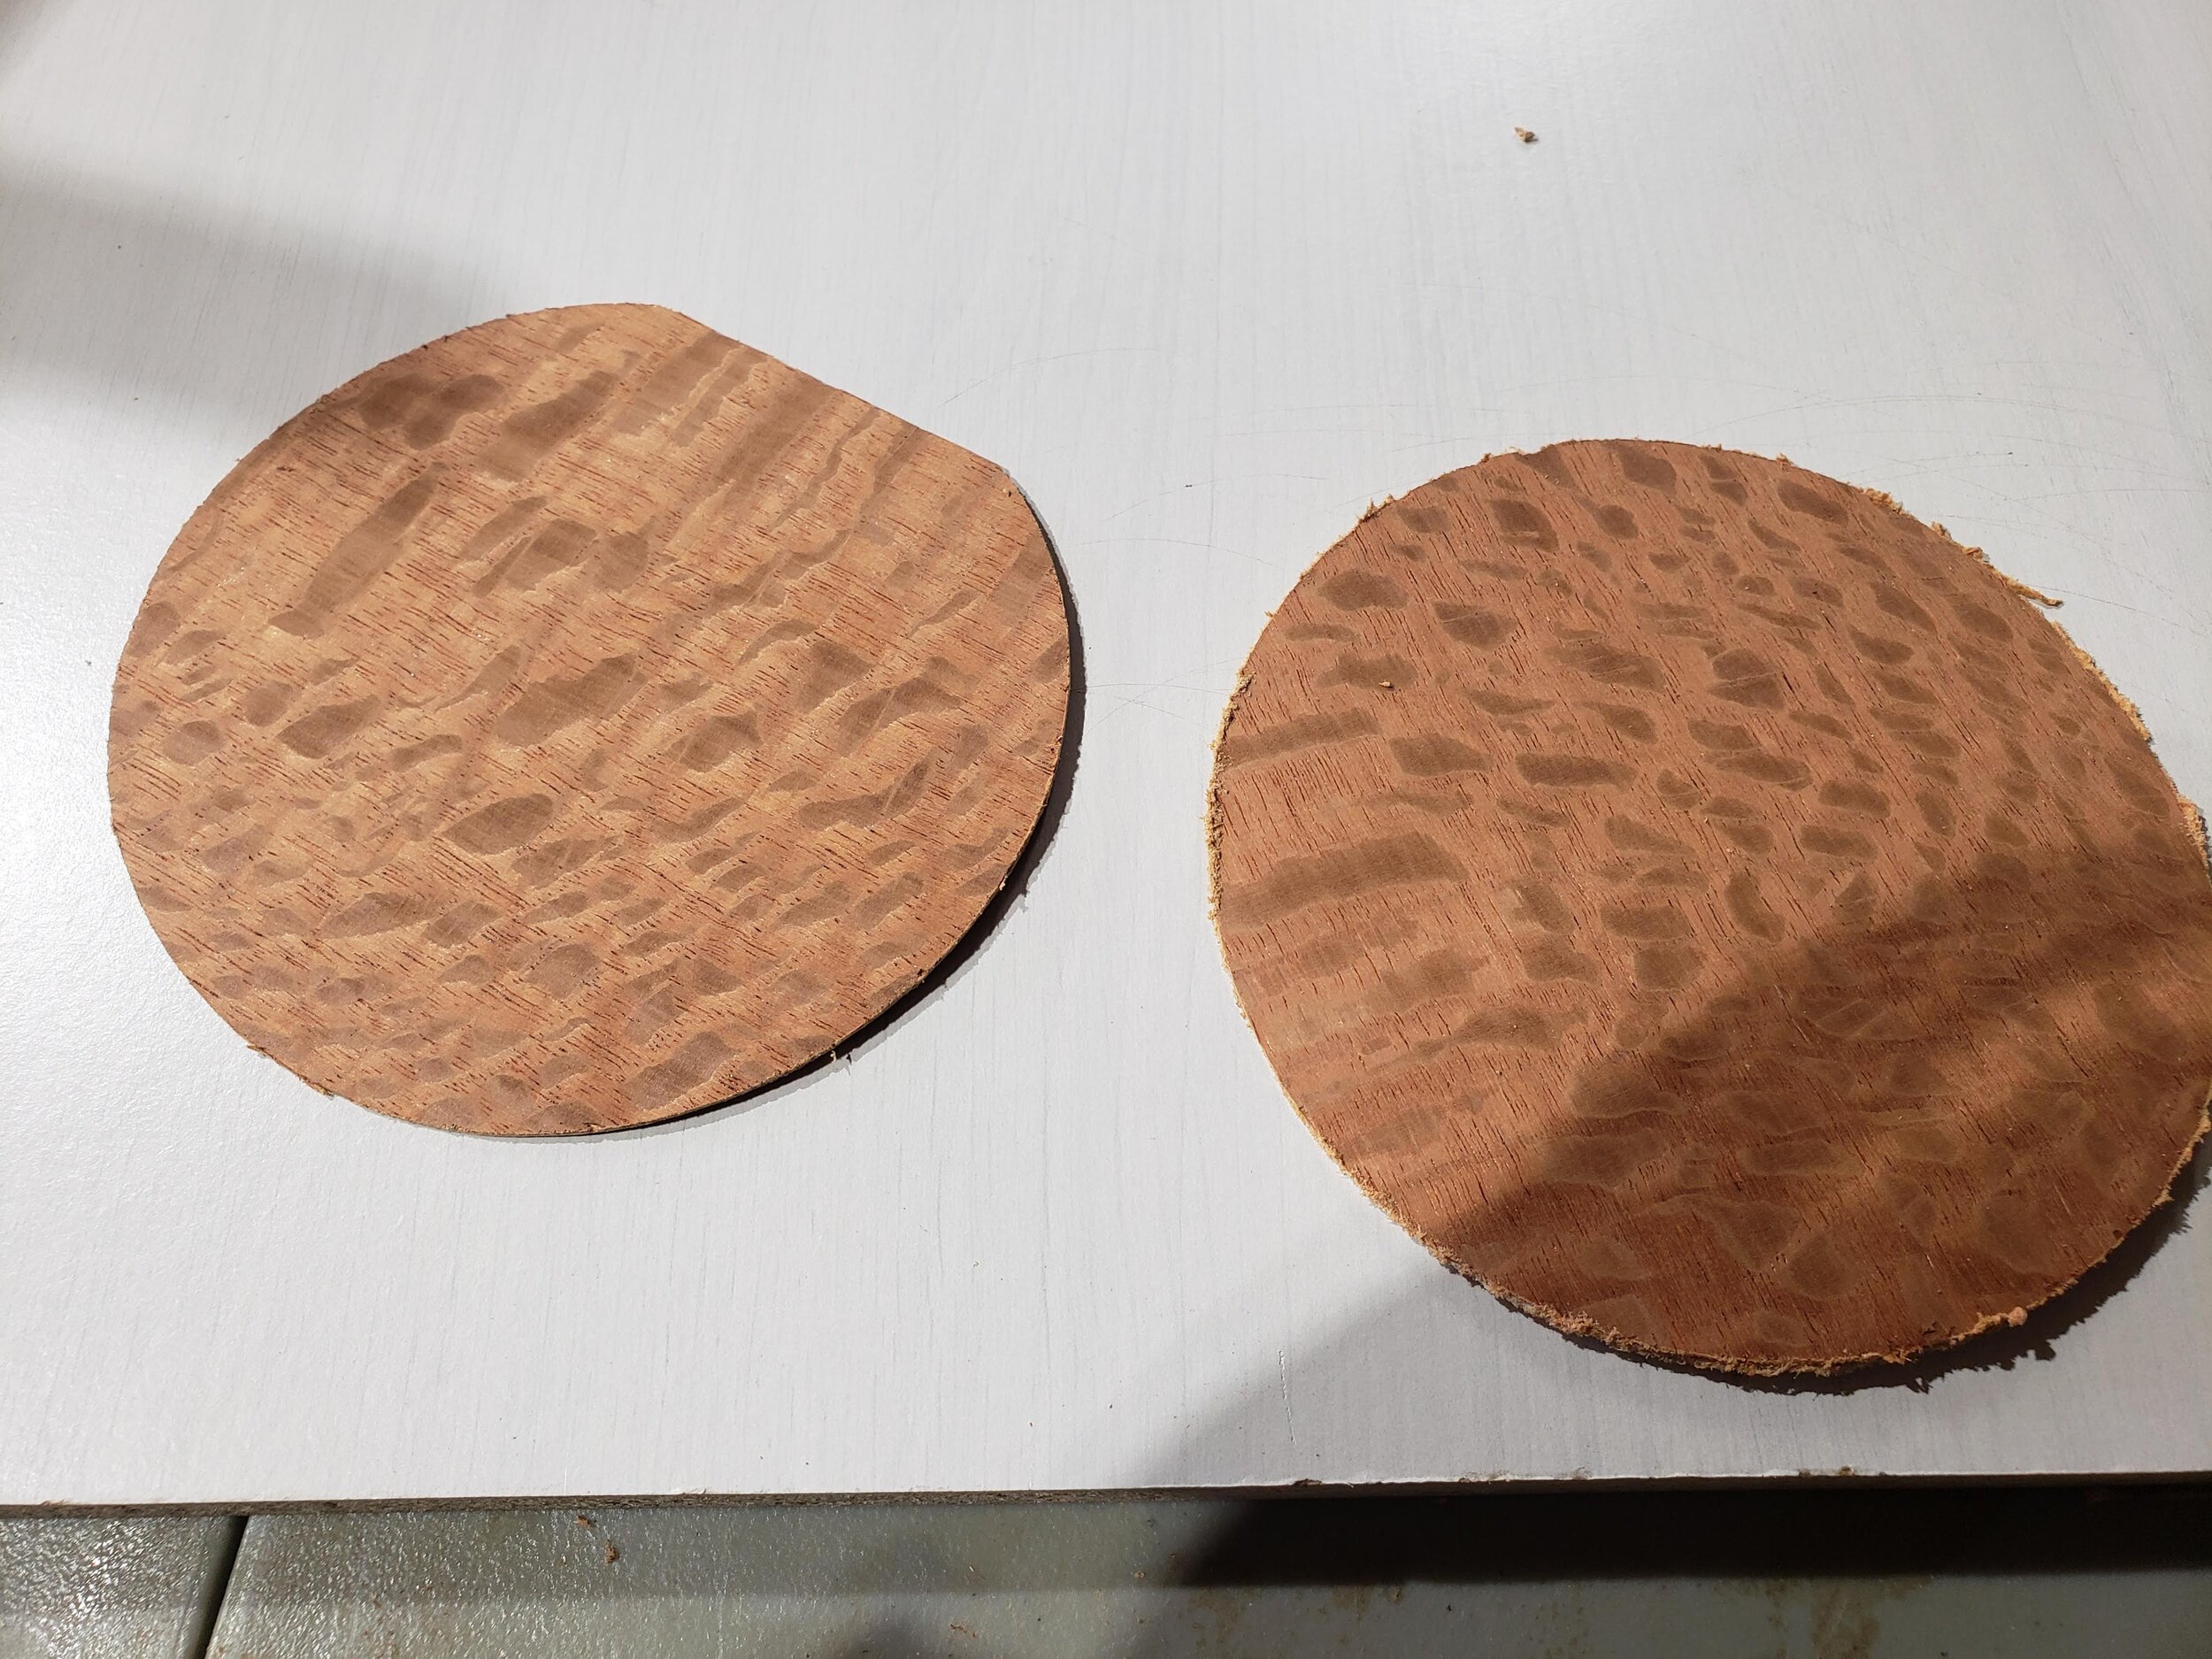
Lacewood Veneer Circles
Cutting the lacewood veneer was very challenging. A test cut with my CNC on some walnut veneer was successful, so I tried with the first sheet of lacewood, and both the cutting operation itself, and my removal of the taped-down veneer absolutely destroyed the sheet. That beautiful pattern in the lacewood is formed by much shorter grain than in a more typical wood like walnut, so the veneer is much more fragile and brittle.
I made two adjustments: I used a downcut mill instead of a more typical upcut mill in my CNC, and I used a heat gun and putty knife to more gradually remove the taped-down veneer from the CNC.
This is the result - you can still see some rough edges on the right, but most of that could be sanded out on the left. Nonetheless, I cut extra circles of each size, and picked the cleanest circles to use in the final product.
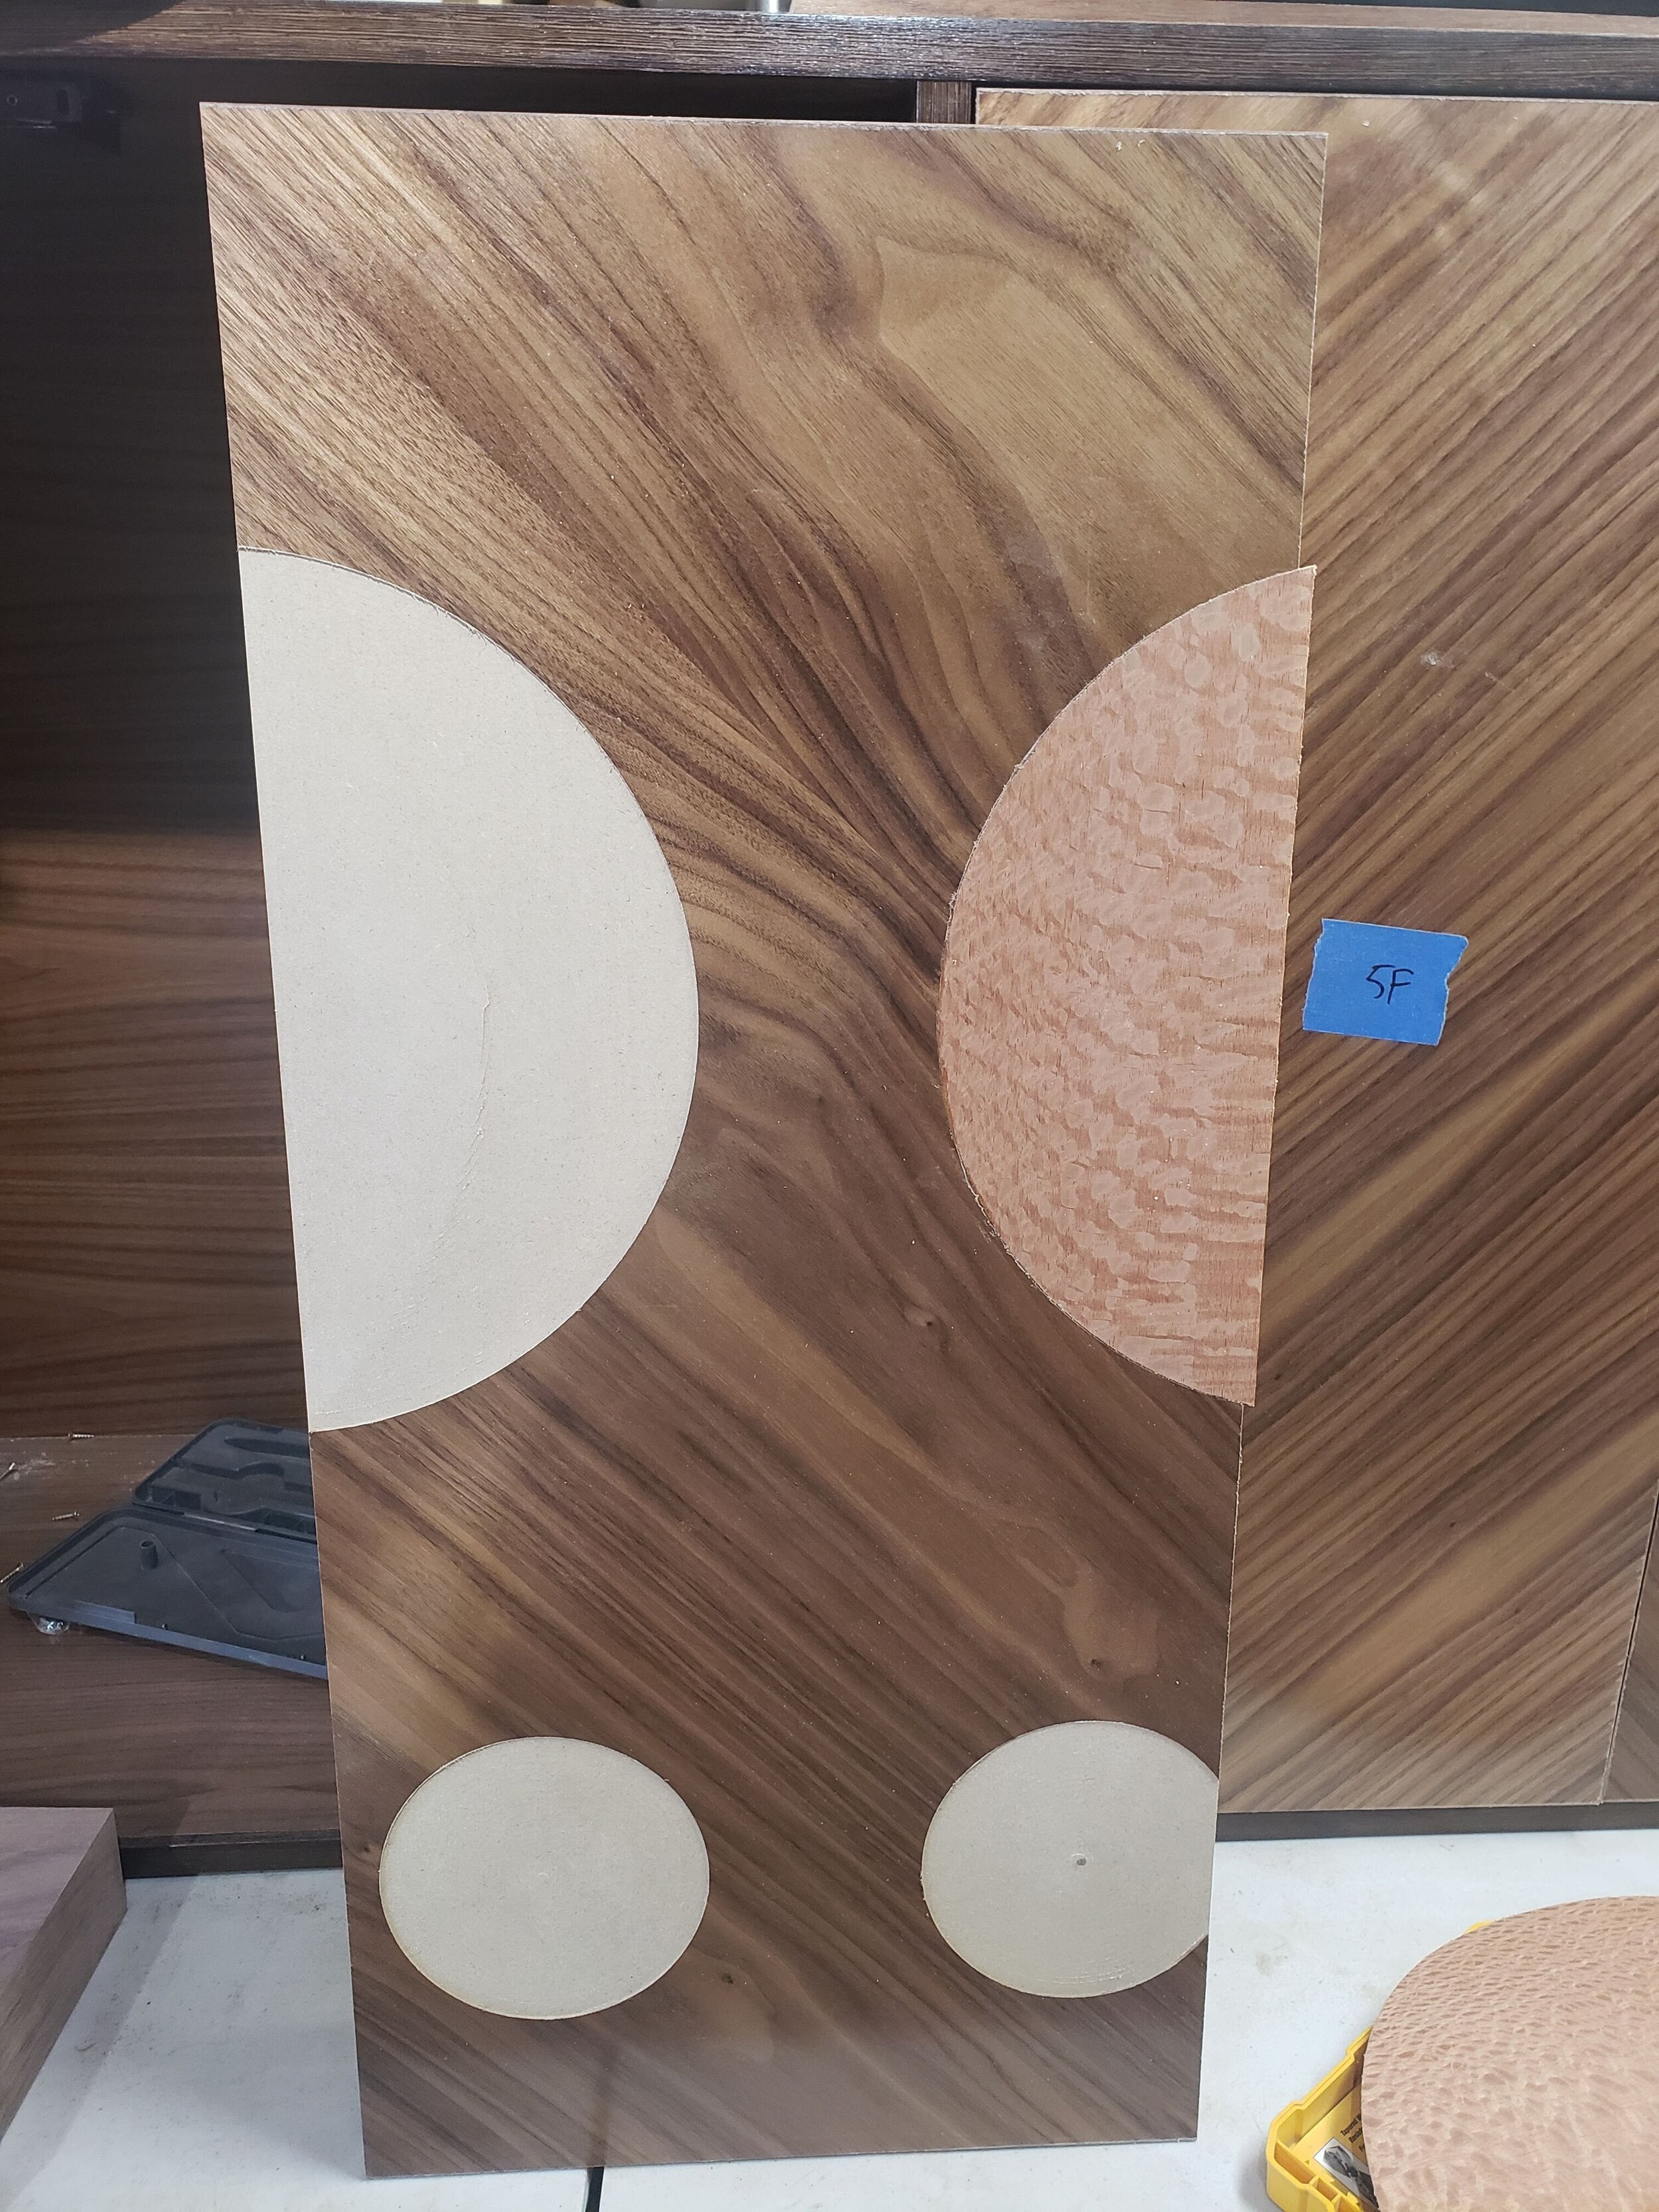
First Veneer Piece Glued
I was very excited to get the first piece in, here.
All Veneers Glued
I needed to make further adjustments: the circles needed about 1/32” of clearance given the imperfections and roughness of both the cavity and the veneer. So rather than recut new veneers, I cut circle templates of the 1/2” plywood in the smaller sizes, clamped each piece of veneer between a pair, and used a flush trim bit to resize them.
Voila: they all now fit perfectly, and can be glued into place.
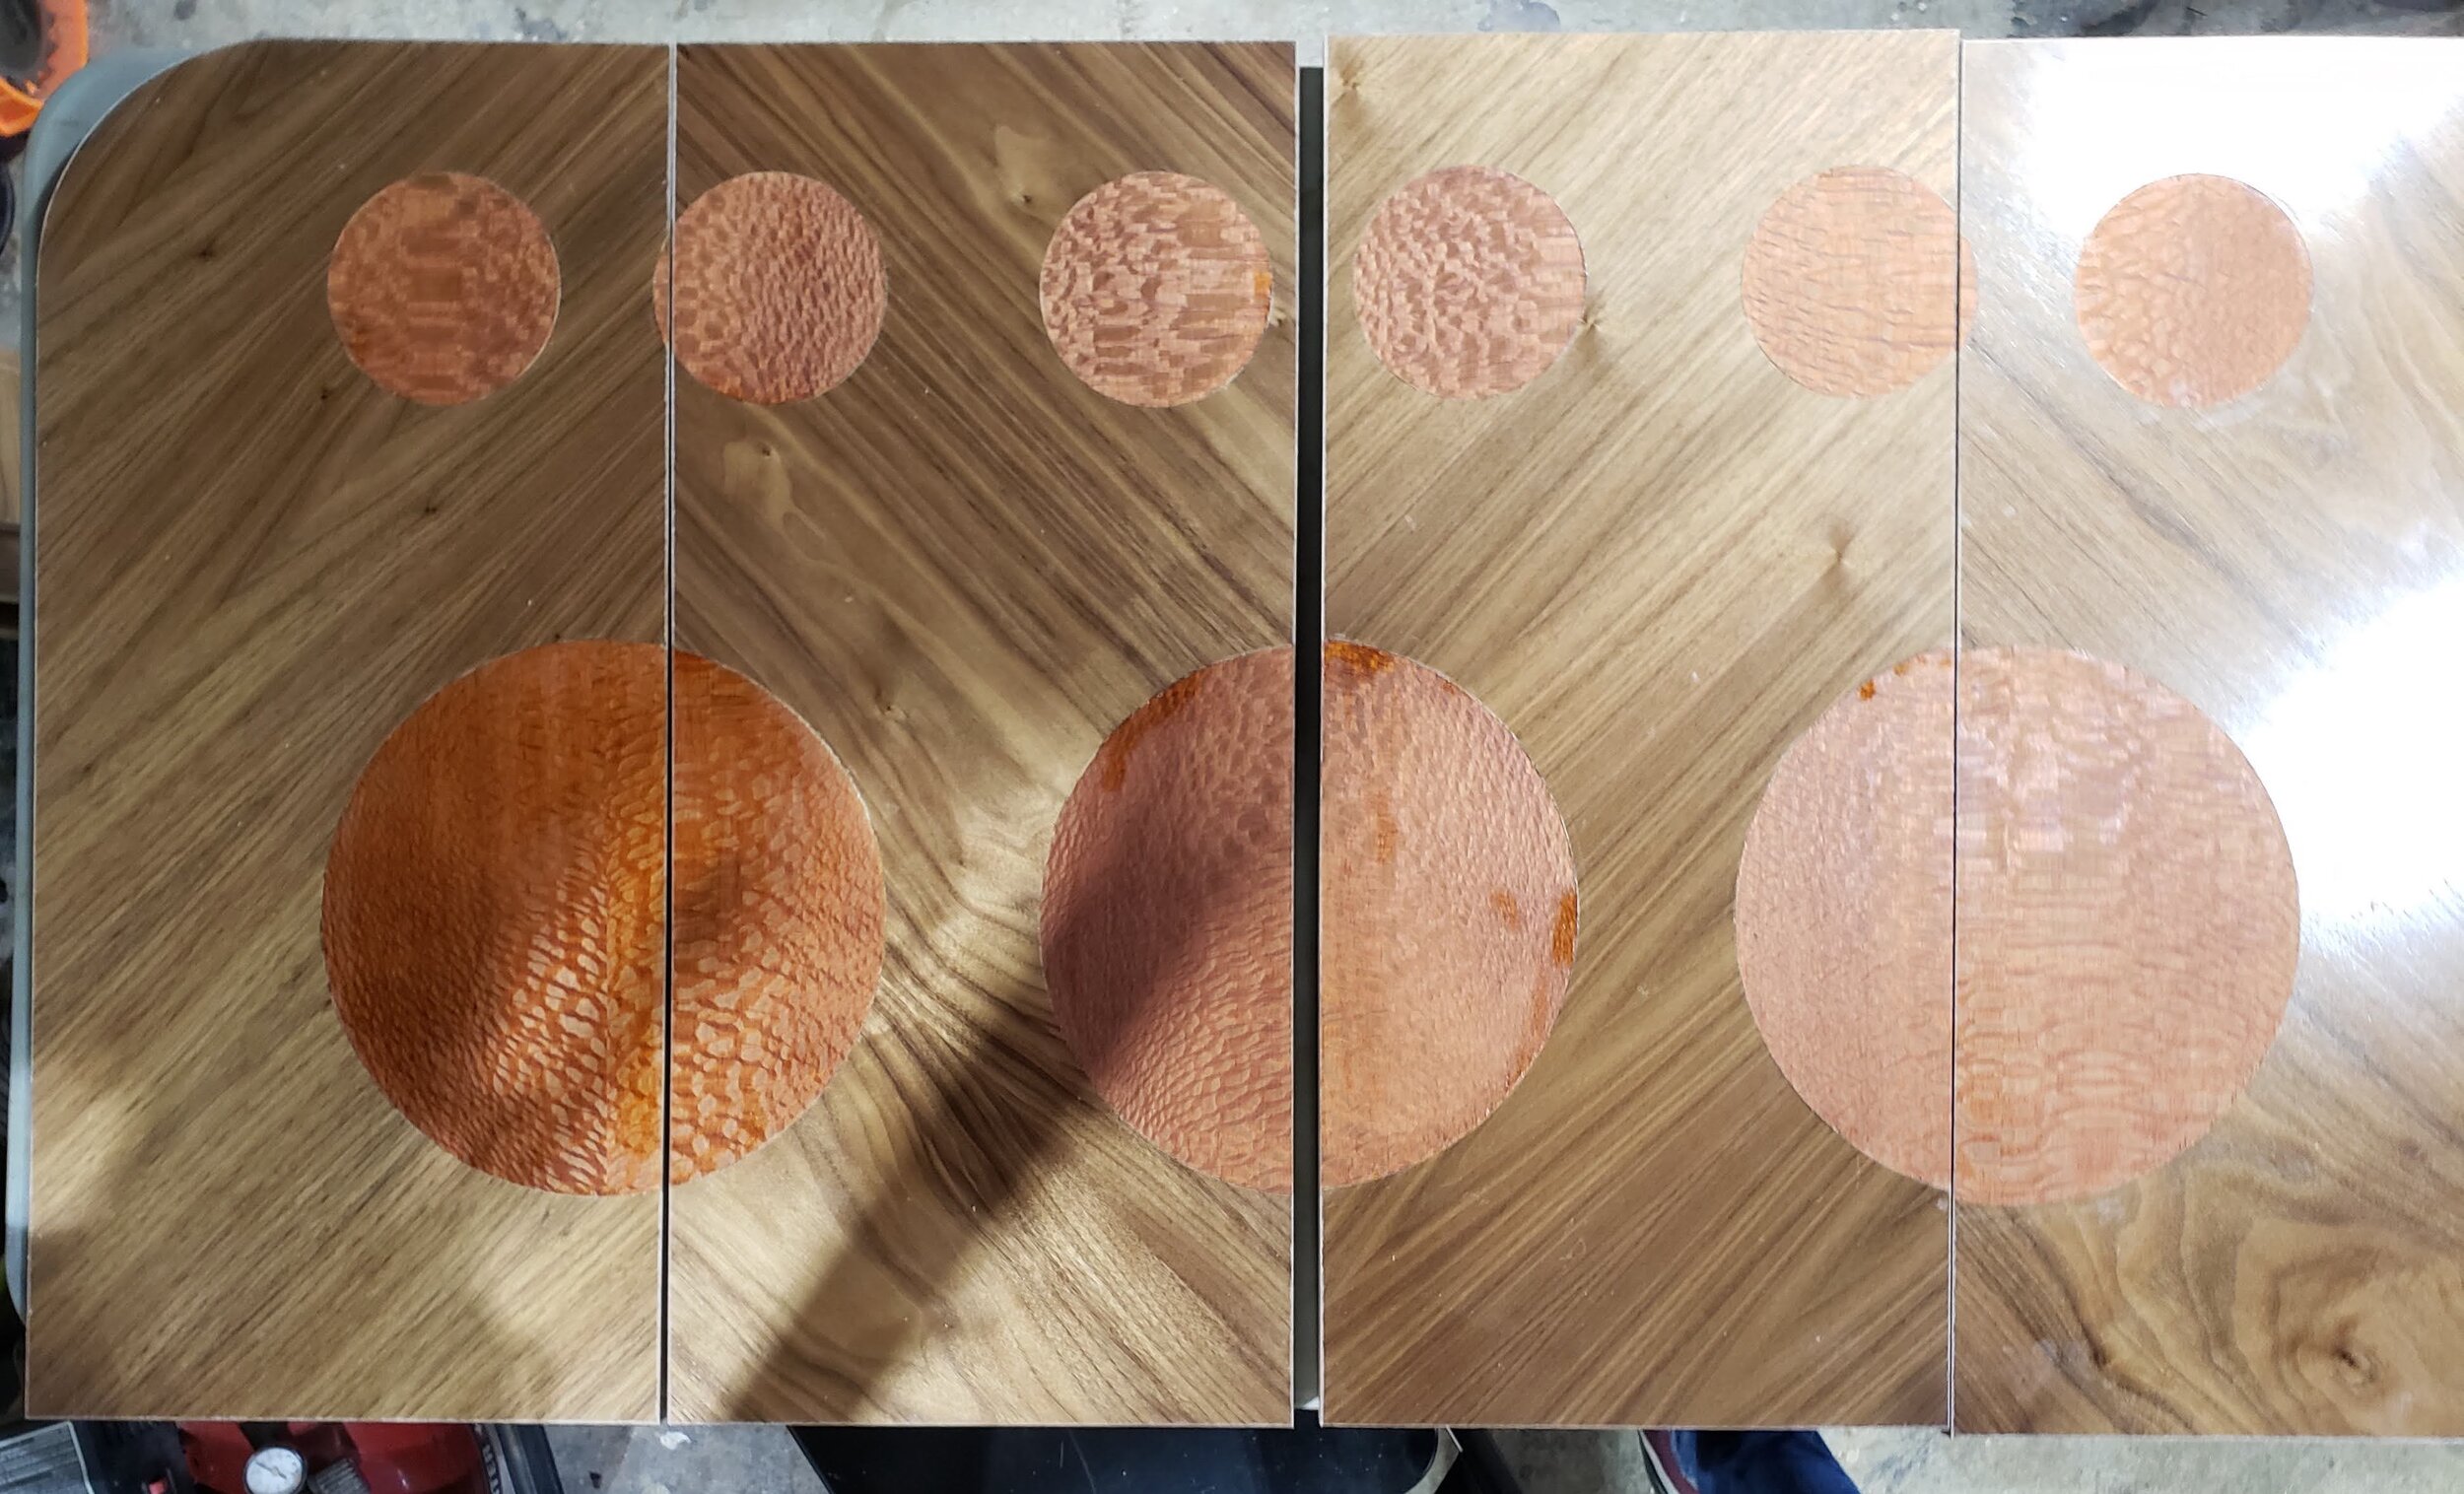
Doors Finished
And with the final coats of polyurethane applied, I have a half day left of assembly, cleaning, packing, and I’m ready to deliver!
Do you have any questions or thoughts about this piece, or have a similarly unique project you’d like to explore? If so, I’d love to hear from you!


